

The Group Savings Plan feature on the TransferXO app empowers users to collaboratively save money with friends, family, or colleagues. This guide provides detailed steps to set up and manage your group savings plan through the mobile app.
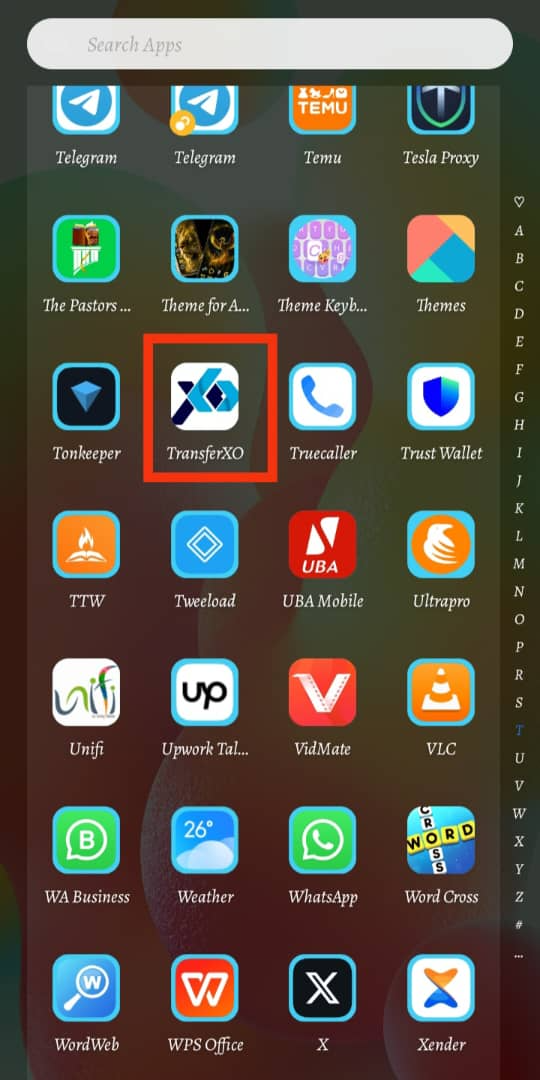
Step 1: Open the TransferXO Mobile App
Locate the TransferXO app on your mobile device and tap on it to launch the application.
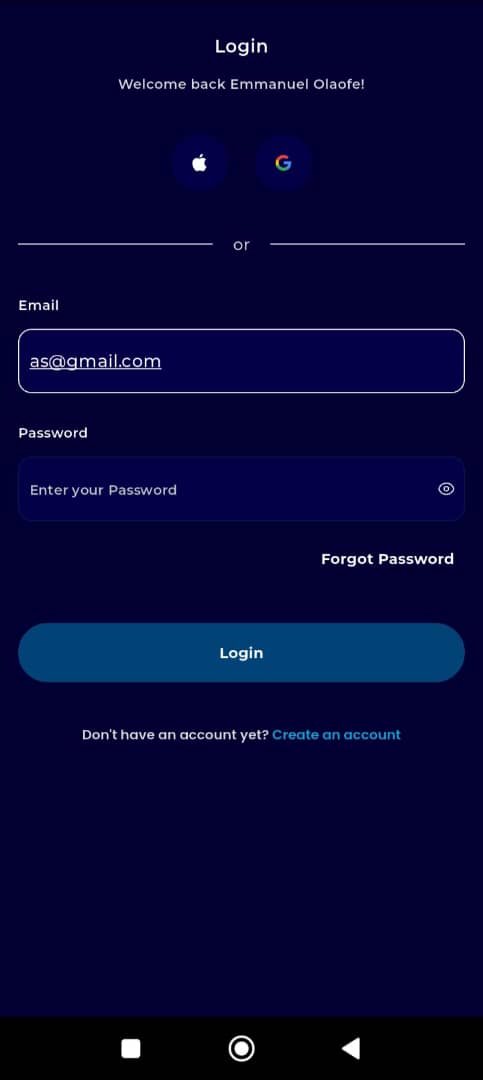
Step 2: Enter Your Login Details
On the login screen, input your email and password in the designated fields. Ensure that the credentials entered match those used during account registration.
Alternatively, if you signed up using Gmail or Apple ID, you can select the corresponding option at the top of the login page to proceed with authentication.
Important Note: If you do not have an account yet, you must create one before logging in. Refer to the How to Create an Account on TransferXO guide for assistance.
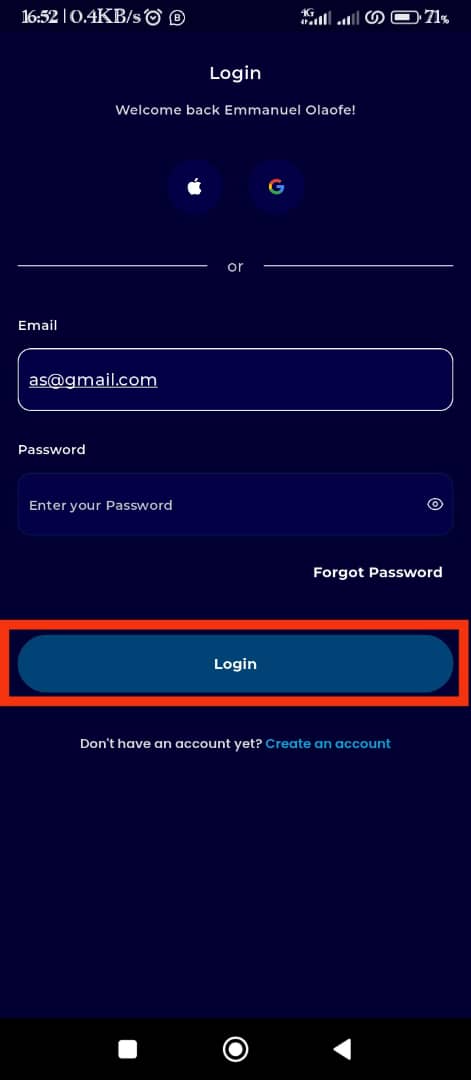
Step 3: Click on Login
Once your details are entered correctly, tap on the Login button to proceed.
If your credentials are valid, the system will authenticate your details, granting you access to your TransferXO dashboard.
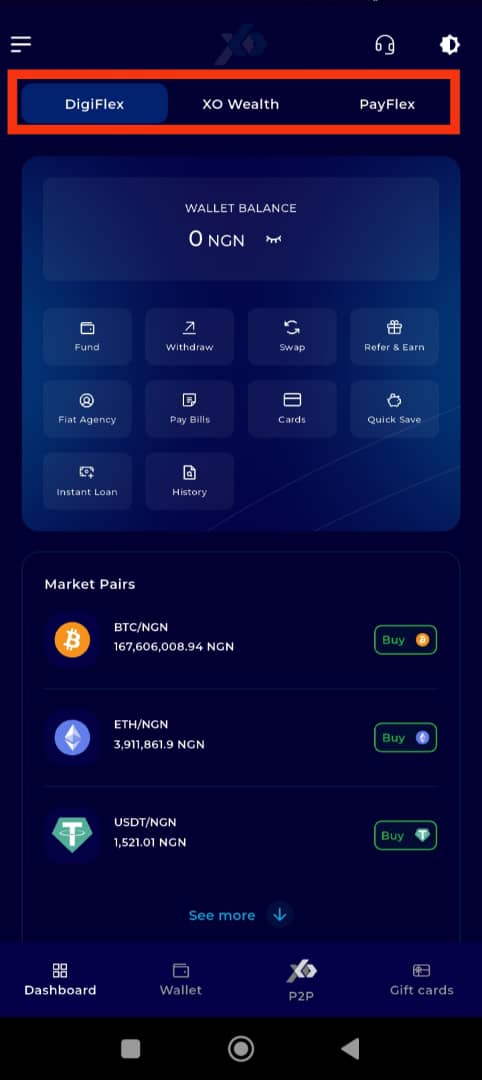
Step 4: Access the Dashboard
Upon successful login, you will be directed to your homepage, also known as the Dashboard.
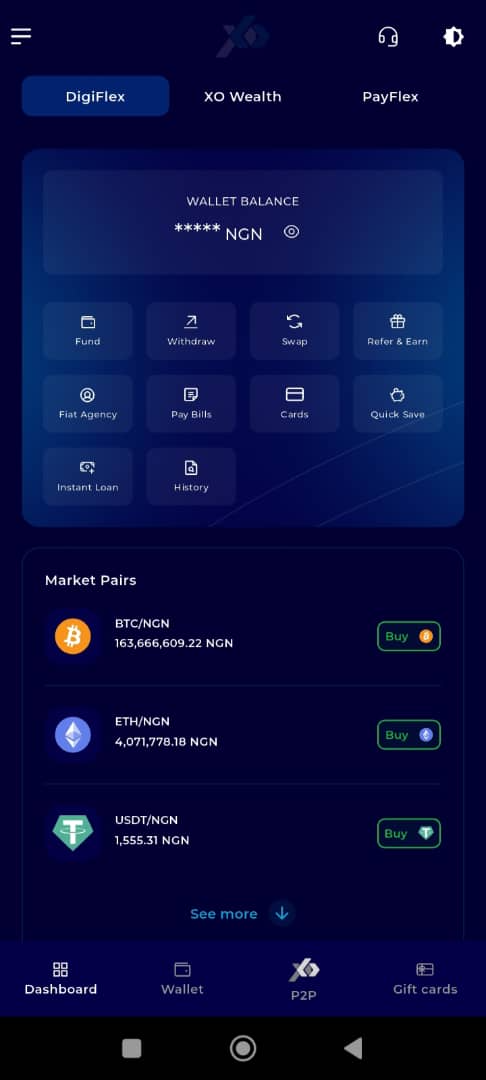
Step 5: Locate the Key Offering Panel
At the top of the screen, to the left of the TransferXO logo, locate the Key Offering buttons. These provide quick access to various services on the platform.
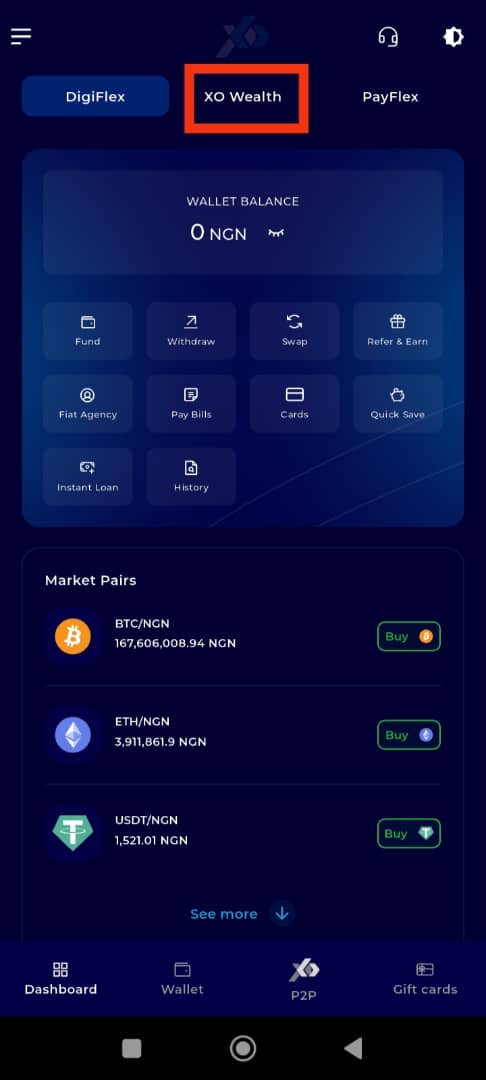
Step 6: Select XO Wealth
Tap on the XO Wealth option from the Key Offerings panel to proceed to the savings interface.
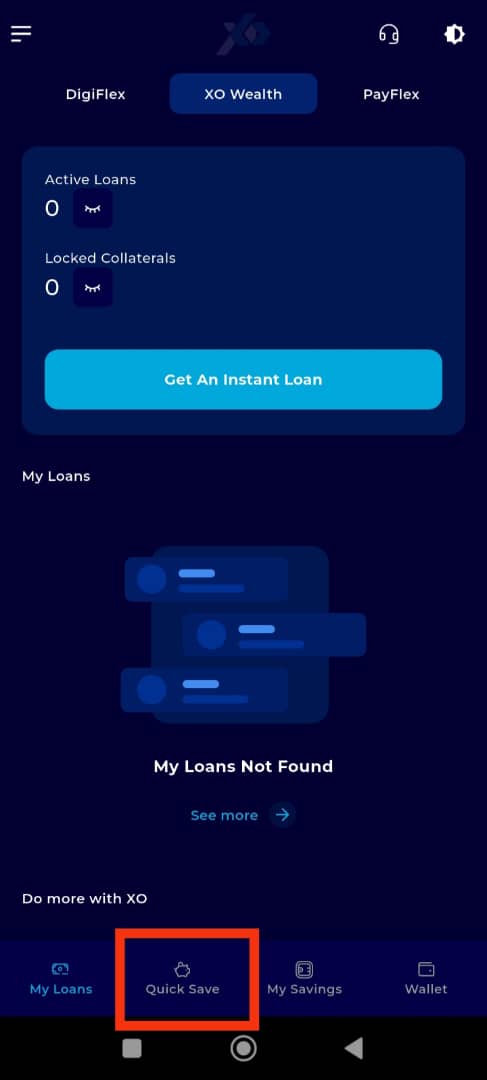
Step 7: Click on Quick Save
On the bottom navigation bar, tap on Quick Save to proceed.
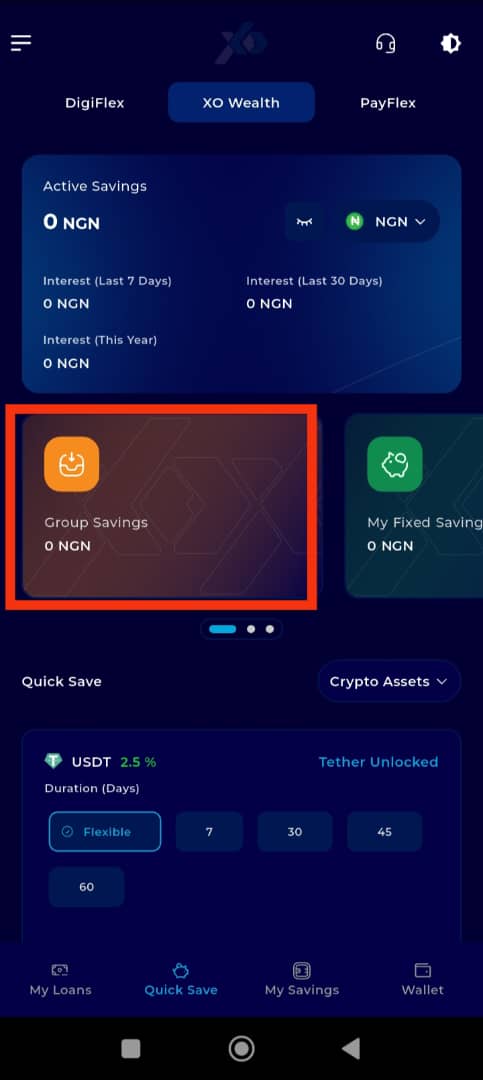
Step 8: Select the Group Savings Plan
Under the Savings Panel, locate the Group Savings Plan displayed on the gold tab.
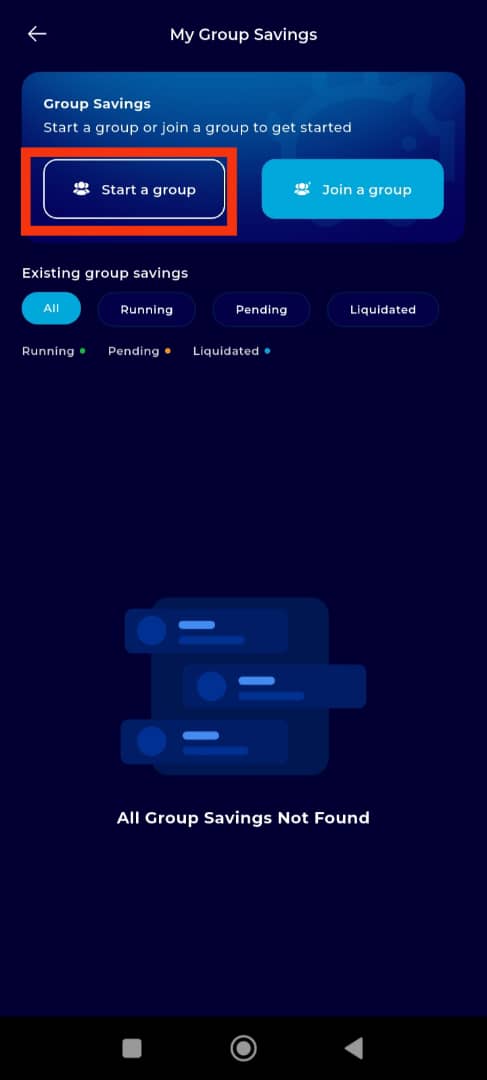
Step 9: Choose to Start a Group
You will be given two options: Join a Group or Start a Group. For this guide, tap Start a Group to initiate a new savings group.
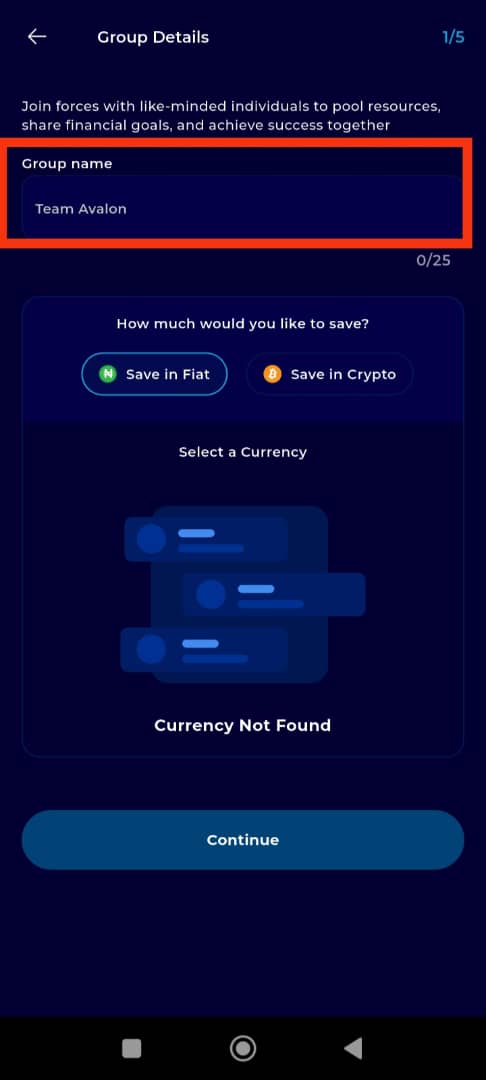
Step 10: Name Your Savings Group
Enter a unique and descriptive name for your savings group to help members easily identify it.
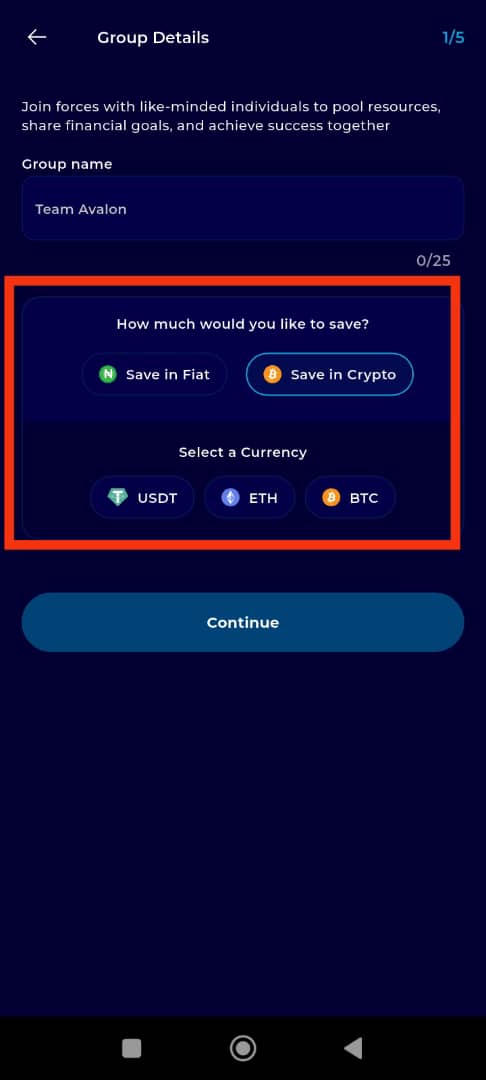
Step 11: Select Your Wallet and Currency
Choose between a crypto or fiat wallet and select the currency or coin for the savings.
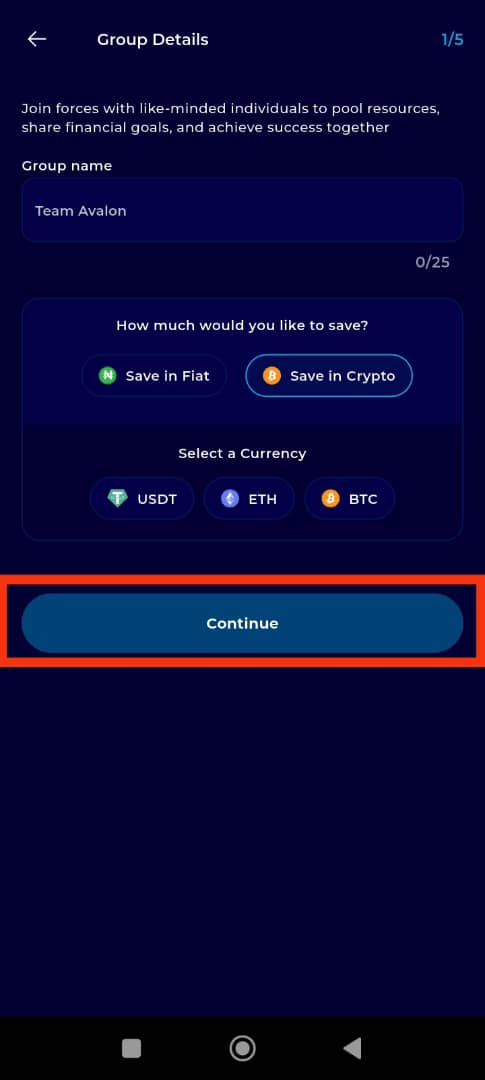
Step 12: Click on Continue
Tap Continue to proceed to the next step of setting up your group savings plan.
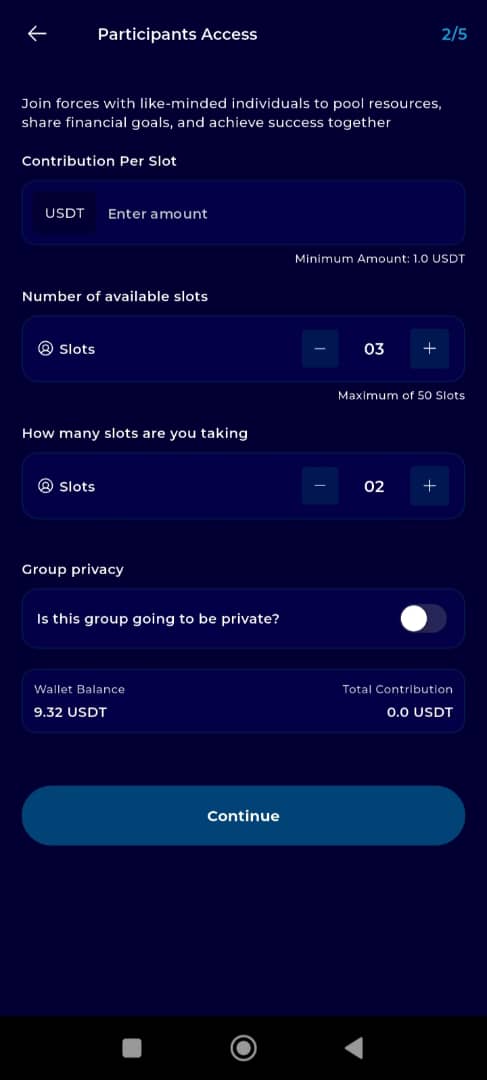
Step 13: Enter Group Savings Details
- Contribution per slot: Enter the amount each participant must contribute. The minimum contribution is N4,000. Higher amounts can be set but will apply to all group members.
Number of Slots: Specify the number of slots available in the group. A minimum of 2 slots and a maximum of 50 slots are allowed.
Slots You Are Taking: Indicate how many slots you will personally occupy once the group is created.
Group Privacy Settings: Toggle the privacy button on for a private group or off for a public group.
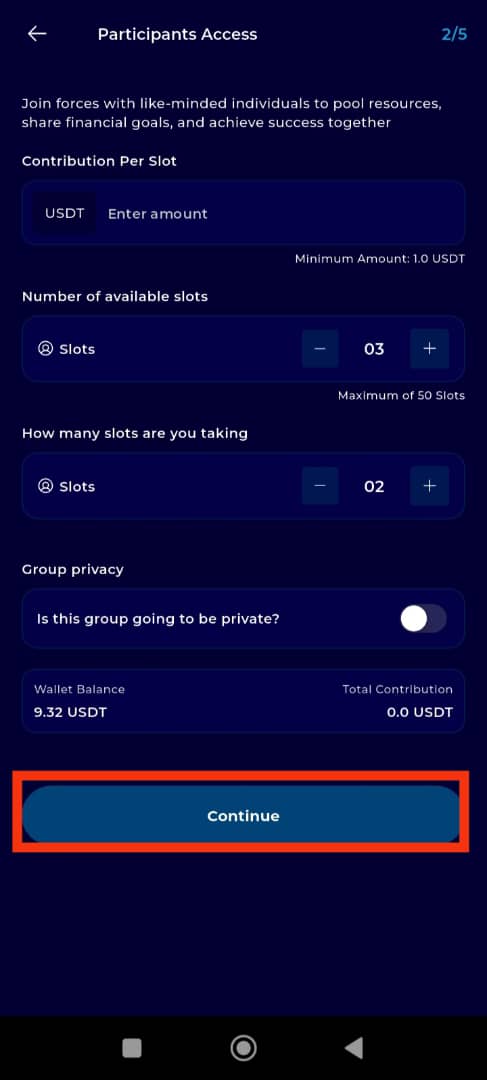
Step 14: Click on Continue
Tap Continue to move forward in setting up your savings plan.
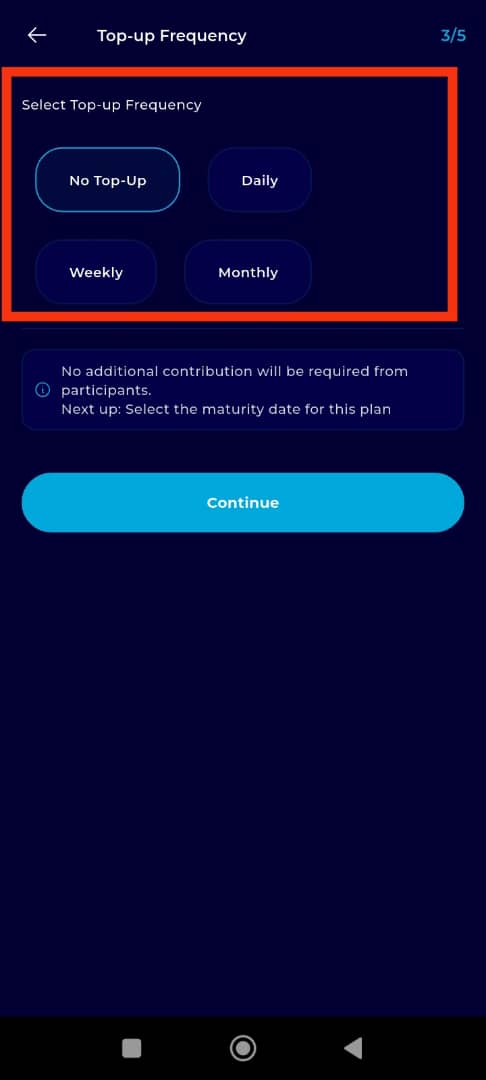
Step 15: Select the Top-Up Frequency
Choose a preferred top-up frequency based on how often members should contribute additional savings:
No Top-Up: No additional deposits after the initial contribution.
Daily: Members contribute daily.
Weekly: Members contribute weekly.
Monthly: Members contribute once a month.
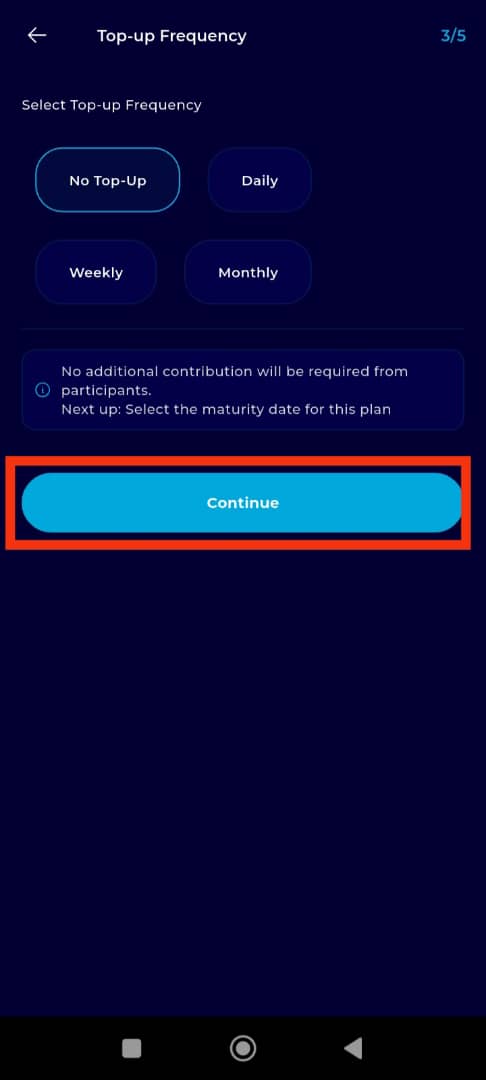
Step 16: Click on Continue
Proceed by tapping Continue after selecting the top-up frequency.
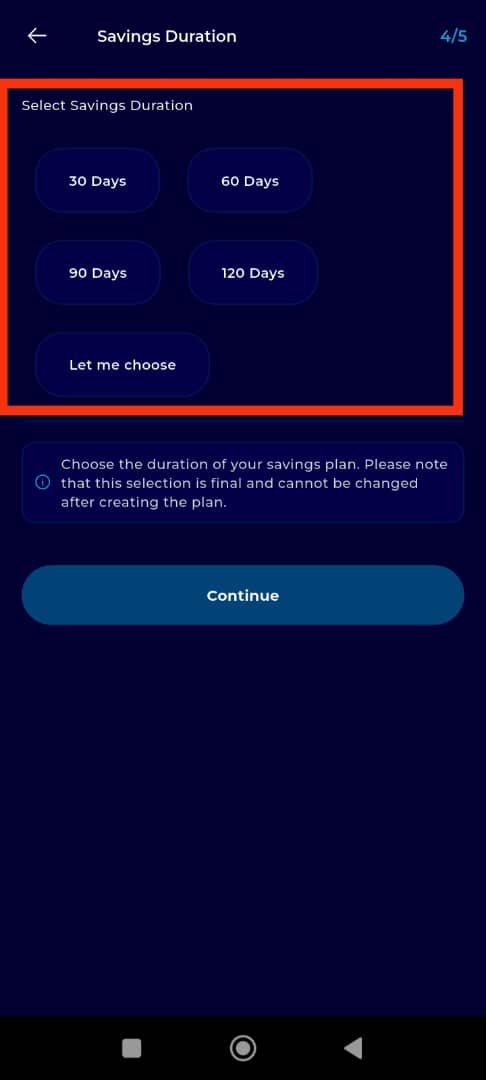
Step 17: Select the Savings Duration
Choose the duration for which the savings will be locked:
30 Days: Funds are locked for one month.
60 Days: Savings remain locked for two months.
90 Days: A three-month savings period.
120 Days: A four-month savings duration.
Let Me Choose: This option allows you to set a custom maturity date for your savings plan.
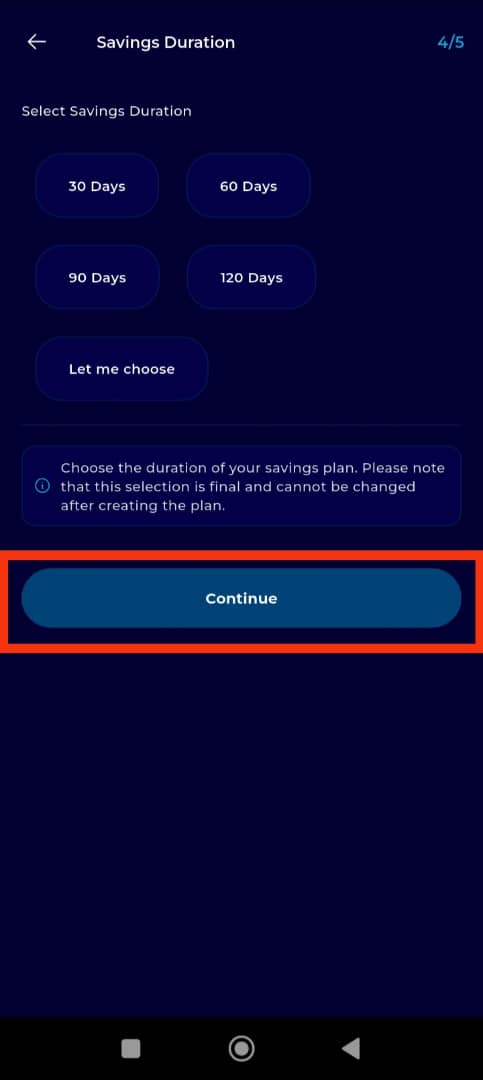
Step 18: Click on Continue
Tap Continue to proceed to the activation details.
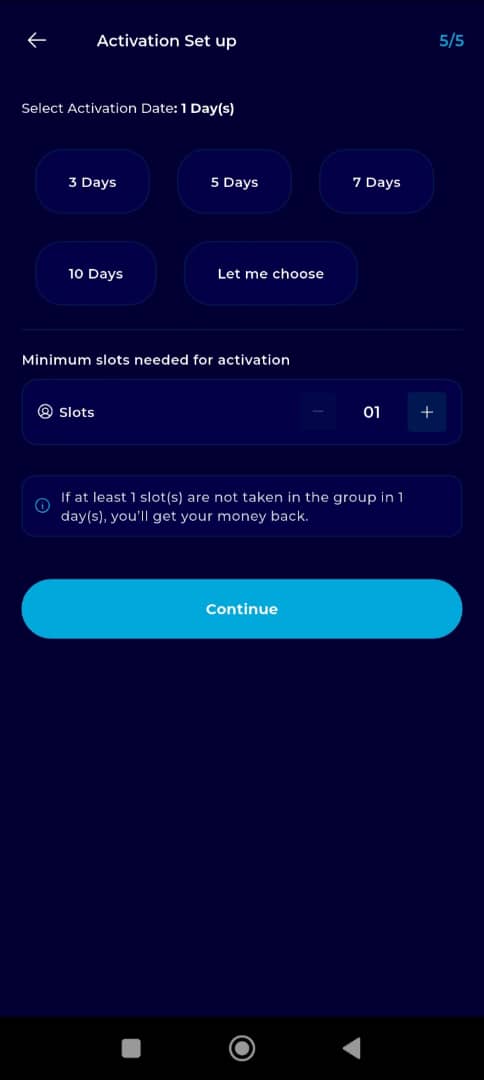
Step 19: Set the Activation Requirements
- Activation Date: This is the date when the group savings plan officially begins.
Minimum Slots for Activation: Set the minimum number of slots required for the group savings to be activated. If the group does not meet this threshold, all participants will receive refunds within the specified activation period.
Step 20: Click on Submit
Tap Submit to finalize and create your group savings plan.

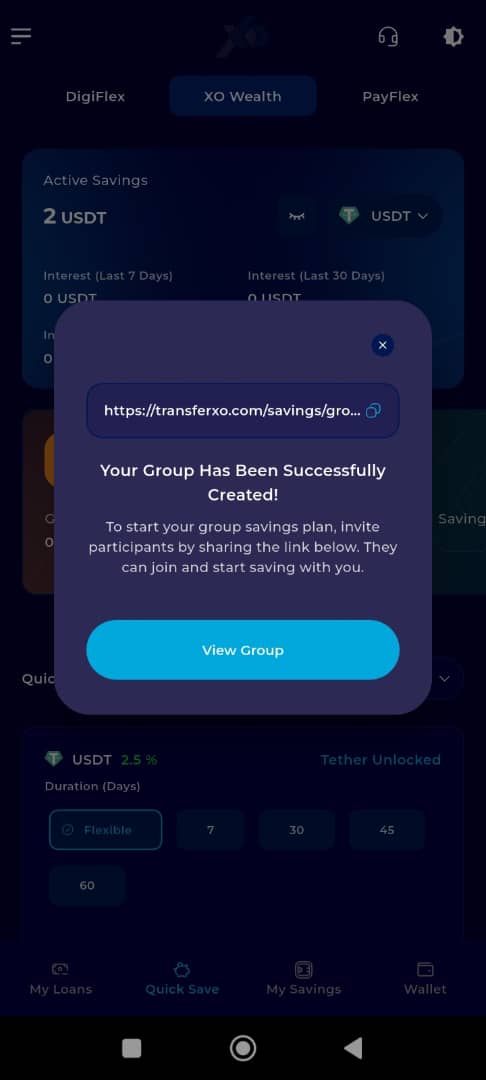
Confirmation and Next Steps
Congratulations! Your Group Savings Plan has been successfully created. You can now:
Click the Copy button in front of the group link to share it with friends and invite them to join.
Click on View Group to check the details of your savings plan.
Starting a Group Savings Plan on TransferXO is a straightforward and collaborative way to achieve your savings goals with others. Follow these steps carefully to create and manage your group savings effectively. For additional support, visit the TransferXO help center or contact customer service.