

Funding your virtual card on the TransferXO mobile app allows you to make secure, global payments using either fiat or cryptocurrency. This guide outlines each step to ensure your card is funded smoothly and ready for use across various platforms.
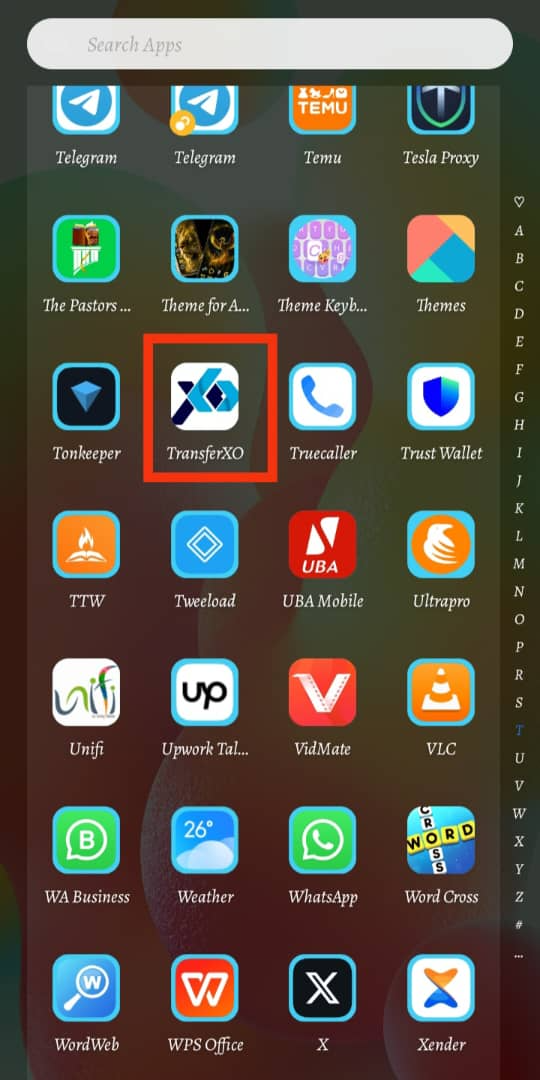
Step 1: Open the TransferXO Mobile App
Locate the TransferXO app on your mobile device and tap on it to launch the application.
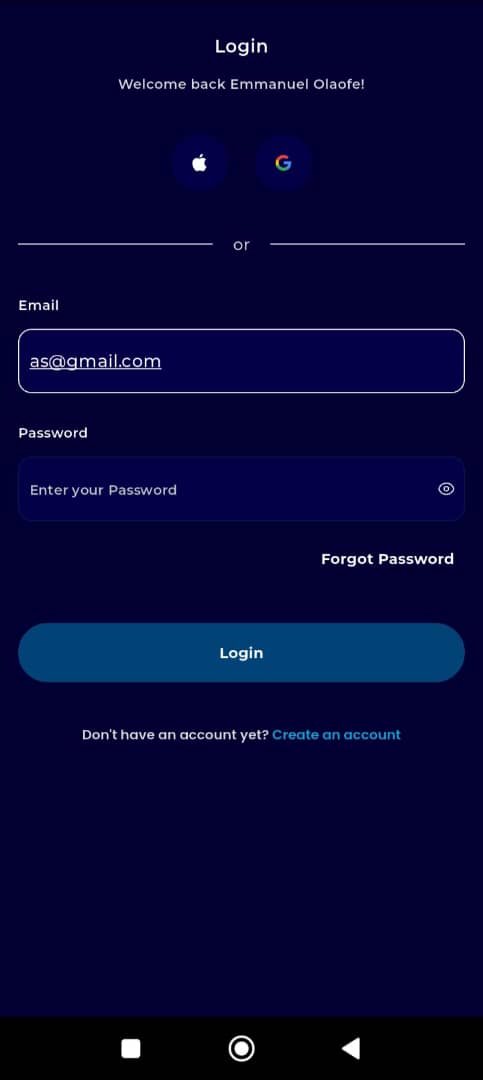
Step 2: Enter Your Login Details
On the login screen, input your email and password in the designated fields. Ensure that the credentials entered match those used during account registration.
Alternatively, if you signed up using Gmail or Apple ID, you can select the corresponding option at the top of the login page to proceed with authentication.
Important Note: If you do not have an account yet, you must create one before logging in. Refer to the How to Create an Account on TransferXO guide for assistance.
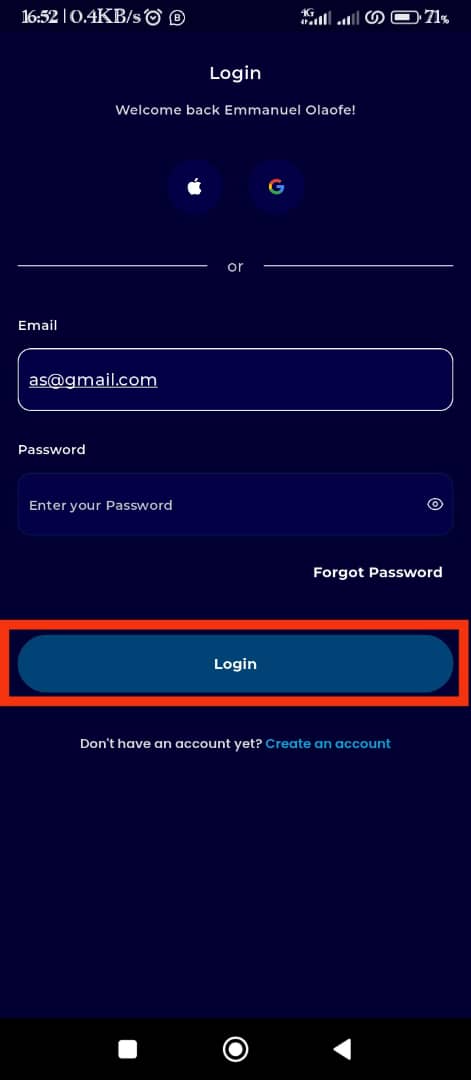
Step 3: Click on Login
Once your details are entered correctly, tap on the Login button to proceed.
If your credentials are valid, the system will authenticate your details, granting you access to your TransferXO dashboard.
Step 4: Access the Dashboard
Upon successful login, you will be directed to your homepage, also known as the Dashboard.
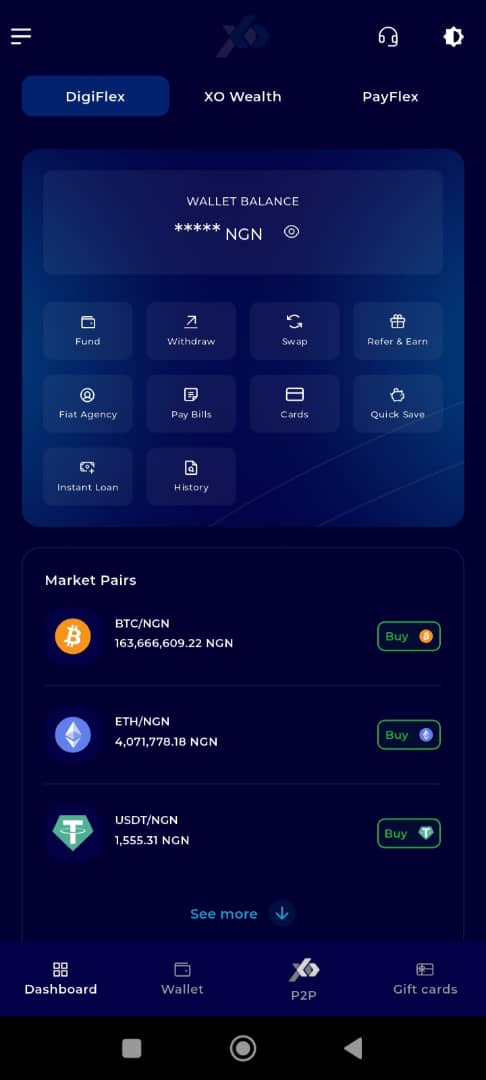
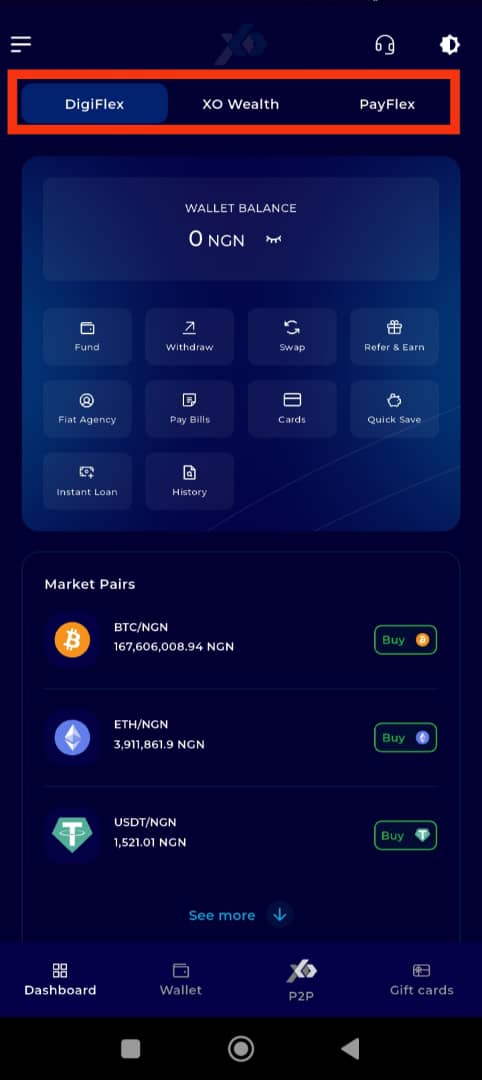
Step 5: Locate the Key Offering Panel
At the top of the screen, to the left of the TransferXO logo, locate the Key Offering buttons. These provide quick access to various services on the platform.
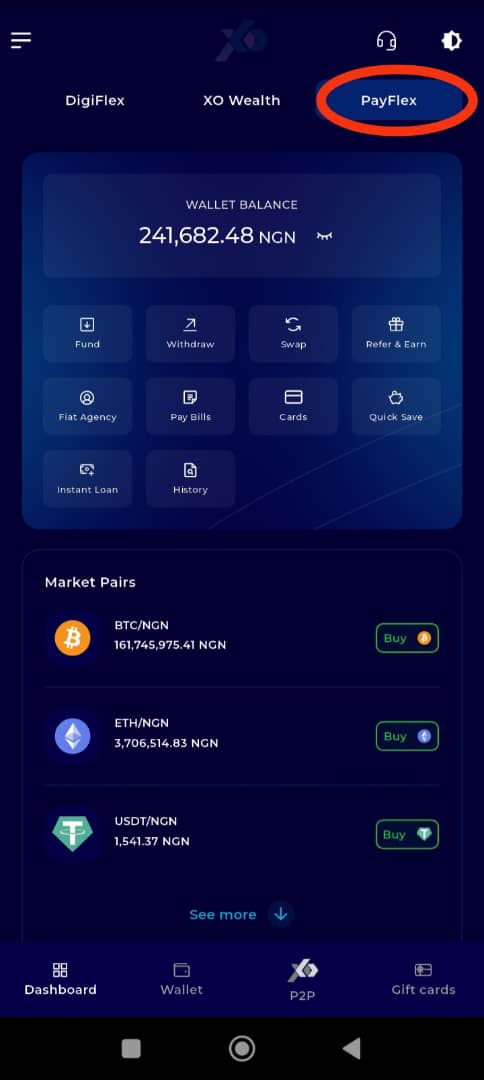
Step 6: Click on Payflex
From the Key Offerings panel, locate and click on Payflex to proceed to the payment services section.
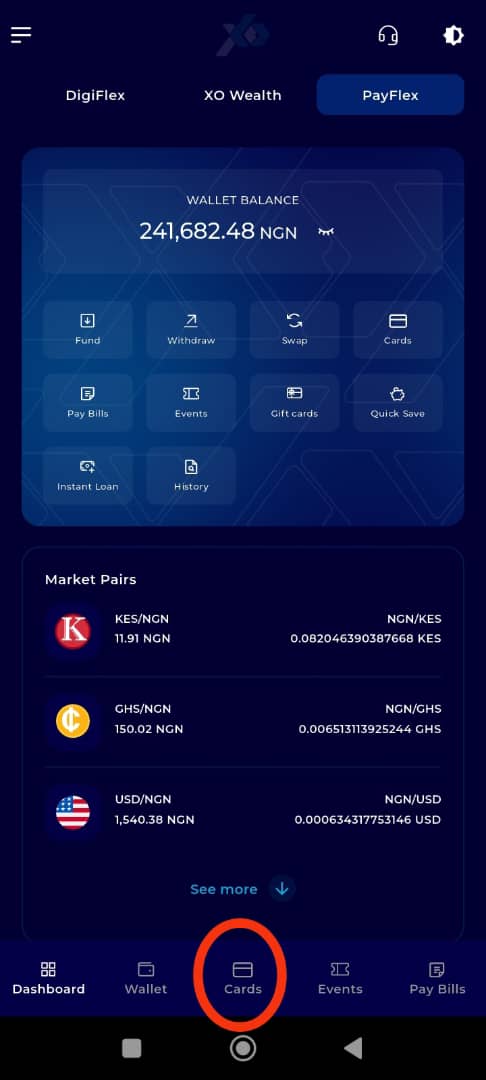
Step 7: Click on Cards
By default, the landing page for the Payflex section is the Cards interface. However, if it does not automatically open, tap on the Cards tab at the bottom of the screen (middle tab) to access it.
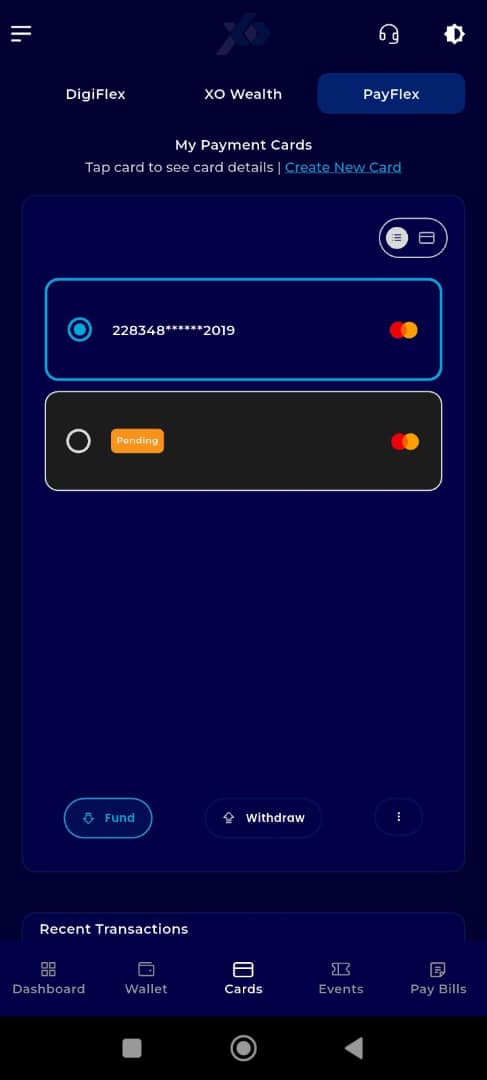
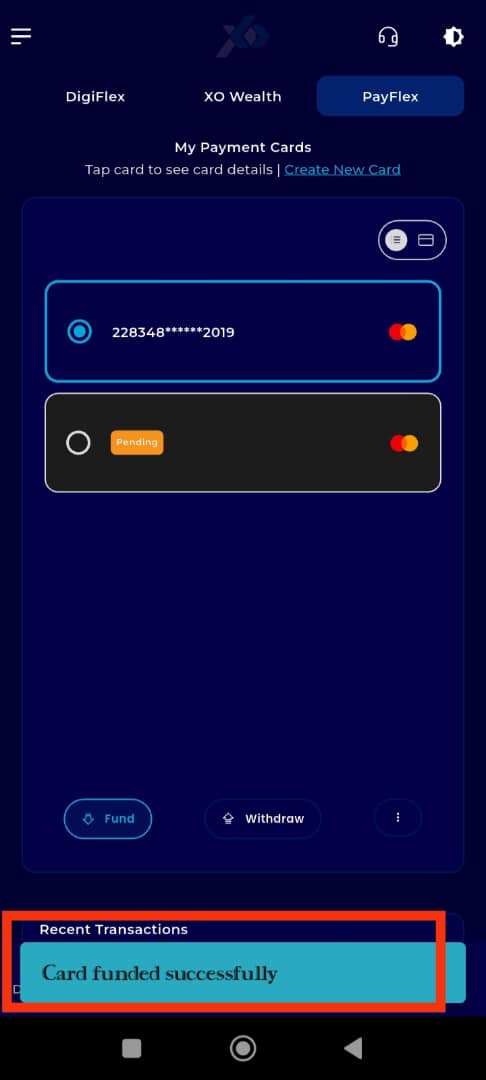
Step 8: Select a Virtual Card to Fund
Select the virtual card you want to fund from the Virtual Cards interface.
Important Note: Only active cards can be funded. If your card is still pending, you must wait until it is approved before proceeding.
Step 9: Initiate Funding
Locate the virtual card you wish to fund and tap on Fund. This button is displayed prominently within the card details panel. Ensure that you have sufficient balance in your selected wallet before proceeding.

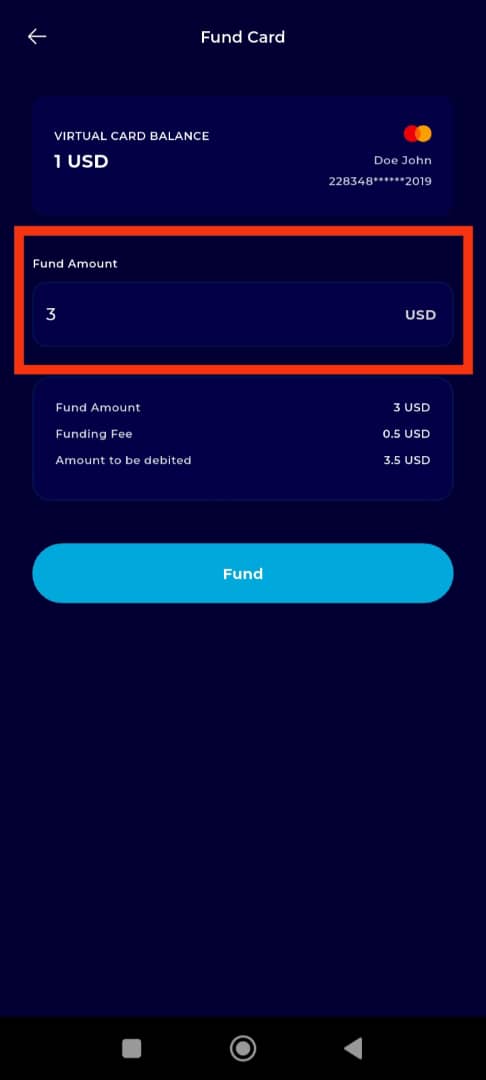
Step 10: Enter Funding Details
Enter the amount you want to fund your virtual card with.
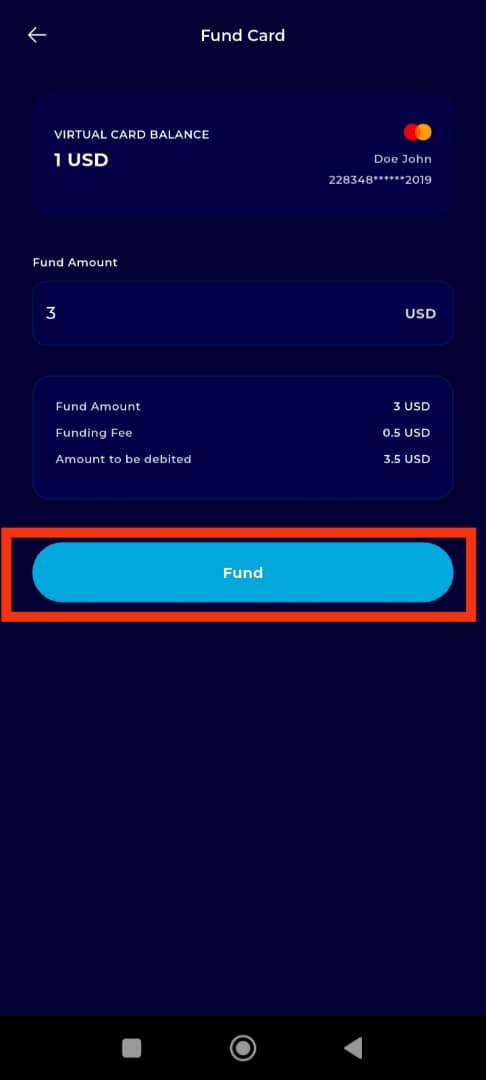
Step 11: Click on Fund
After entering the required details, tap Fund to proceed.
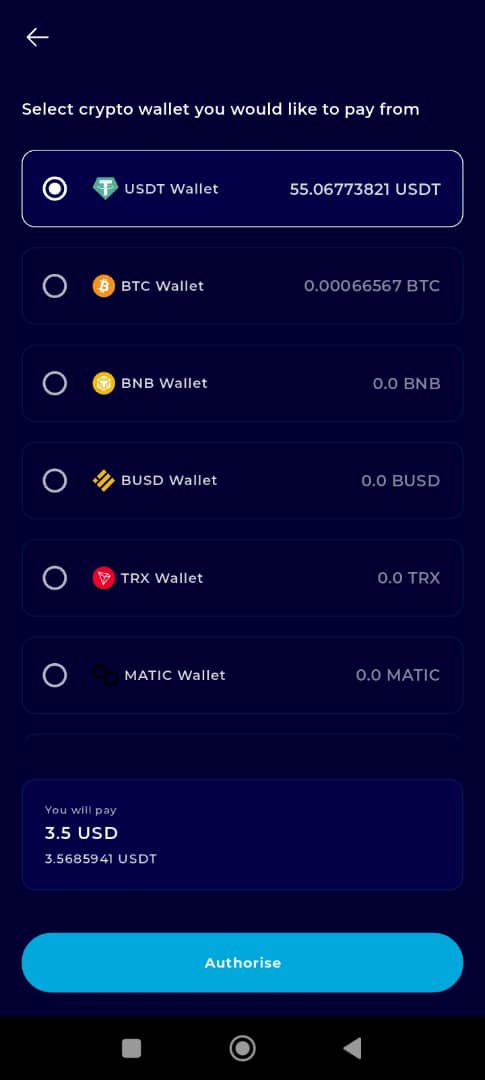
Step 12: Select the Wallet
Select the wallet you will use for payment. You can choose between a fiat wallet or a crypto wallet.

Step 13: Select the Asset for Payment
From the chosen wallet, select the asset (e.g., USD, BTC, USDT) you want to use for the transaction.
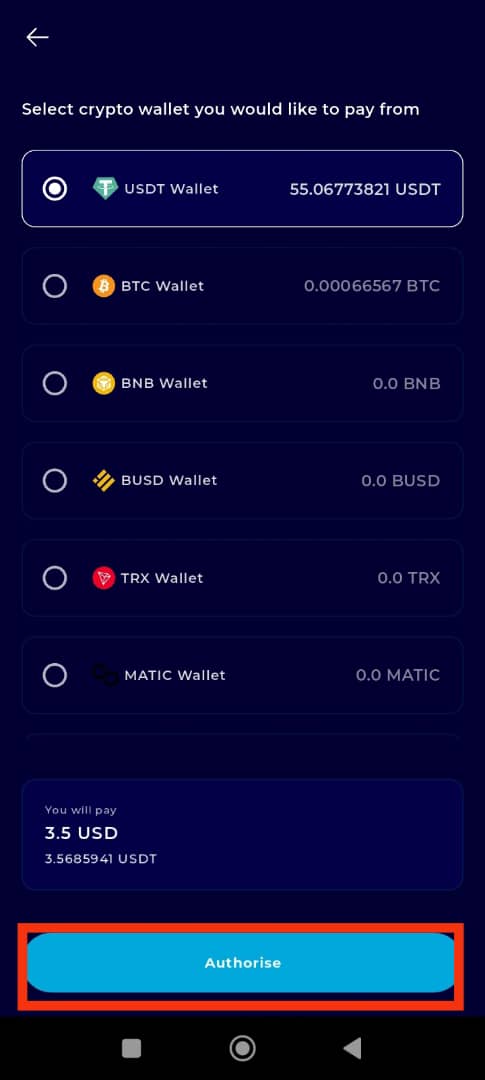
Step 14: Authorize the Transaction
Tap Authorise to proceed with the funding process.
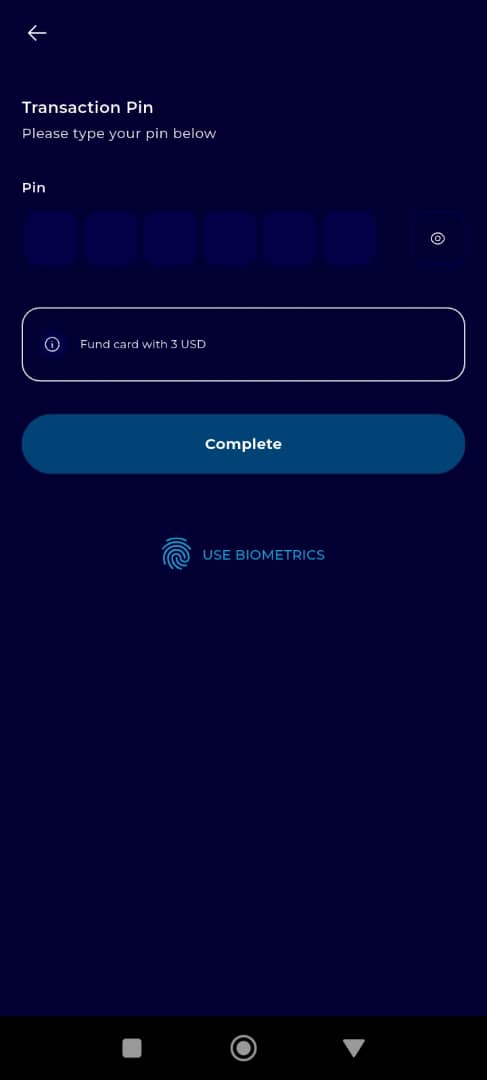
Step 15: Enter Your Transaction PIN
Input your 6-digit transaction PIN. If biometric authentication is enabled on your device, you may use it instead.
Check the box confirming all transaction details are accurate before proceeding.
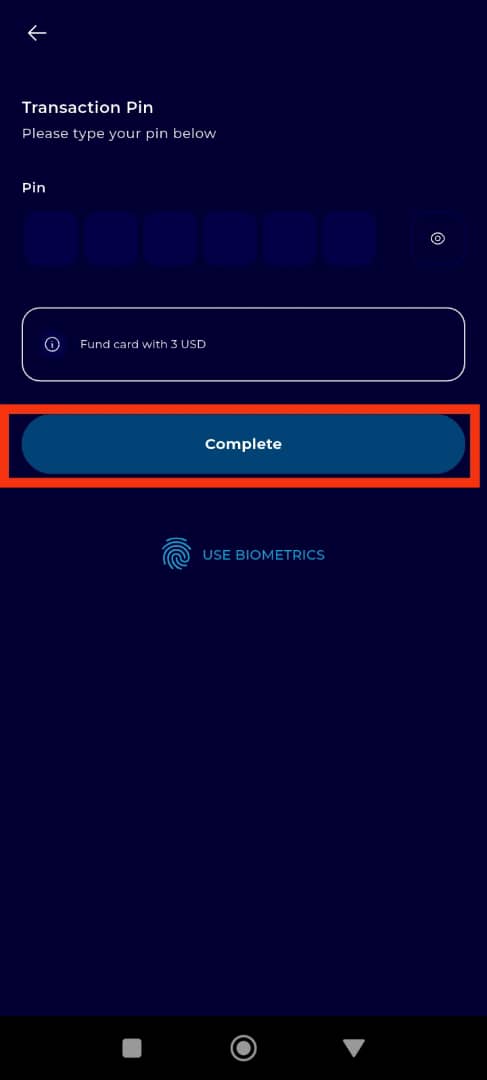
Step 16: Click on Complete
Tap Complete to move to the next step.
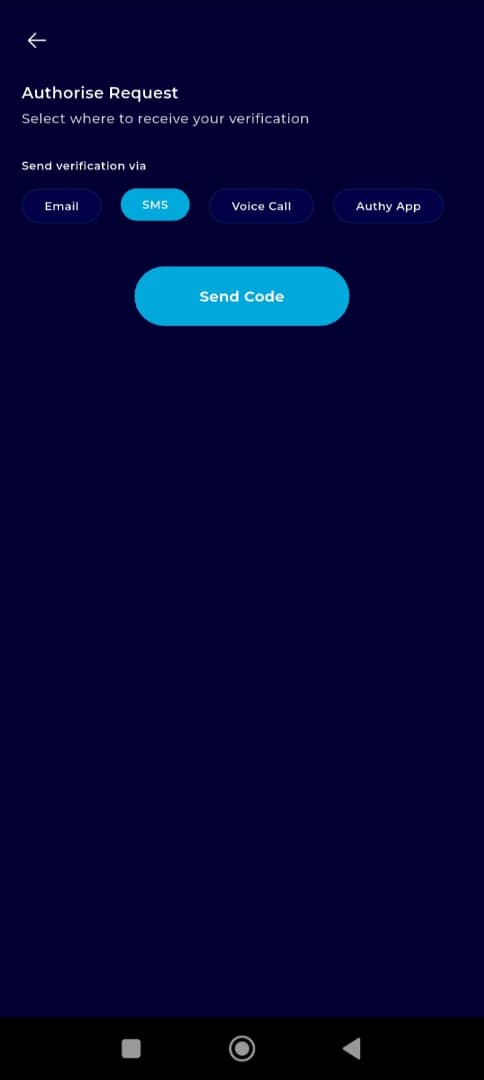
Step 17: Choose Your Preferred Authentication Method
Select how you'd like to receive the verification code—via email, SMS, or another available method.
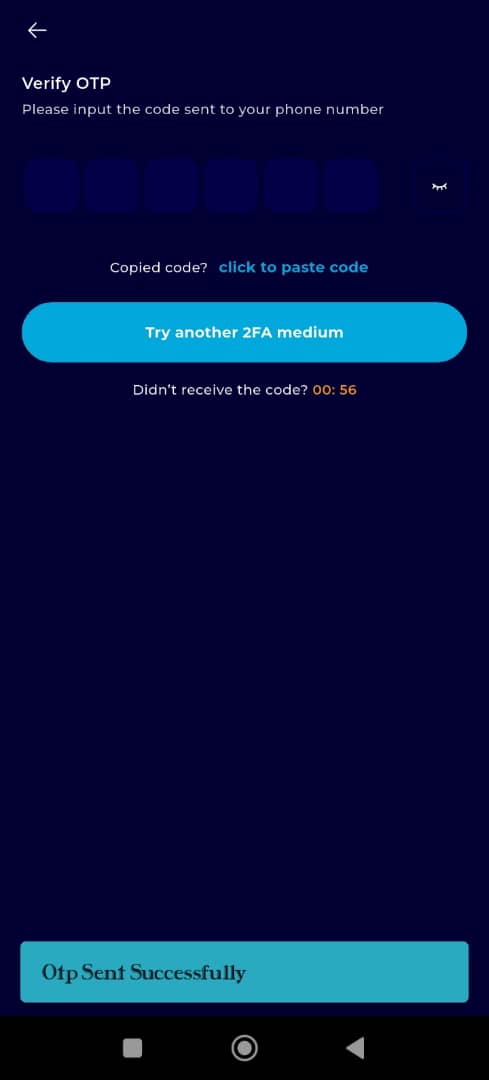
Step 18: Enter the Verification Code
Input the verification code received to confirm and complete the funding process.
Completion and Next Steps
Congratulations! You have successfully funded your TransferXO virtual card.
You can now use your virtual card to make payments and carry out transactions seamlessly on various platforms.
Funding your virtual card on TransferXO is a straightforward process designed to give you financial flexibility using either fiat or crypto. For more tutorials and step-by-step instructions, visit the TransferXO Help Center or explore related topics in this knowledge base.