

This article explains how to upgrade your TransferXO account to Tier 2 on the mobile app. Tier 2 verification increases your buy and withdrawal limits and enhances your account’s credibility and security. The process involves completing a KYC (Know Your Customer) form and verifying your identity through biometric and document checks.
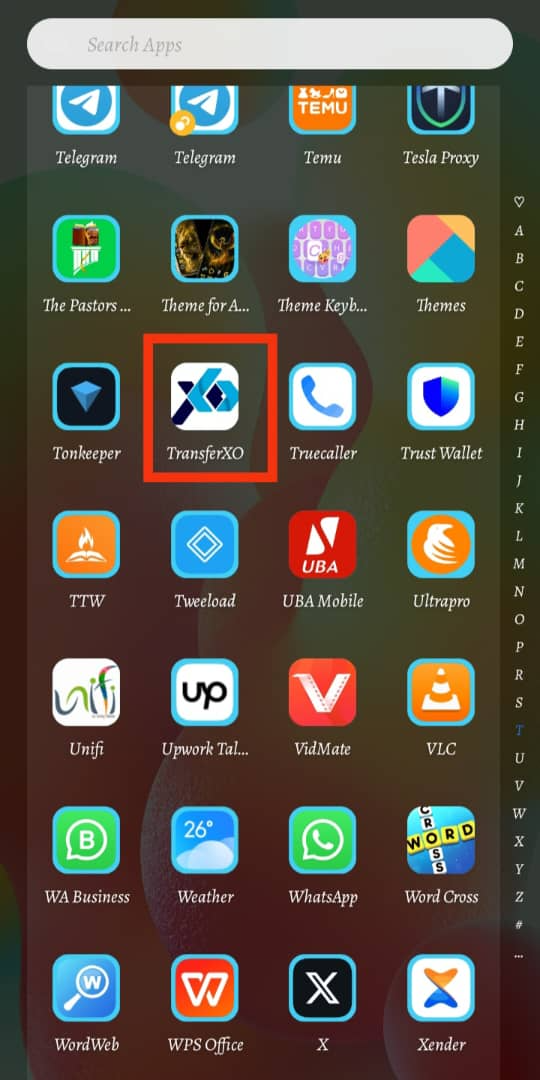
Step 1: Open the TransferXO Mobile App
Locate the TransferXO app on your mobile device and tap on it to launch the application.
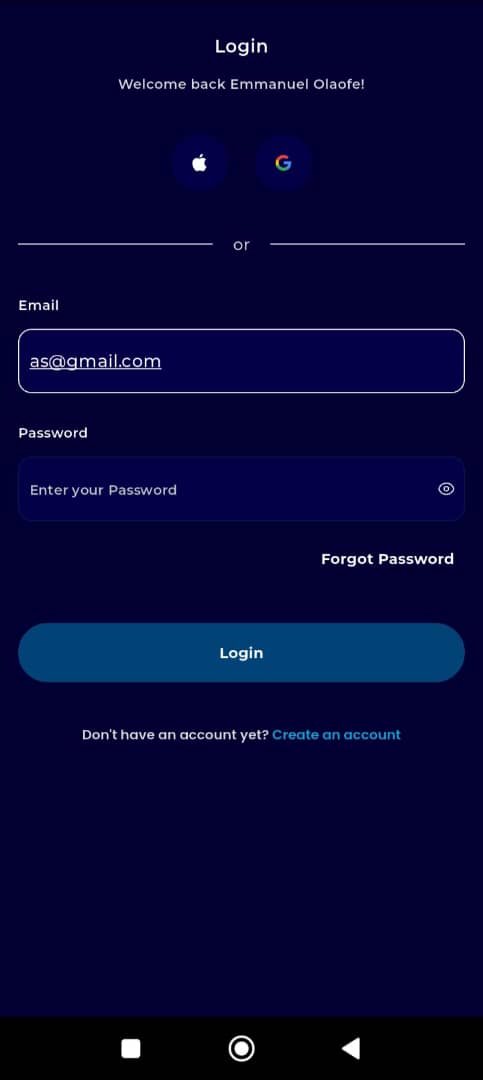
Step 2: Enter Your Login Details
On the login screen, input your email and password in the designated fields. Ensure that the credentials entered match those used during account registration.
Alternatively, if you signed up using Gmail or Apple ID, you can select the corresponding option at the top of the login page to proceed with authentication.
Important Note: If you do not have an account yet, you must create one before logging in. Refer to the How to Create an Account on TransferXO guide for assistance.
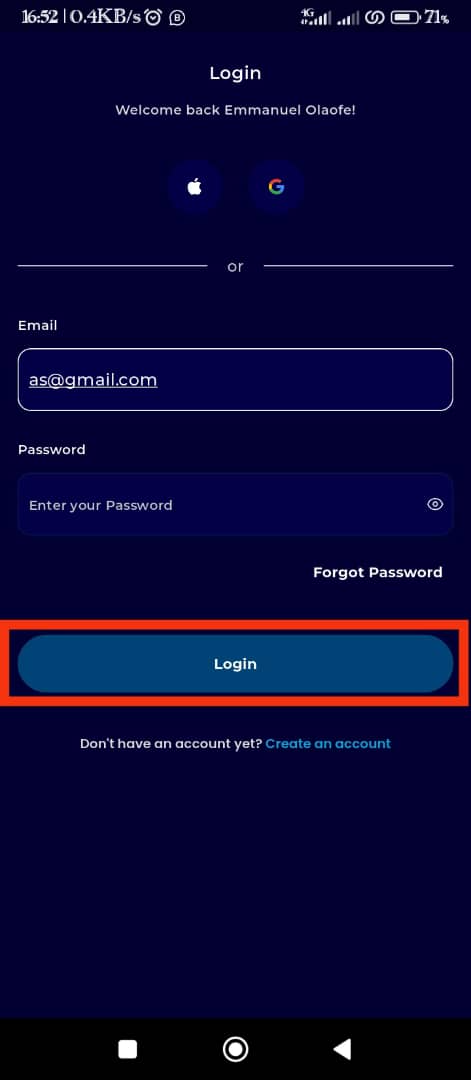
Step 3: Click on Login
Once your details are entered correctly, tap on the Login button to proceed.
If your credentials are valid, the system will authenticate your details, granting you access to your TransferXO dashboard.
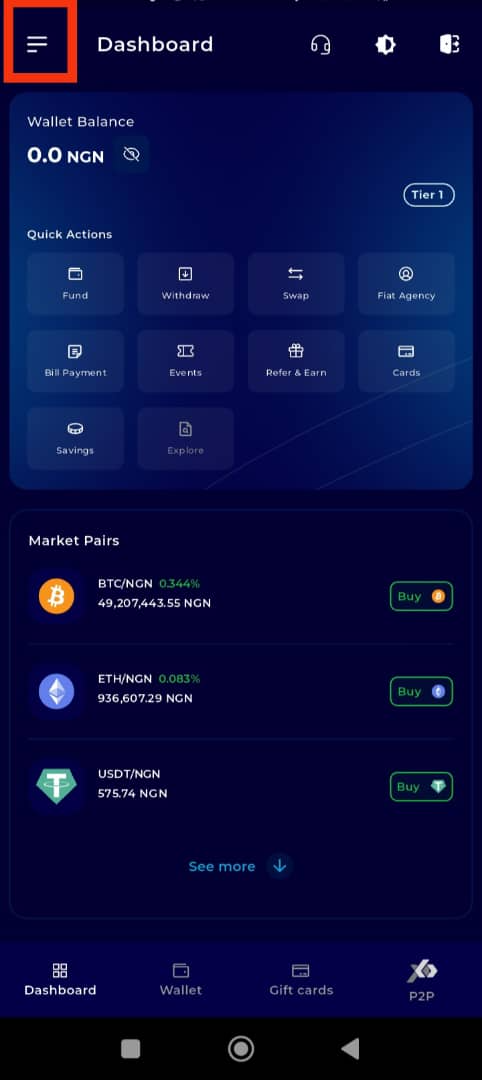
Step 4: Open the Menu
Once on your dashboard, locate the three horizontal lines (Menu button) at the top-left corner of the screen and tap on it to open the menu.
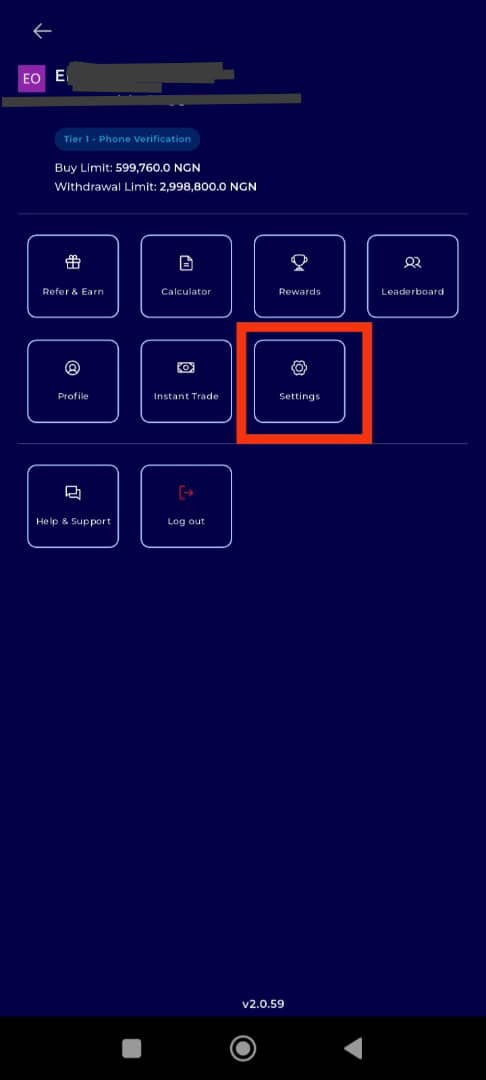
Step 5: Navigate to Settings
From the list of menu options, tap on Settings.
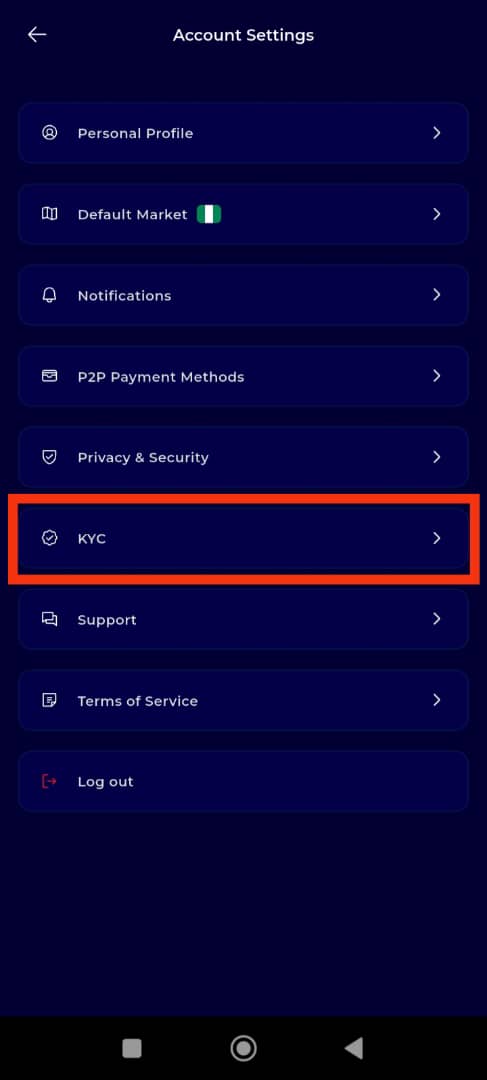
Step 6: Navigate to KYC
Under Account Settings, select KYC.
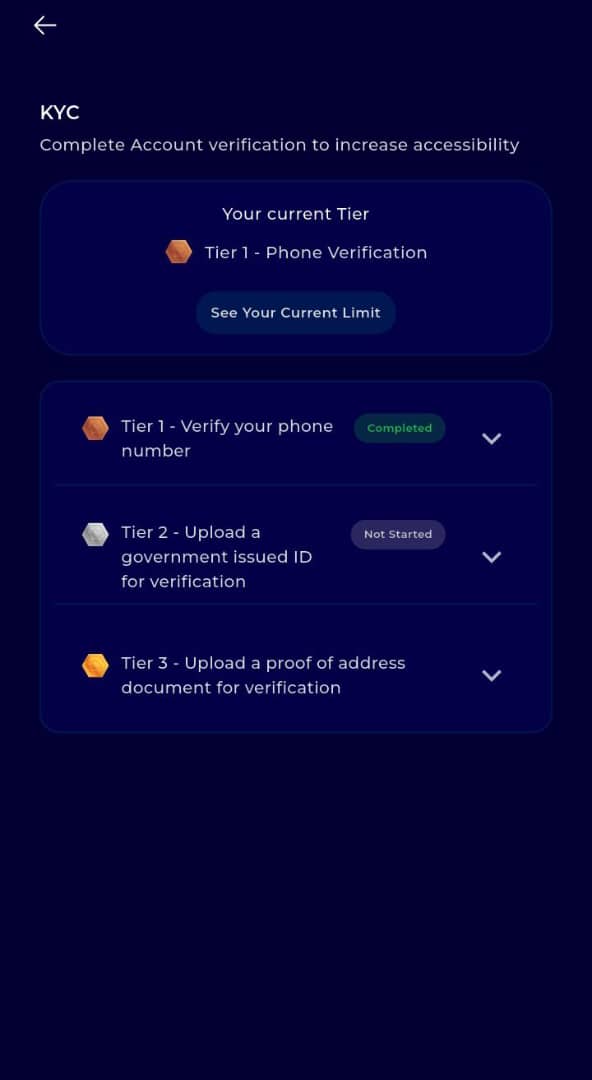
Step 7: Complete Tier 2 KYC
To increase your transaction limits, proceed to complete your Tier 2 KYC level. Tap on Tier 2 – ID Verification
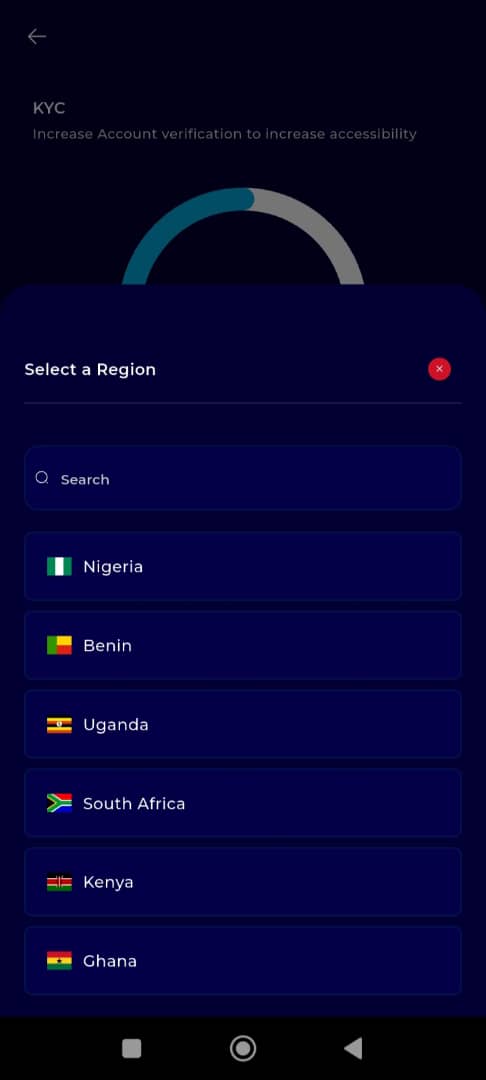
 8: Select Your Region (Country)
Choose your region (country). Make sure this matches the country that issued the verification document you plan to use for this stage.
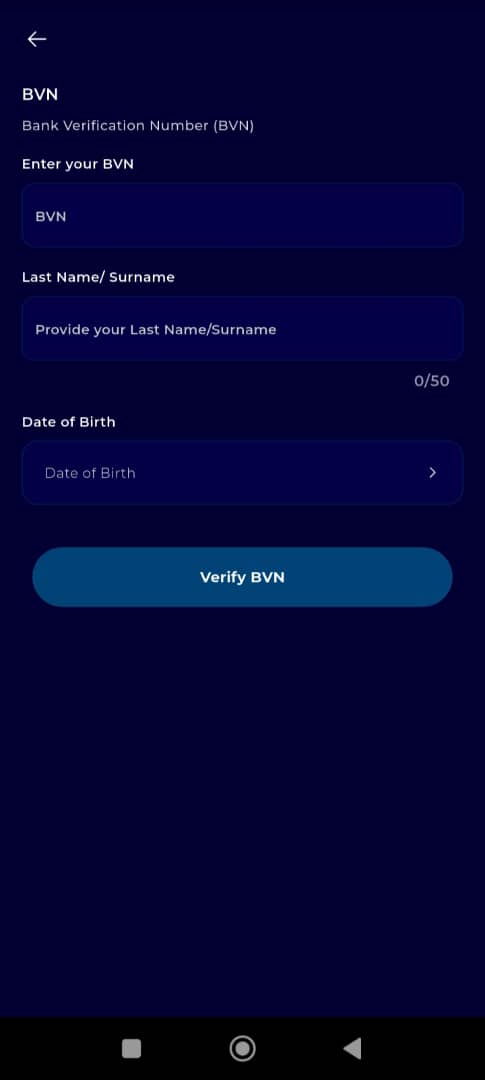
Step 9: Fill in Bank Verification Information
Fill out the form provided by entering the following details:
BVN number
Last Name/Surname
Date of Birth
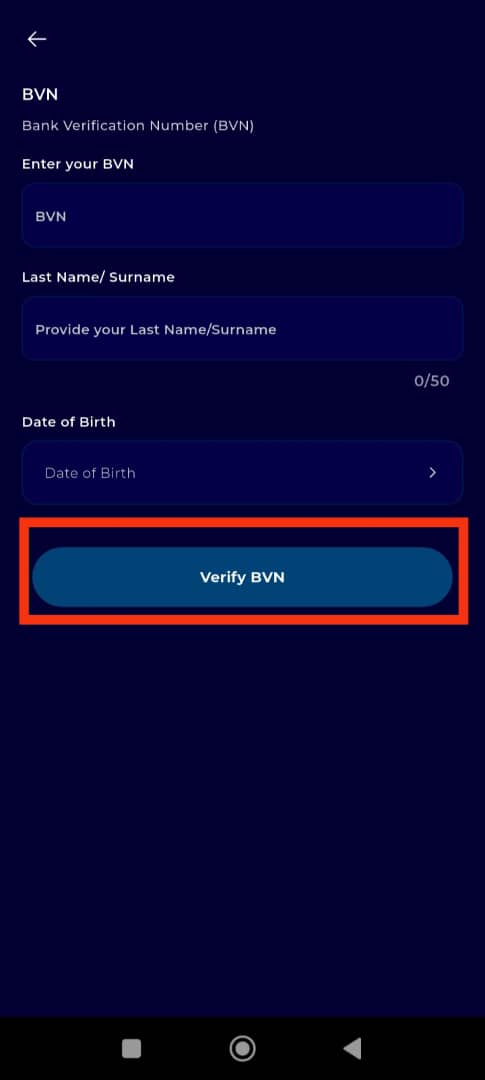
Step 10: Proceed to Next Step
Once you have filled in the required information, click on Verify BVN to continue.
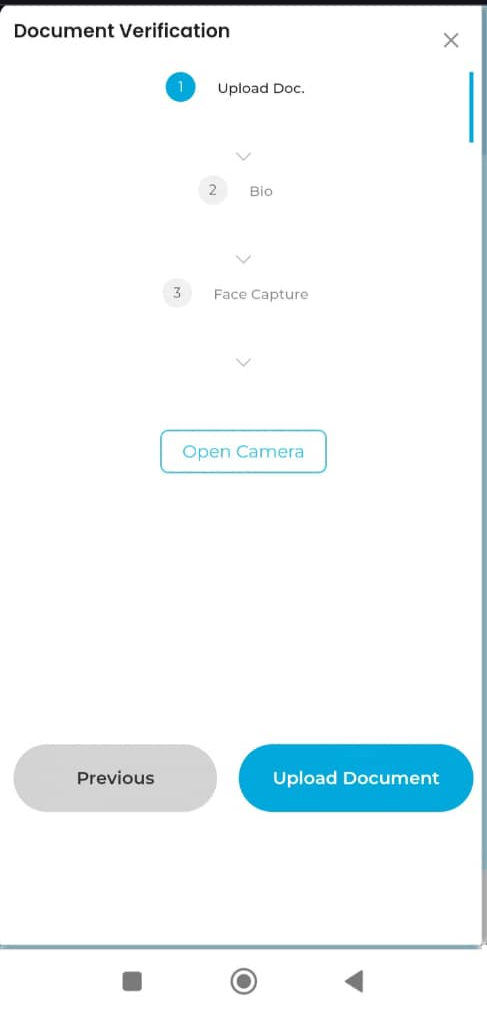
Step 11: Upload Face Capture
On the Face Capture page, upload a selfie of yourself. Click on Open Camera to take and submit a quick selfie.
Note: You must take a live selfie using your camera. Uploading a stored image from your device is not allowed and will prevent you from proceeding. This step is essential for verifying the identity of the person behind each TransferXO account.
Step 12: Wait for Verification and Validation
After completing the selfie upload, wait for the system to verify and validate your submission.
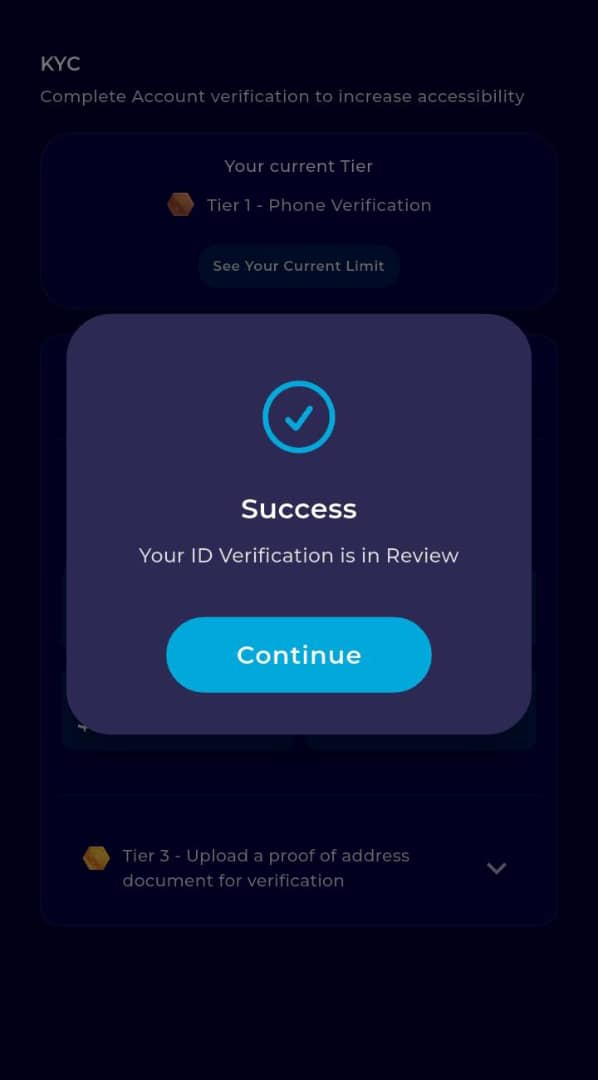
Note: This verification process takes just minutes to be processed.
Upgrading your TransferXO account to Tier 2 allows for higher transaction limits and adds an extra layer of security to your account. If you encounter any issues during the process, reach out to our support team through the in-app help center for further assistance.