

TransferXO provides users with the flexibility to move their digital assets from the in-app wallet to any external wallet address through secure blockchain networks. This guide walks you through each step required to send cryptocurrency from your TransferXO wallet to an external wallet using the mobile app.
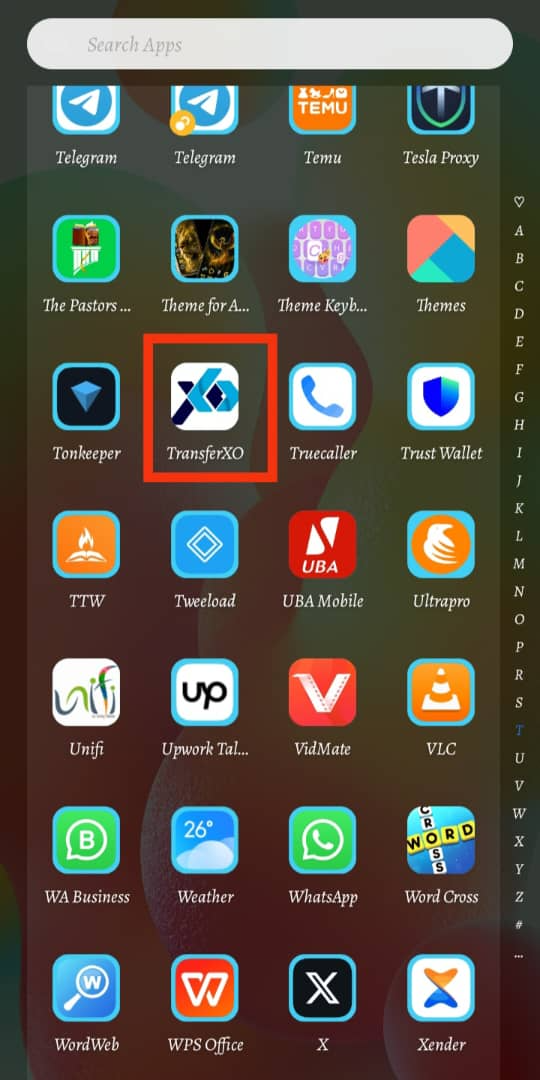
Step 1: Open the TransferXO Mobile App
Locate the TransferXO app on your mobile device and tap on it to launch the application.
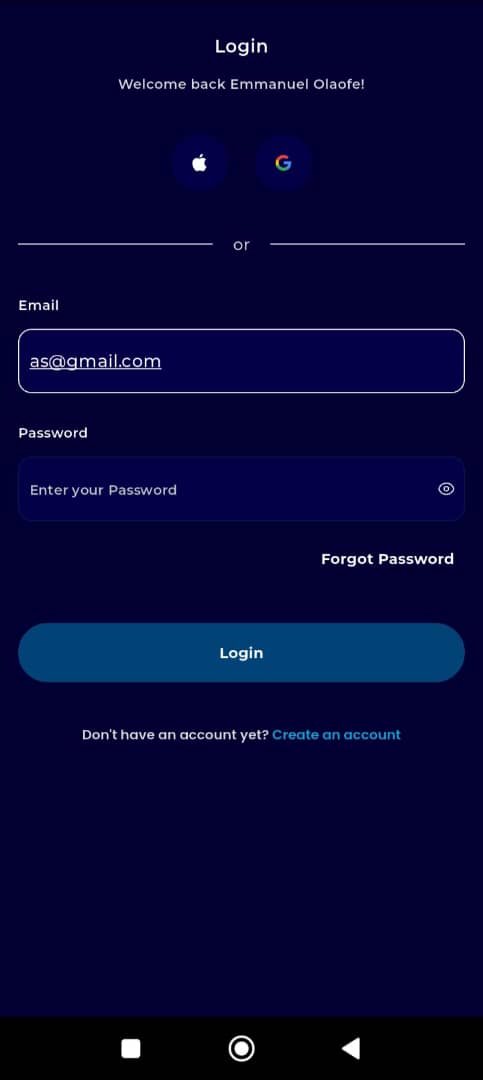
Step 2: Enter Your Login Details
On the login screen, input your email and password in the designated fields. Ensure that the credentials entered match those used during account registration.
Alternatively, if you signed up using Gmail or Apple ID, you can select the corresponding option at the top of the login page to proceed with authentication.
Important Note: If you do not have an account yet, you must create one before logging in. Refer to the How to Create an Account on TransferXO guide for assistance.
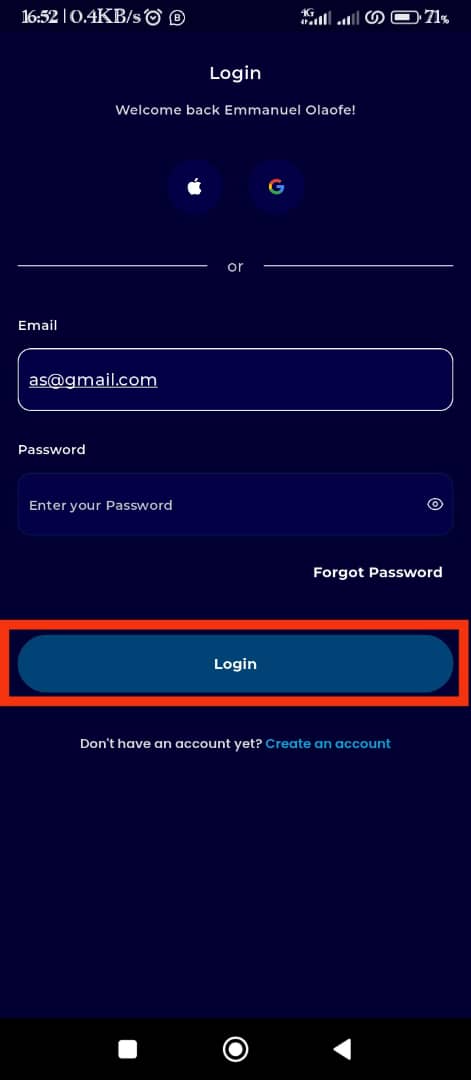
Step 3: Click on Login
Once your details are entered correctly, tap on the Login button to proceed.
If your credentials are valid, the system will authenticate your details, granting you access to your TransferXO dashboard.
Step 4: Access the Dashboard
Upon successful login, you will be directed to your homepage, also known as the Dashboard.

Step 5: Navigate to the Wallet Tab
On the bottom navigation bar, tap the Wallet tab. This is located at the lower part of your screen, just to the right of the Dashboard icon.
You will be redirected to your wallet overview page, where your current balances are displayed.

Step 6: Initiate the Withdrawal
While on the wallet page, tap the Withdraw button to begin the process of sending funds to an external wallet.

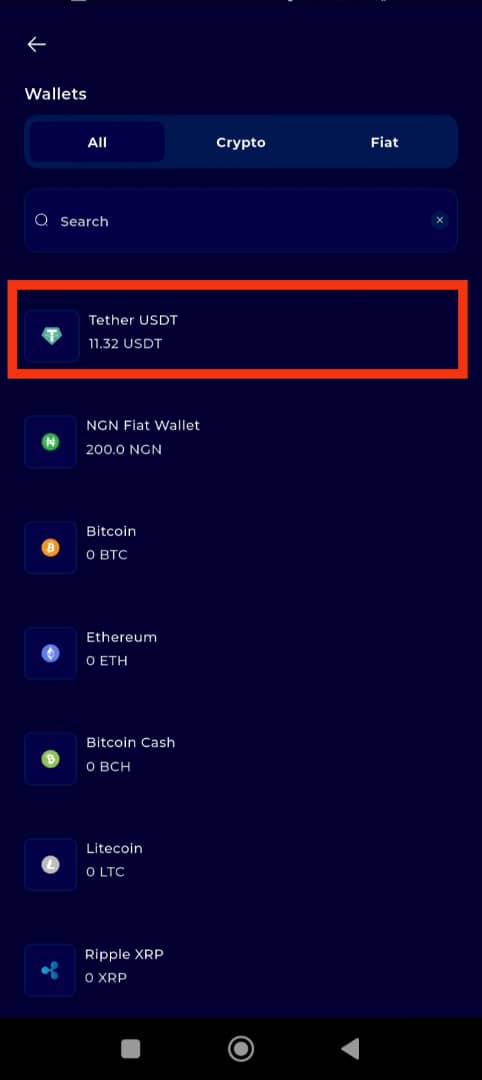
Step 7: Select the Specific Asset
Choose the specific cryptocurrency asset you wish to withdraw by tapping on it.
For demonstration purposes, we will use Tether (USDT) in this example.
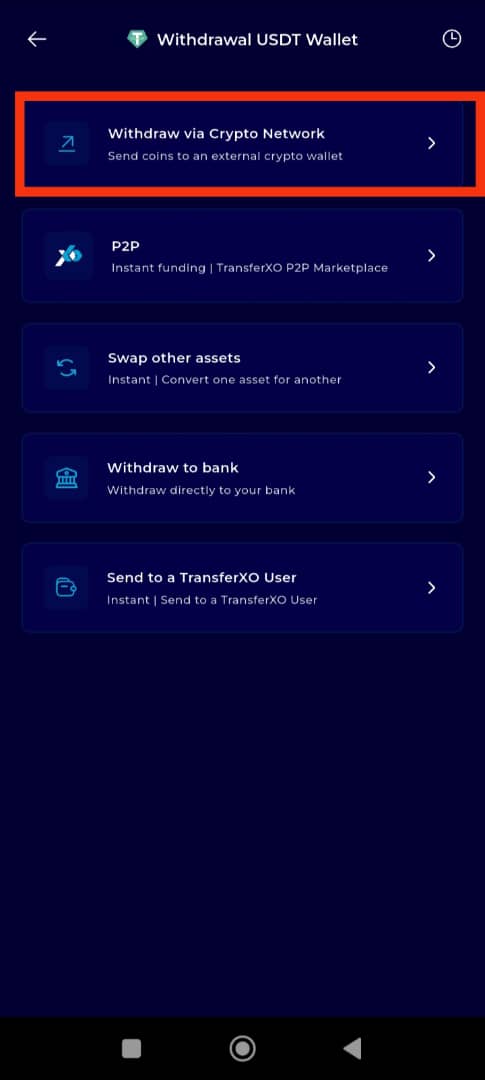
Step 8: Choose Withdrawal Option
When the withdrawal options appear on your screen, tap Withdraw via Crypto Network to proceed with a blockchain-based transaction.
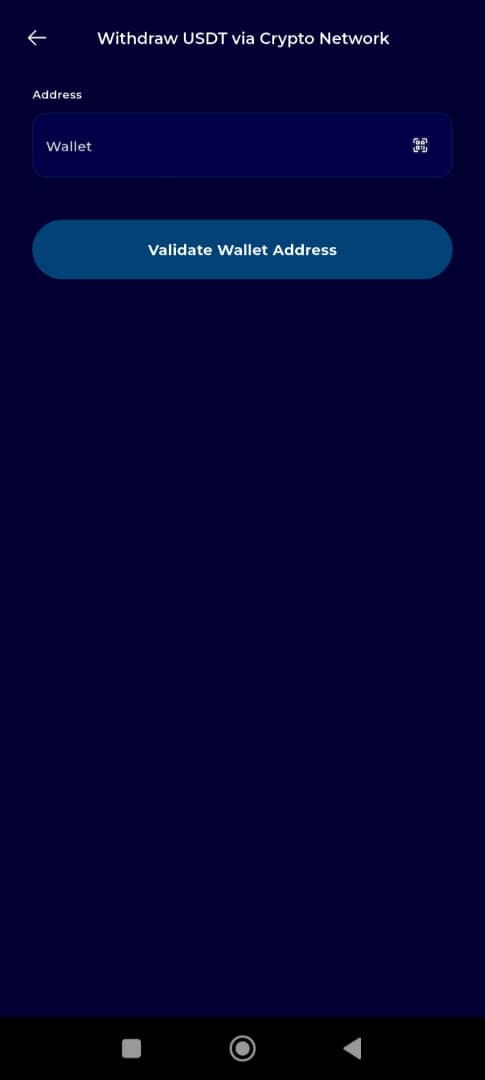
Step 9: Enter the Wallet Address
Paste or manually enter the external wallet address of the recipient into the Wallet address field.
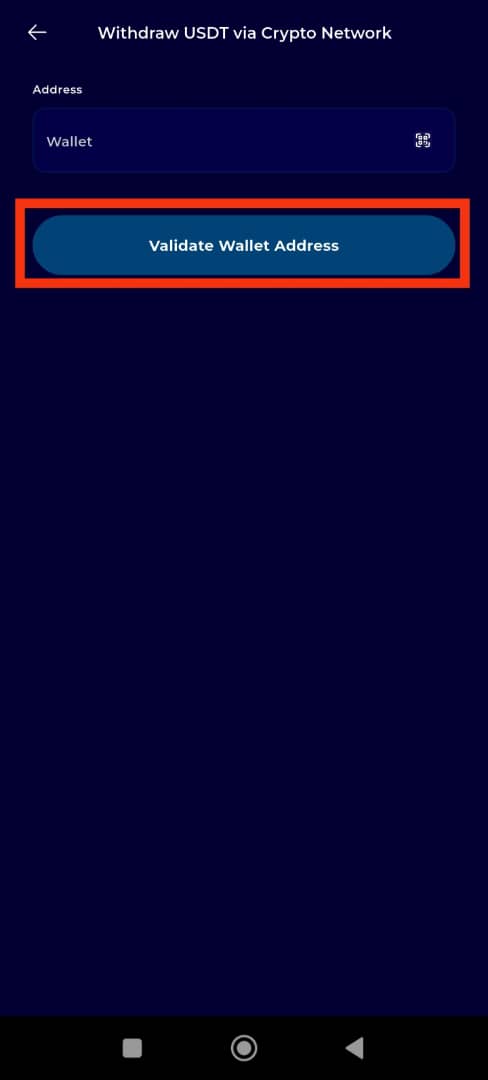
Step 10: Validate the Wallet Address
After entering the recipient’s wallet address, tap Validate wallet address to confirm that the address is valid and properly formatted for the selected network.
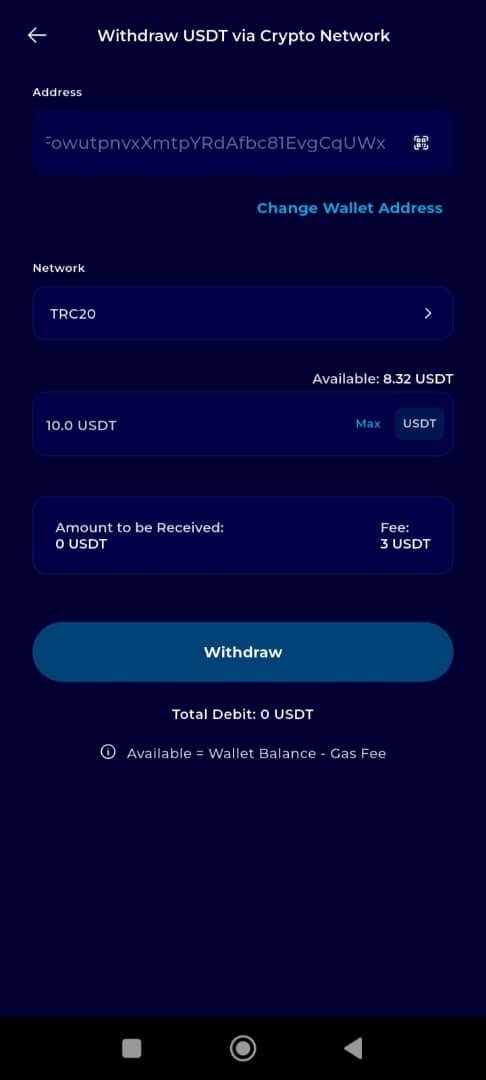
Step 11: Enter Transaction Amount
Type in the amount of cryptocurrency you want to send in the provided field.
Then, tap the Withdraw button to move to the final step of the transaction process.
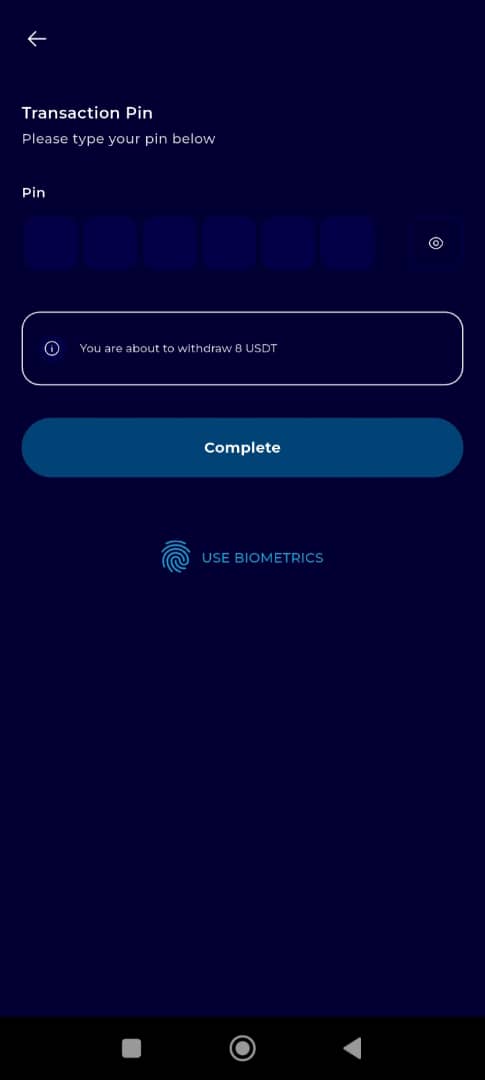
STep 12: Complete the Transaction
To finalize the transfer:
Enter your 6-digit Transaction PIN in the field provided.
Check the confirmation box to authorize the transaction.
Tap Proceed to complete the transaction.
Upon successful processing, your selected asset will be sent to the external wallet address.
Sending funds from your TransferXO wallet to an external wallet is fast, convenient, and secure when you follow the steps outlined in this guide. Be sure to double-check all entered information—especially the wallet address and network—before proceeding with the transaction.
If you encounter any issues or need further clarification, visit the TransferXO Help Centre or contact Customer Support.
TransferXO—taking control of your crypto, made simple.