

The TransferXO mobile app makes it simple for users to receive cryptocurrency from external wallets. Whether you're transferring assets from another crypto exchange or your private wallet, this guide outlines each step you need to follow for a smooth funding experience.
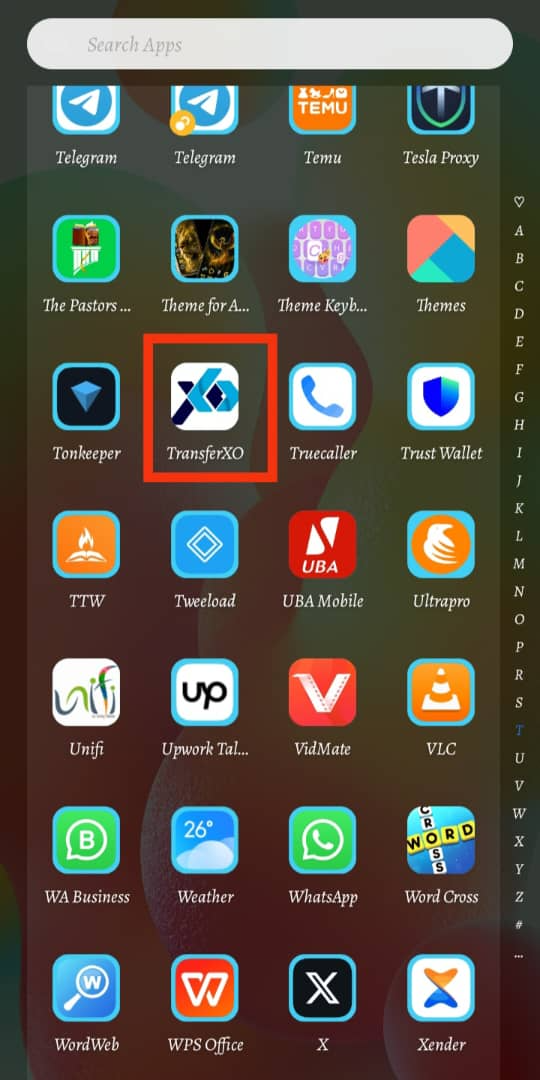
Step 1: Open the TransferXO Mobile App
Locate the TransferXO app on your mobile device and tap on it to launch the application.
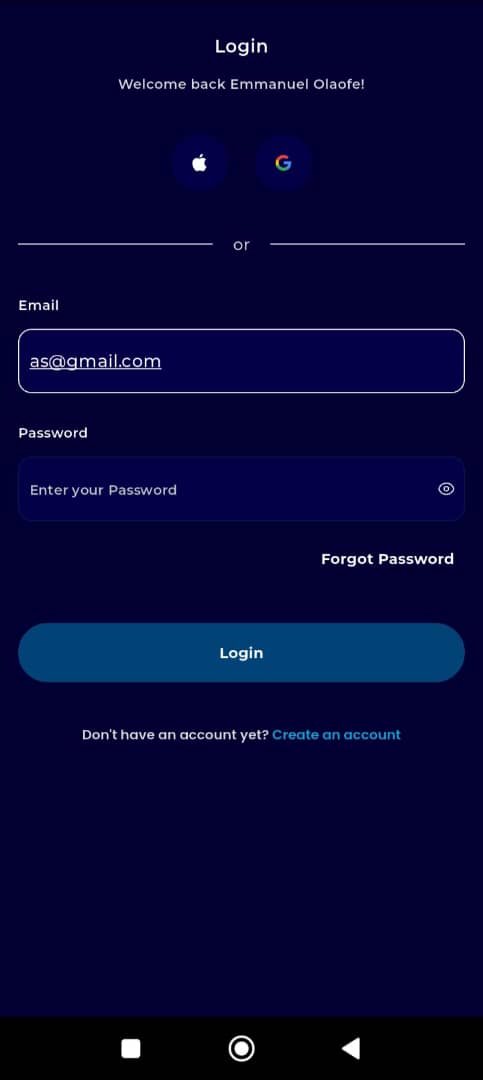
Step 2: Enter Your Login Details
On the login screen, input your email and password in the designated fields. Ensure that the credentials entered match those used during account registration.
Alternatively, if you signed up using Gmail or Apple ID, you can select the corresponding option at the top of the login page to proceed with authentication.
Important Note: If you do not have an account yet, you must create one before logging in. Refer to the How to Create an Account on TransferXO guide for assistance.
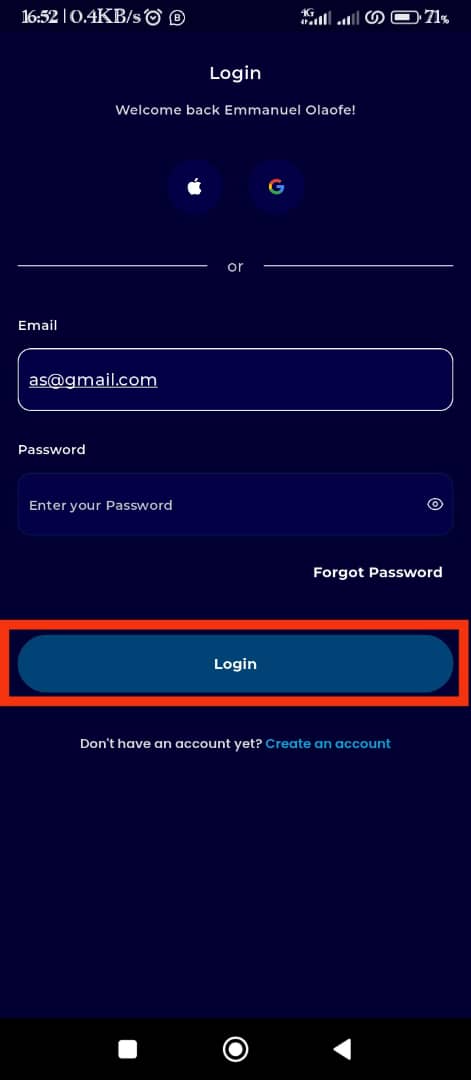
Step 3: Click on Login
Once your details are entered correctly, tap on the Login button to proceed.
If your credentials are valid, the system will authenticate your details, granting you access to your TransferXO dashboard.
Step 4: Access the Dashboard
Upon successful login, you will be directed to your homepage, also known as the Dashboard.
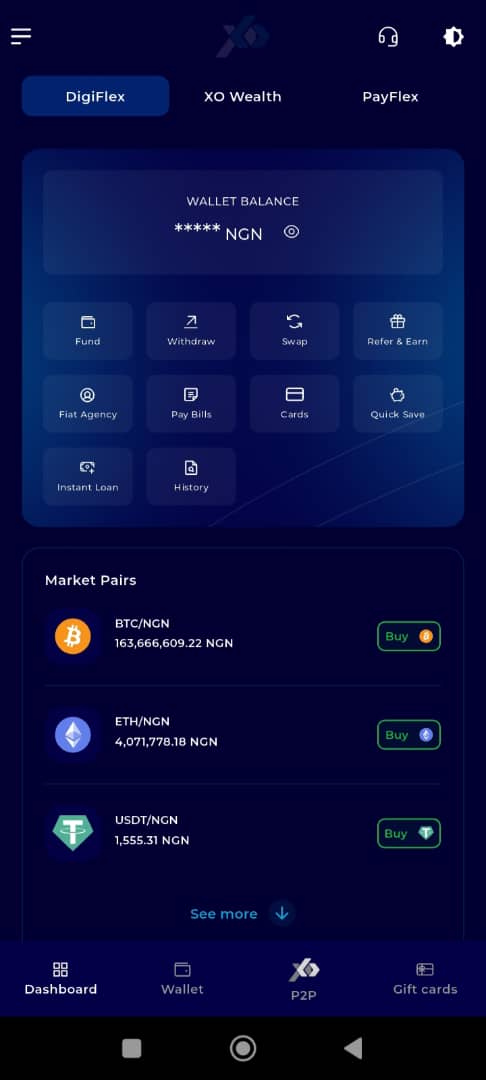
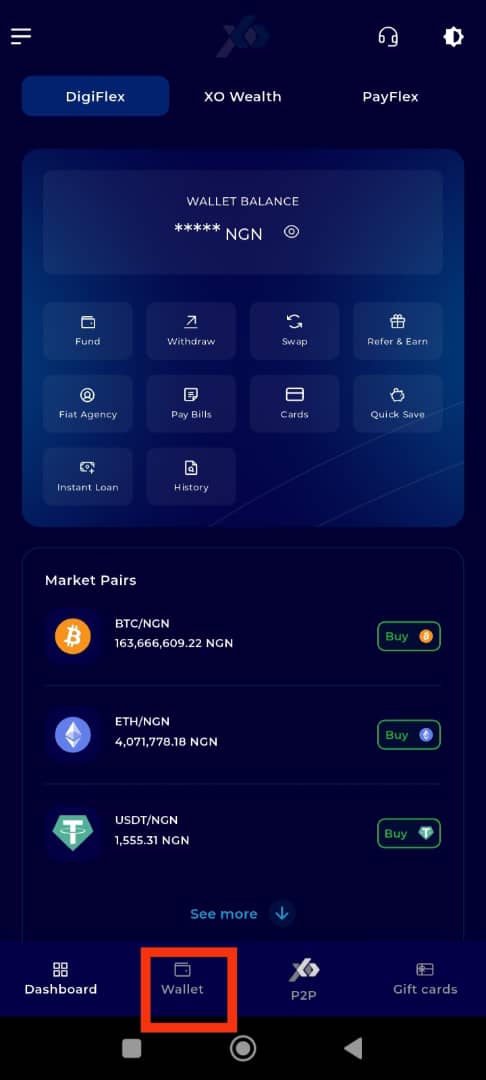
Step 5: Navigate to the Wallet Tab
On the bottom navigation bar, tap the Wallet tab. This is located at the lower part of your screen, just to the right of the Dashboard icon.
You will be redirected to your wallet overview page, where your current balances are displayed.
Step 6: Click on Fund
Below your wallet balance, tap the Fund button.
This will take you to the funding options available within your wallet.

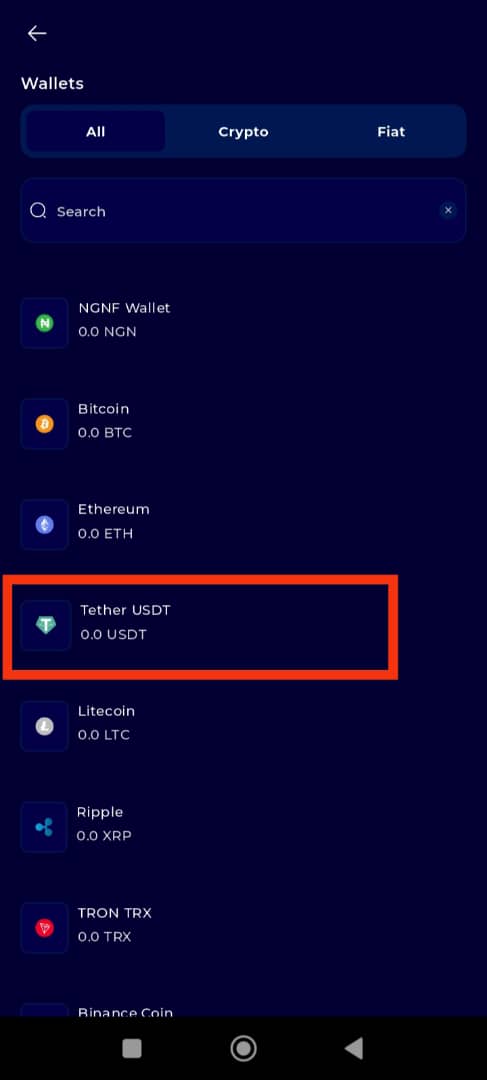
Step 7: Choose the Crypto Asset
Click on the specific cryptocurrency you want to fund. For this demo, we will use Tether (USDT).
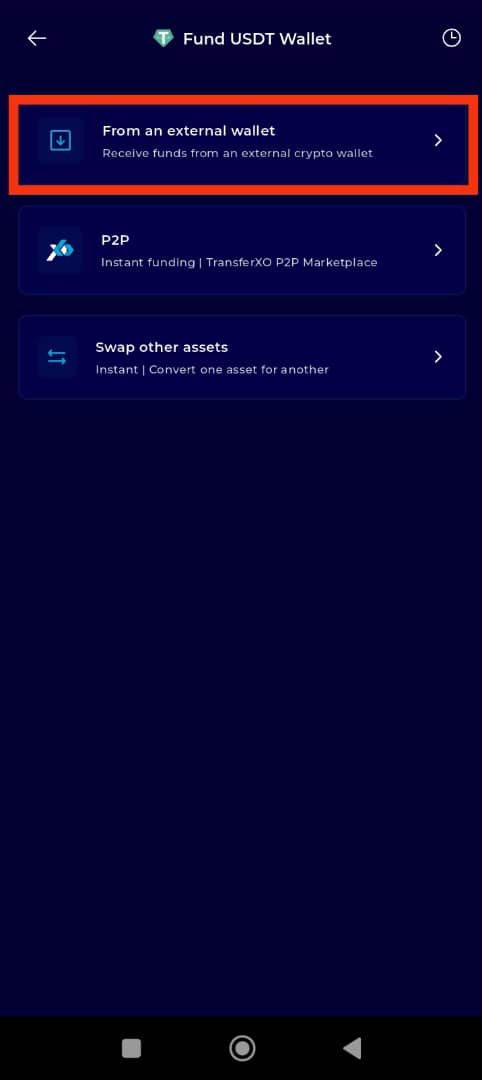
Step 8: Choose "From an External Wallet"
On the next screen, select the option labeled From an External Wallet.
This tells the system that you are initiating a crypto transfer from an outside source.
Step 9: Select the Network
Choose the network of the external wallet you want to use to fund your TransferXO wallet.
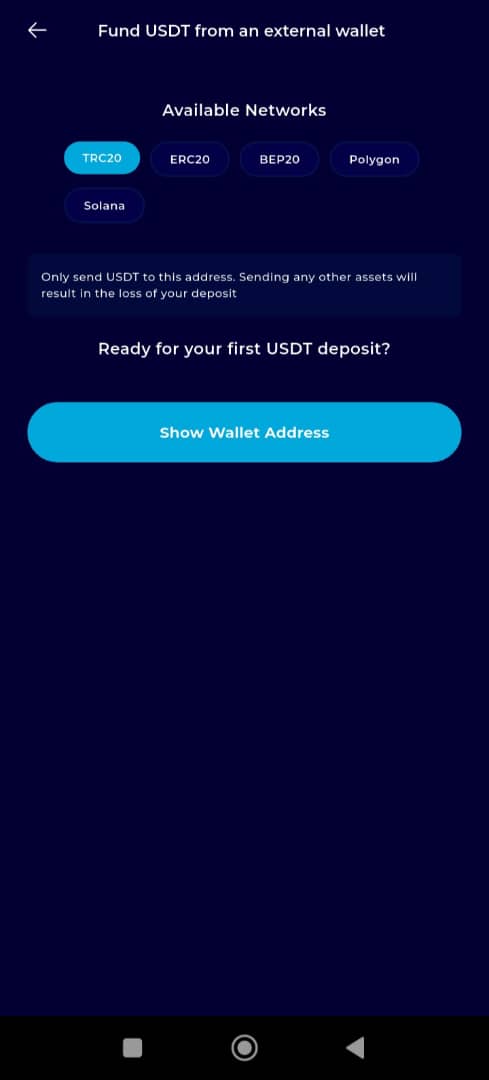
Step 10: Generate Wallet Address
Once you have selected the external wallet, click on Show Wallet Address. This will display your unique wallet address on TransferXO for the selected cryptocurrency.

Step 11: Copy the Wallet Address or Scan QR Code
You now have two options to proceed:
Copy the wallet address shown on your screen, or
Scan the QR code using your external wallet app.
These methods ensure the correct wallet address is used for the transaction.

Step 12: Complete the Transaction
From your external wallet, paste the copied address (or use the scanned QR code) to initiate the transfer.
Follow the prompts and complete the transaction as guided by your external wallet interface.
Note: Ensure that you select the correct blockchain network and wallet address format for the selected cryptocurrency to avoid loss of funds.
Funding your TransferXO wallet from an external wallet is a secure and user-friendly process when done correctly. This guide ensures each step is followed accurately to guarantee a successful crypto deposit.
If you encounter any issues or require assistance, reach out to the TransferXO Support Team or consult our Help Centre for further guidance.