

Completing Tier 2 KYC verification on TransferXO is essential for unlocking higher transaction limits and accessing more features. This guide provides a detailed walkthrough of how to upgrade your account using the web view of TransferXO.
Step 1: Access Your TransferXO Account
Open your web browser on your PC and navigate to the TransferXO website via transferxo.com.

Step 2: Log in to your TransferXO
Enter your login credentials and sign in to your TransferXO account.

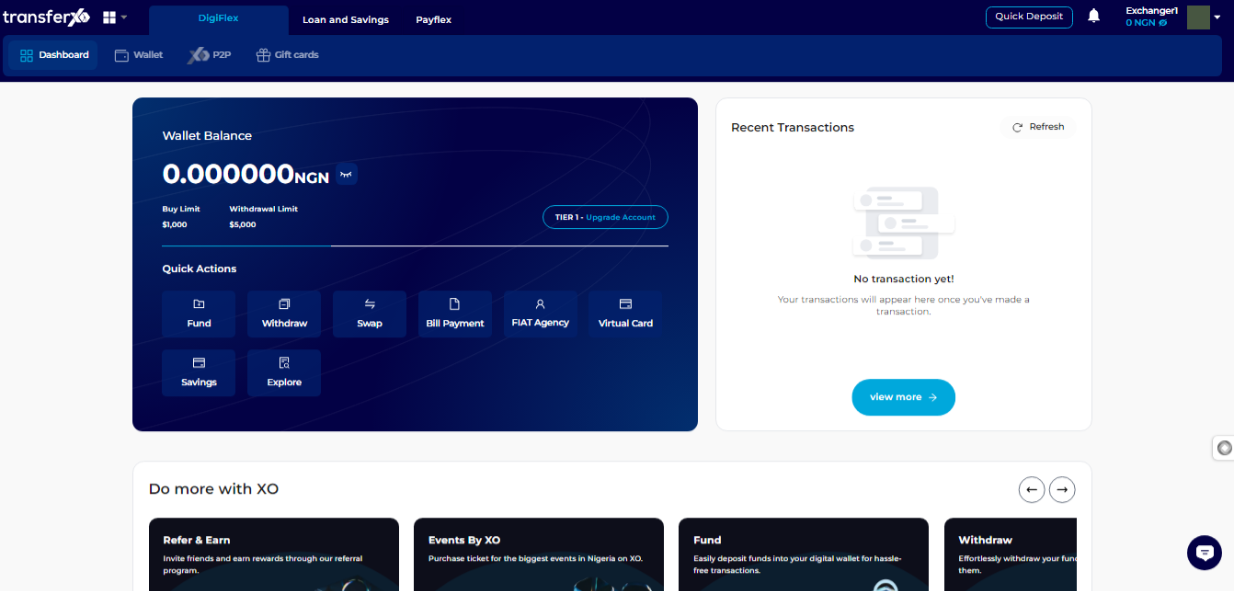
Step 3: Access the Dashboard
Upon successful login, you will be directed to your homepage, also known as the Dashboard.
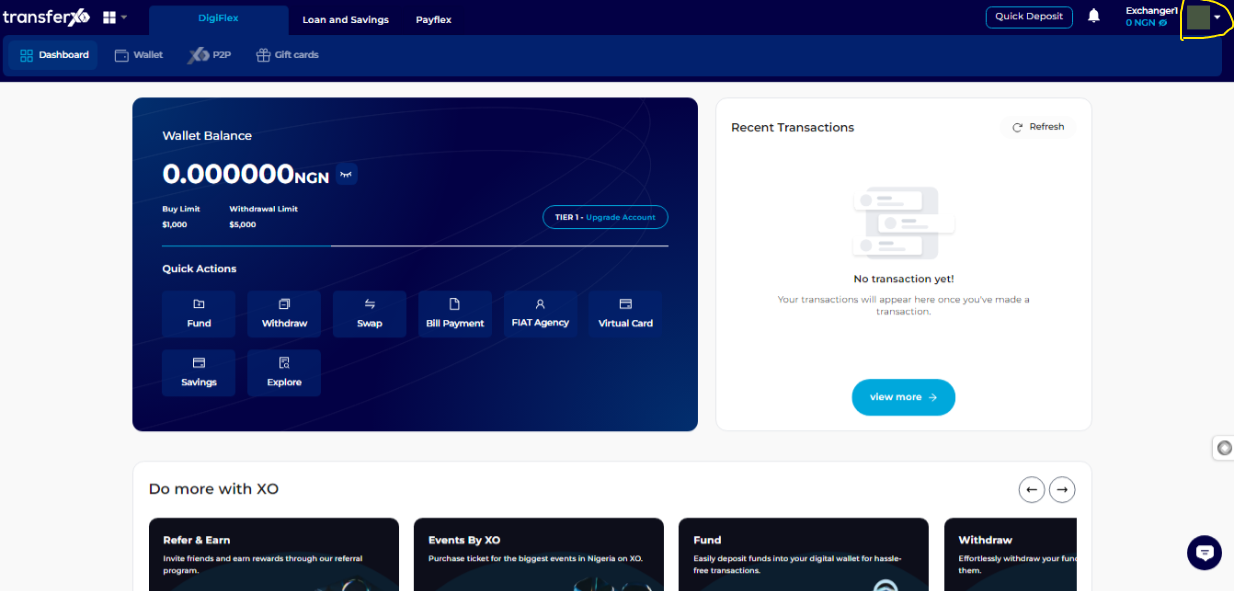
Step 4: Open the Menu
At the top right-hand corner, hover your mouse over your avatar to view the Menu.
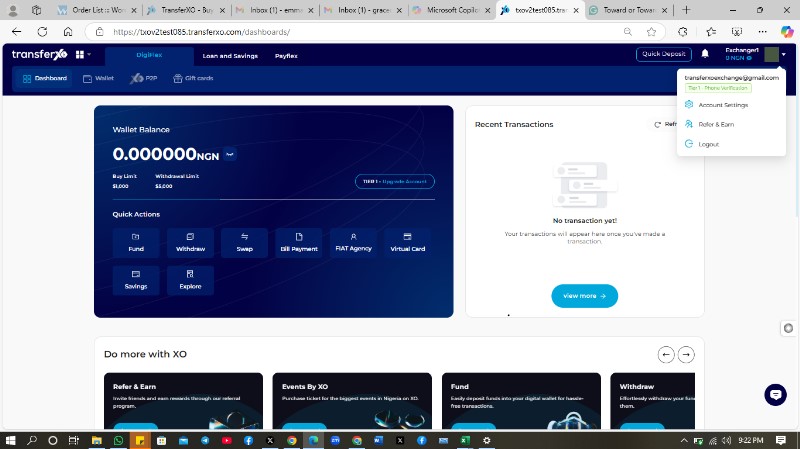
Step 5: Access Menu Options
From the drop-down menu, select Account Settings.
 Step 6: Review the Menu Options
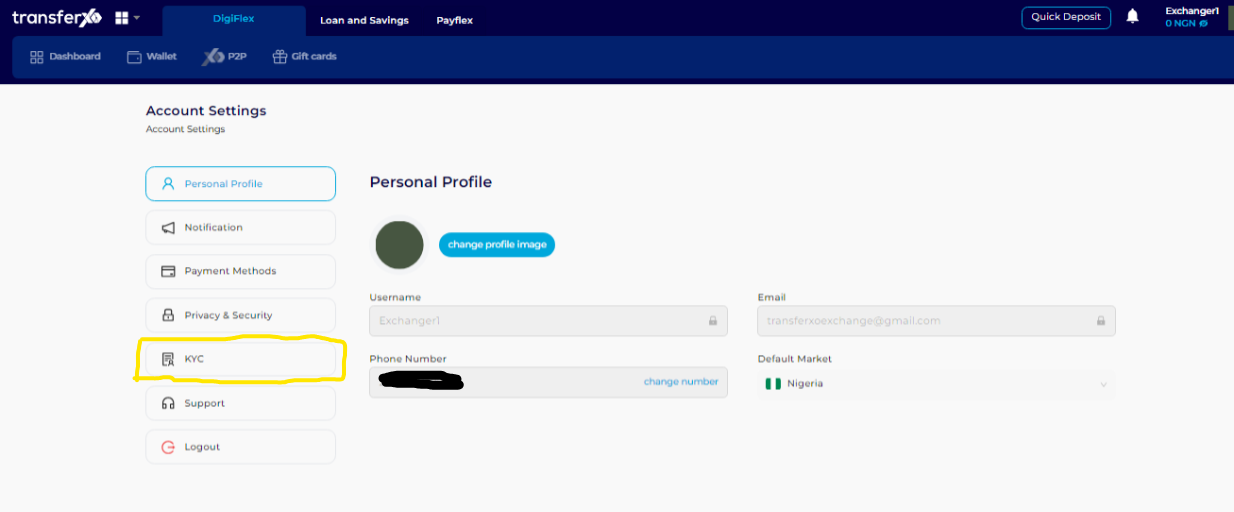
You now have access to your Account Settings menu, which gives you a glimpse of your profile, including your email, phone number, and username prominently displayed.
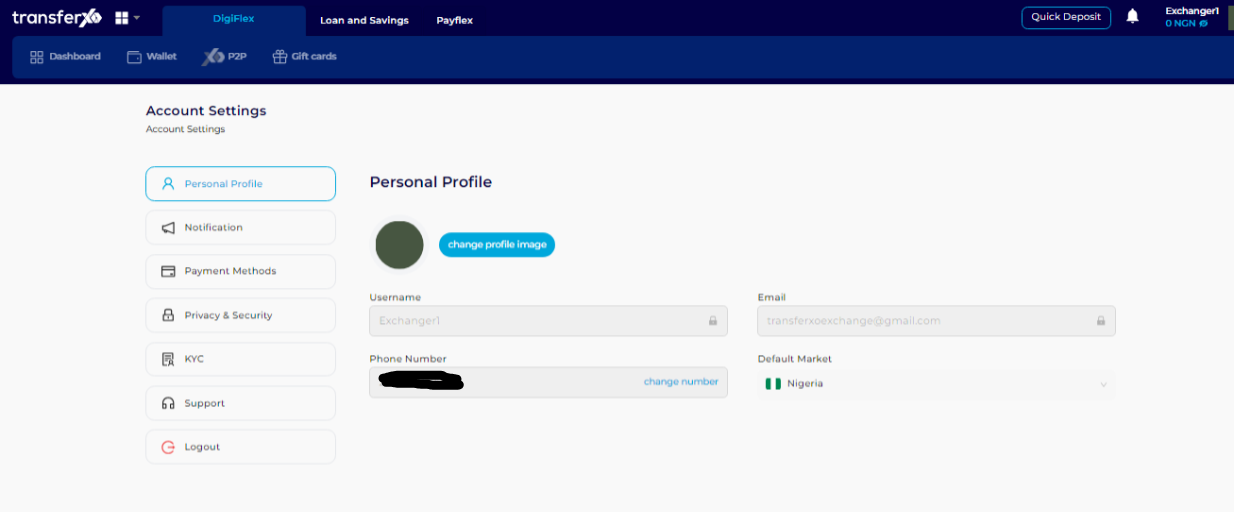
Step 7: Navigate to KYC
From the Account Settings menu at the left panel of the screen, click on KYC.
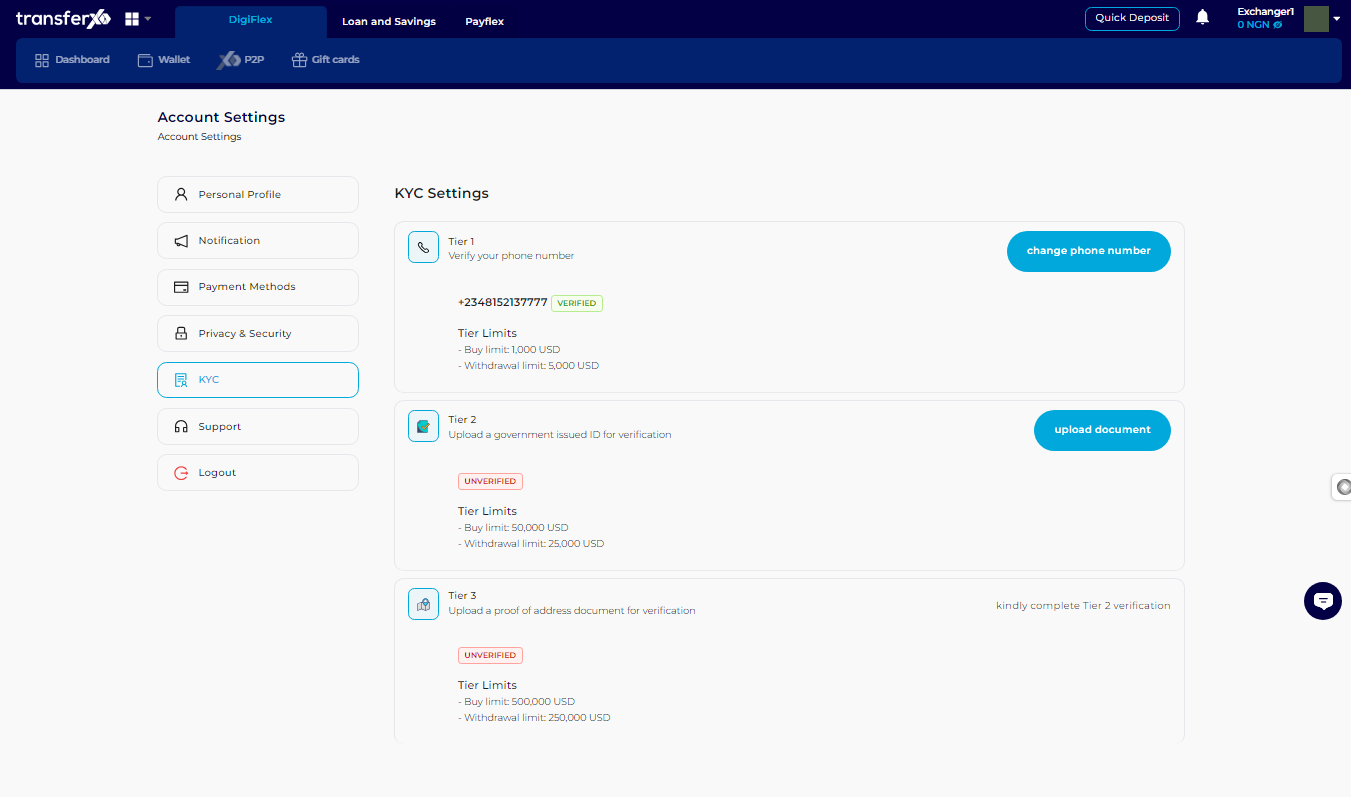
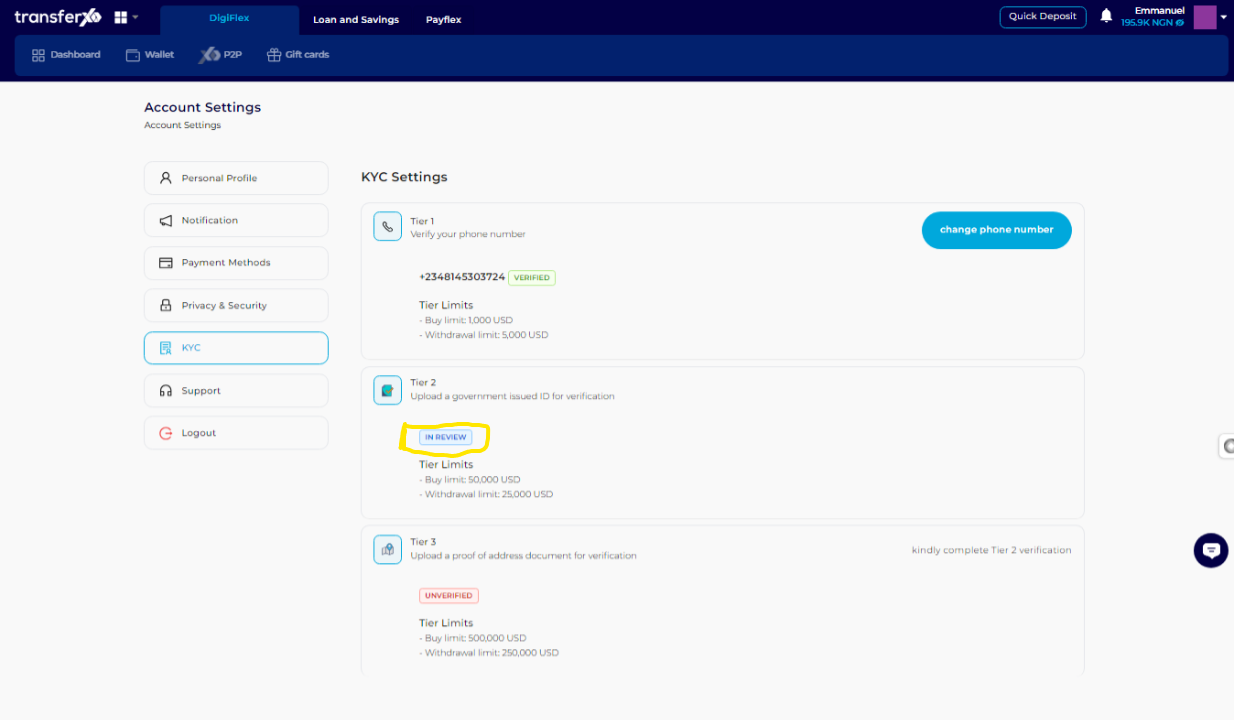
Step 8: Review KYC Levels
In the KYC section, you'll be able to see the KYC levels you've completed and those yet to be completed. Each KYC level has its advantages. Completing all levels will grant you full access to all features of the TransferXO app. The Tier 1 KYC level (Phone number verification) is completed at the point of sign up.
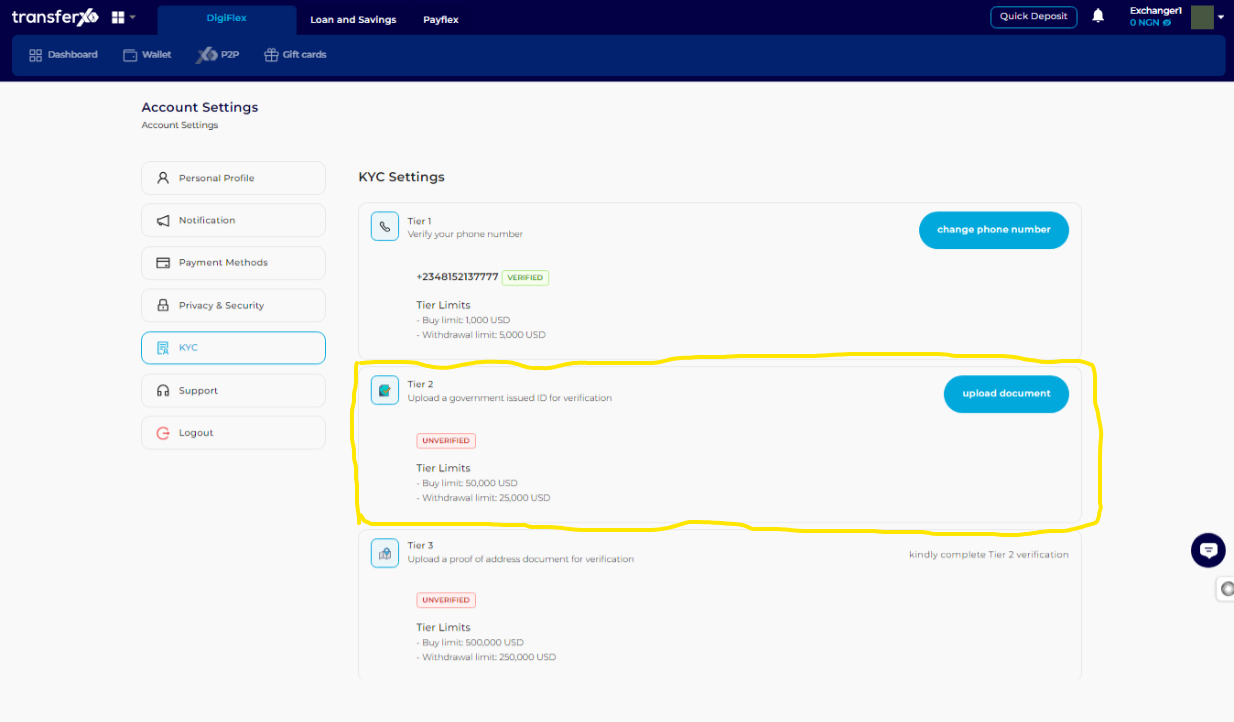
Step 9: Complete Tier 2 KYC
To increase your buy and withdrawal limits, complete your Tier 2 KYC level. Click on Upload document under the Tier 2 KYC region.
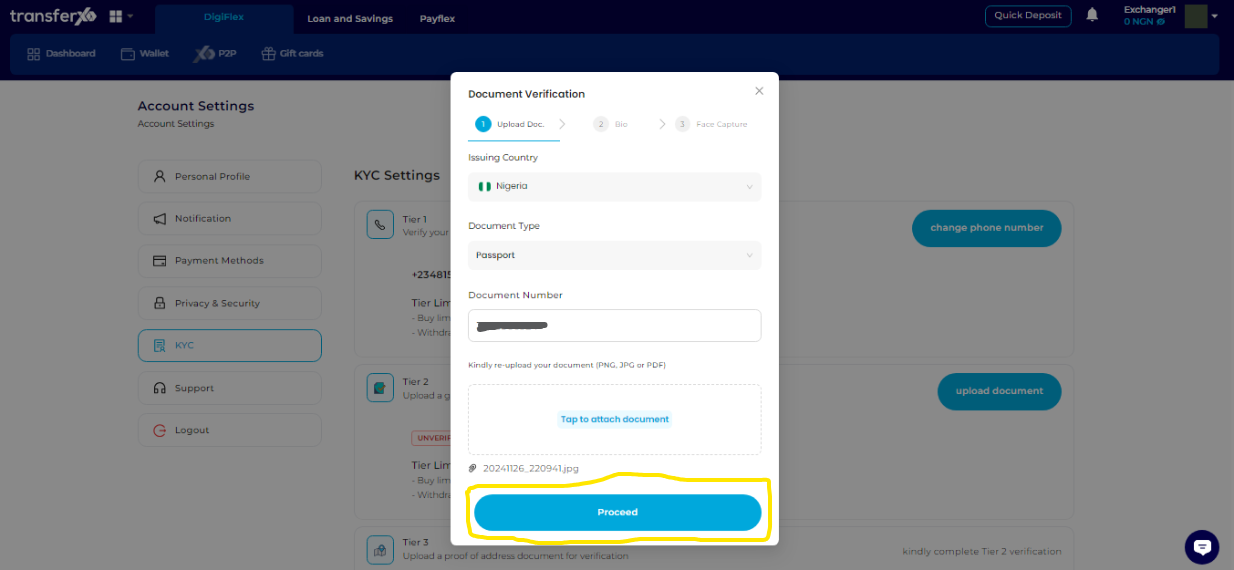
Step 10: Fill in Document Details
Complete the Document Verification form by filling in the Issuing country, Document Type, Document Number, and then uploading the document.
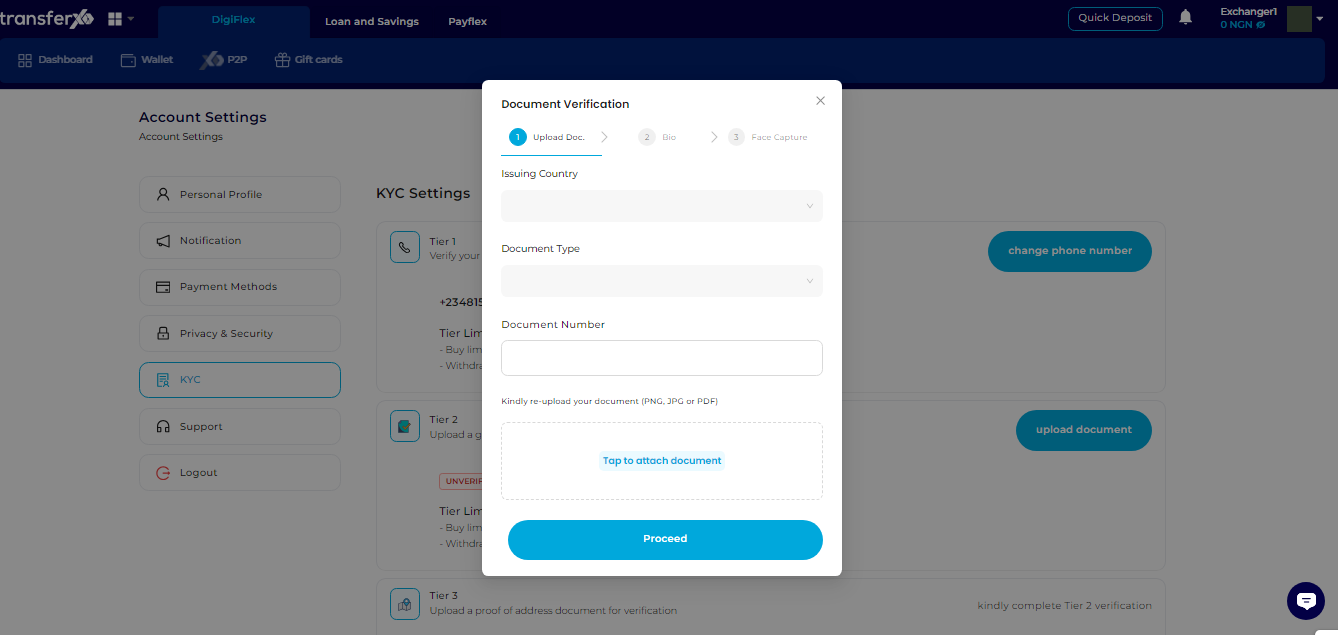
Step 11: Proceed to the Next Step
When you're done, click on Proceed to continue.
Step 12: Complete Bio Form
Fill in your last name, first name, Date of Birth, and Gender in the Bio form presented before you.
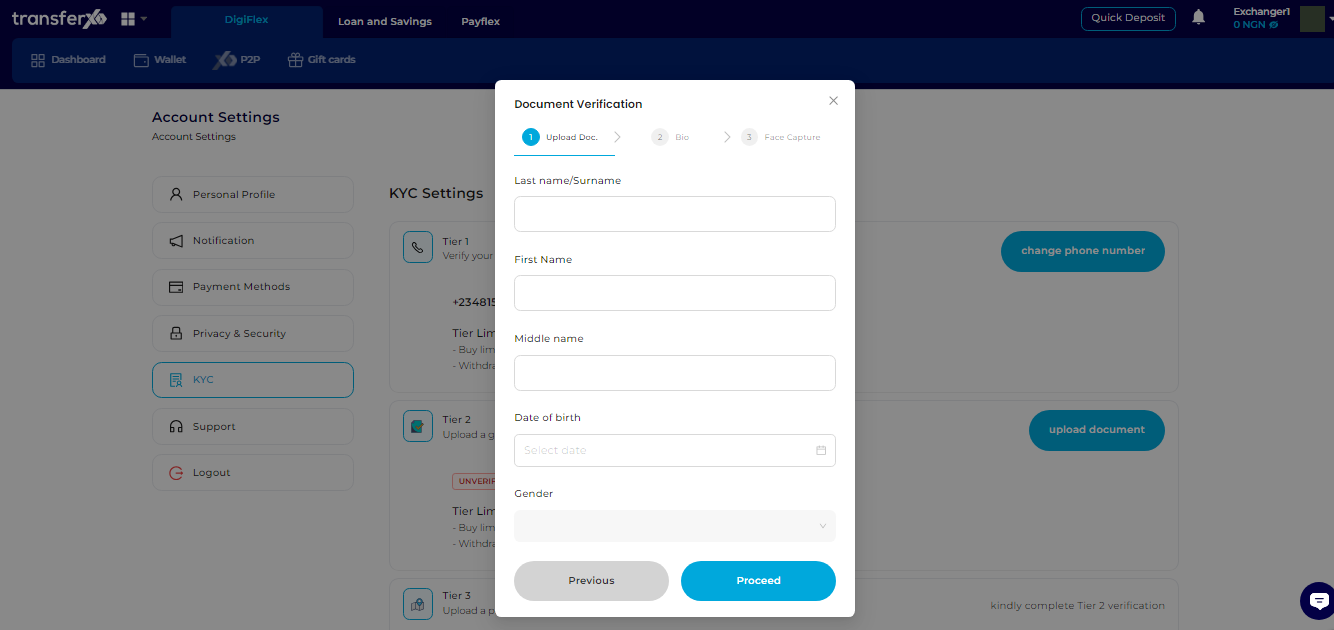
Step 13: Proceed Again
When you're done, click on Proceed to continue.

Step 14: Upload Face Capture
On the Face Capture page, upload a quick selfie of yourself. Click on Open Camera to upload a selfie of yourself.
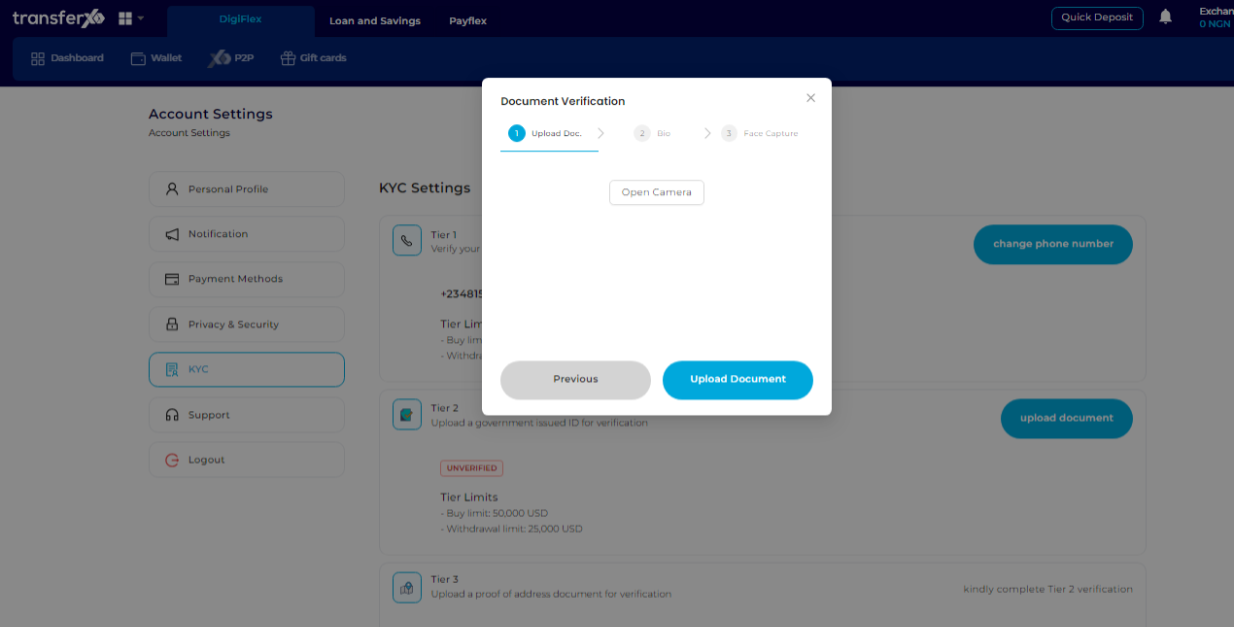
Note: Only a selfie of yourself will do, not a stored file on your device. Otherwise, you won't be able to proceed. This phase is crucial as it helps in identifying the person behind specific TransferXO accounts.
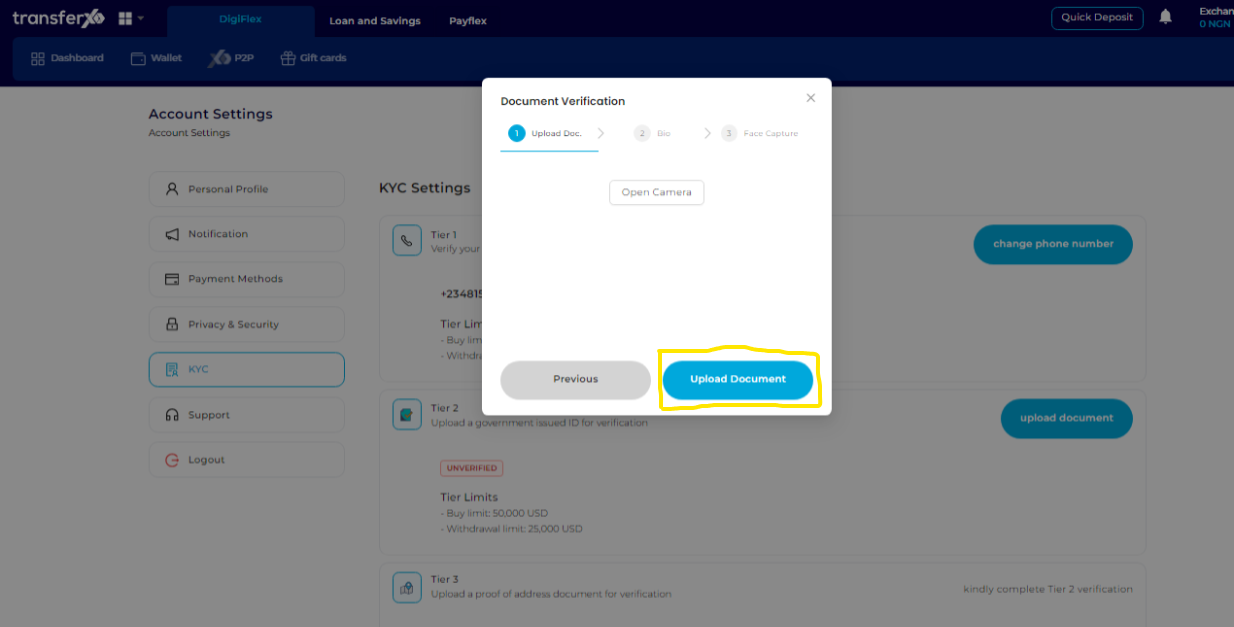
Step 15: Upload Document
When you're done, click on Upload Document.
Step 16: Wait for Verification Validation
Once submitted, the system will review and validate your Tier 2 KYC details.
Note: The verification process may take a few hours.
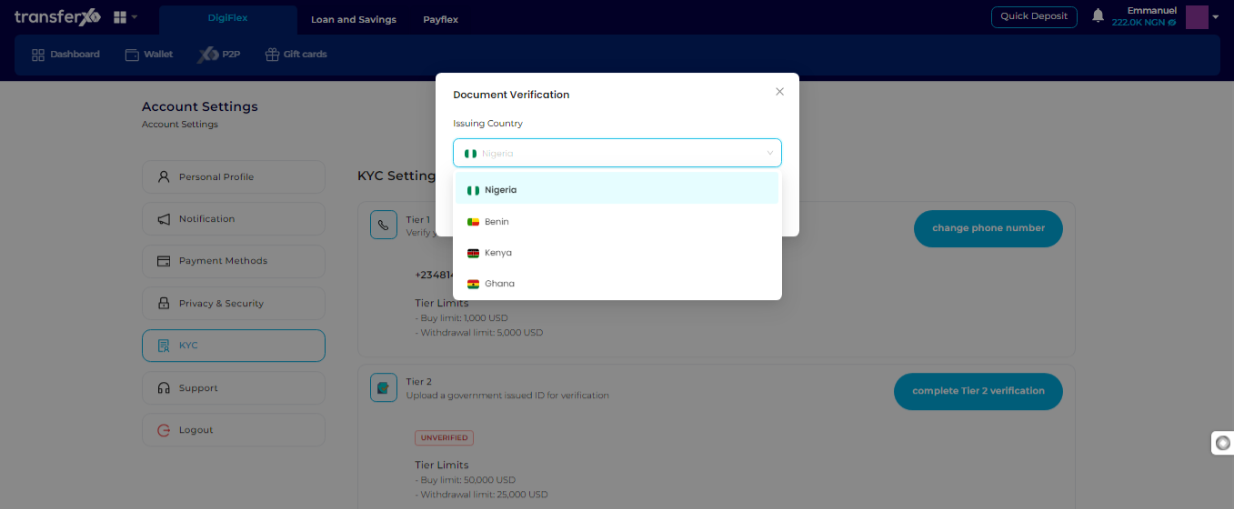
Step 17: Refresh and Continue Verification
After the review process, refresh the page and click on Complete Tier 2 Verification again to continue.

Step 18: Select Issuing Country
Choose the country that issued the identification document used for your KYC verification.
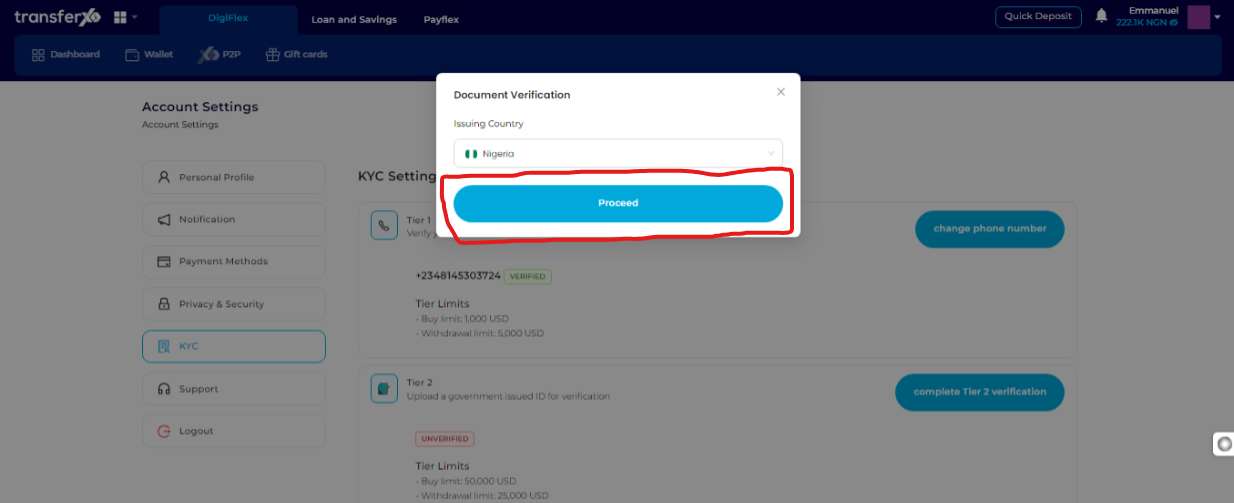
Step 19: Proceed to the Next Stage
Click on Proceed to move forward.
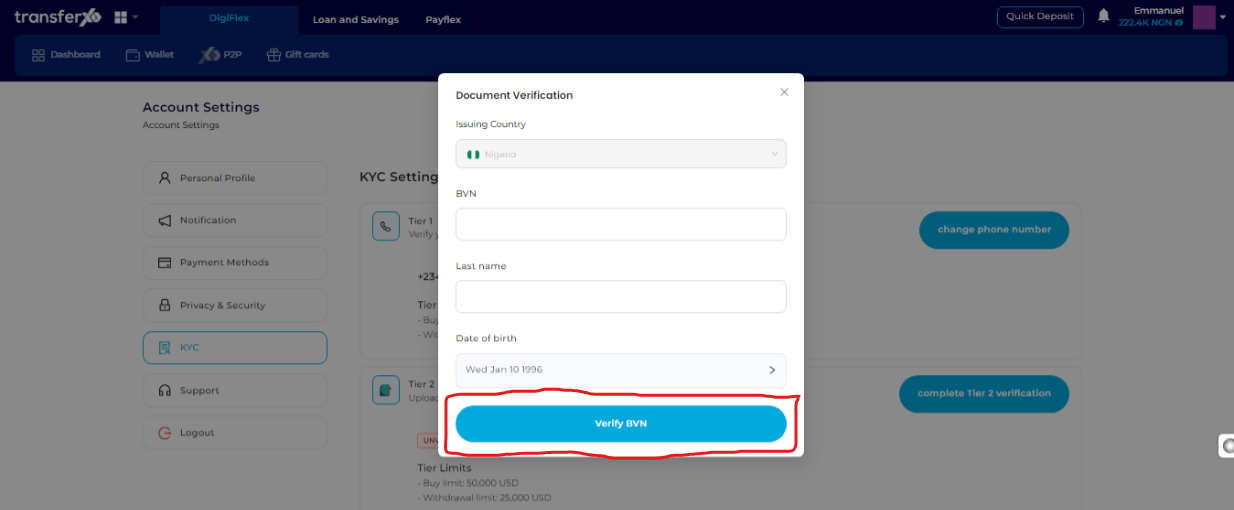
Step 20: Provide BVN and Last Name
Enter your Bank Verification Number (BVN) and last name (also known as a surname in some regions). Use the date picker to select your date of birth.
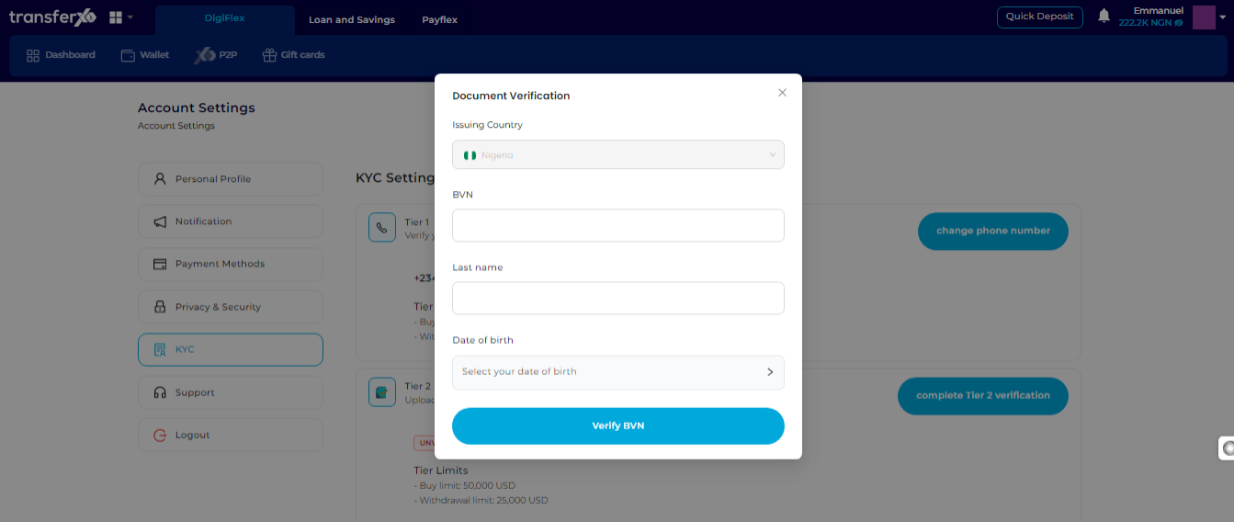
Step 21: Click on Verify BVN
Click on Verify BVN to complete the Tier 2 KYC verification process.
Congratulations! You've successfully upgraded your TransferXO account to Tier 2.
Once your Tier 2 KYC verification is successfully processed, your buy and withdrawal limits will increase, granting you fuller access to TransferXO’s features.
For additional guidance, visit our Knowledge Base or contact TransferXO Support for assistance.
If you need further assistance or have any questions, feel free to reach out to our support team. Happy transacting!