

Follow these simple steps to complete your Tier 3 KYC verification:
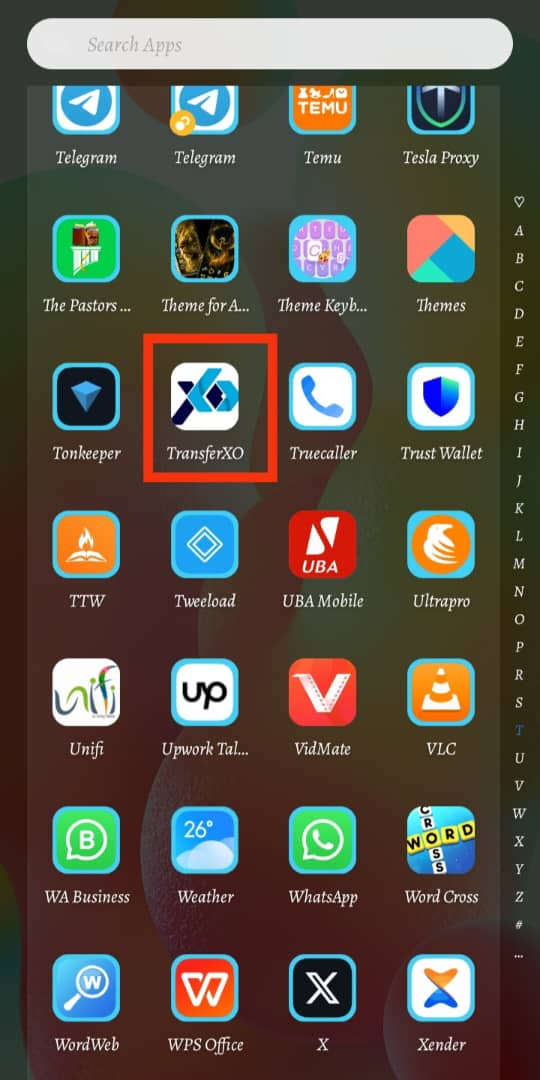
Step 1: Open the TransferXO Mobile App
Launch the TransferXO app on your mobile device.
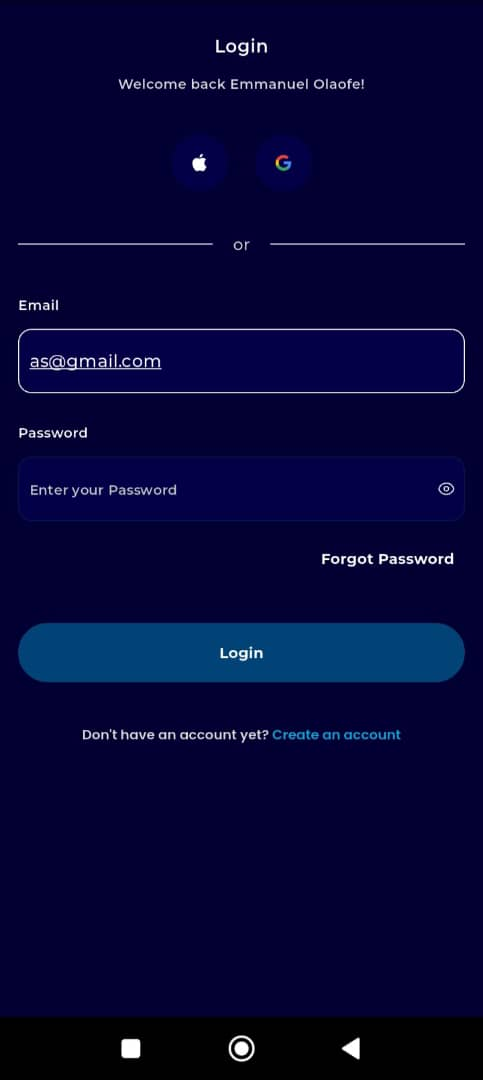
Step 2: Log In to Your Account
Enter your email address and password in the provided fields.
If you registered using Gmail or Apple ID, select the corresponding option to log in.
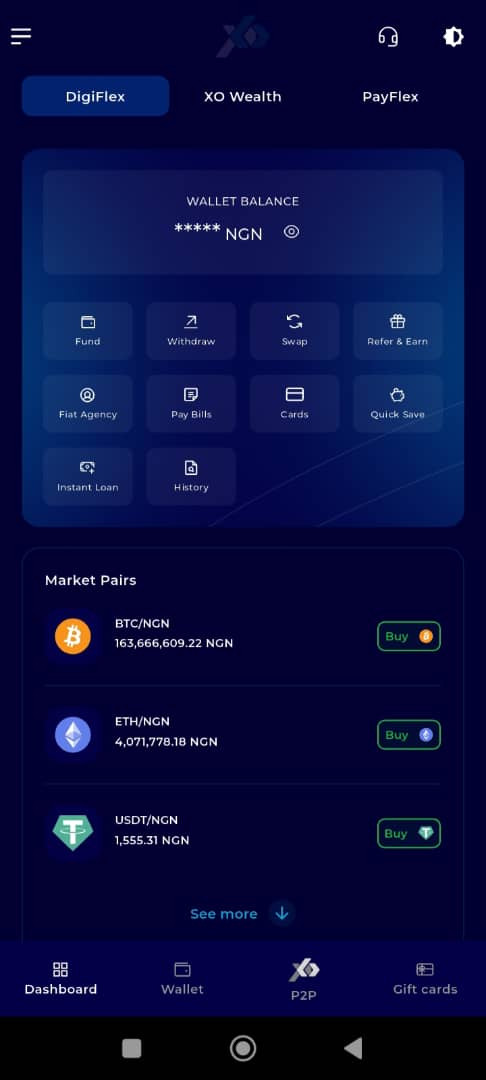
Step 3: Go to Your Dashboard
Once logged in, you’ll be directed to your dashboard.
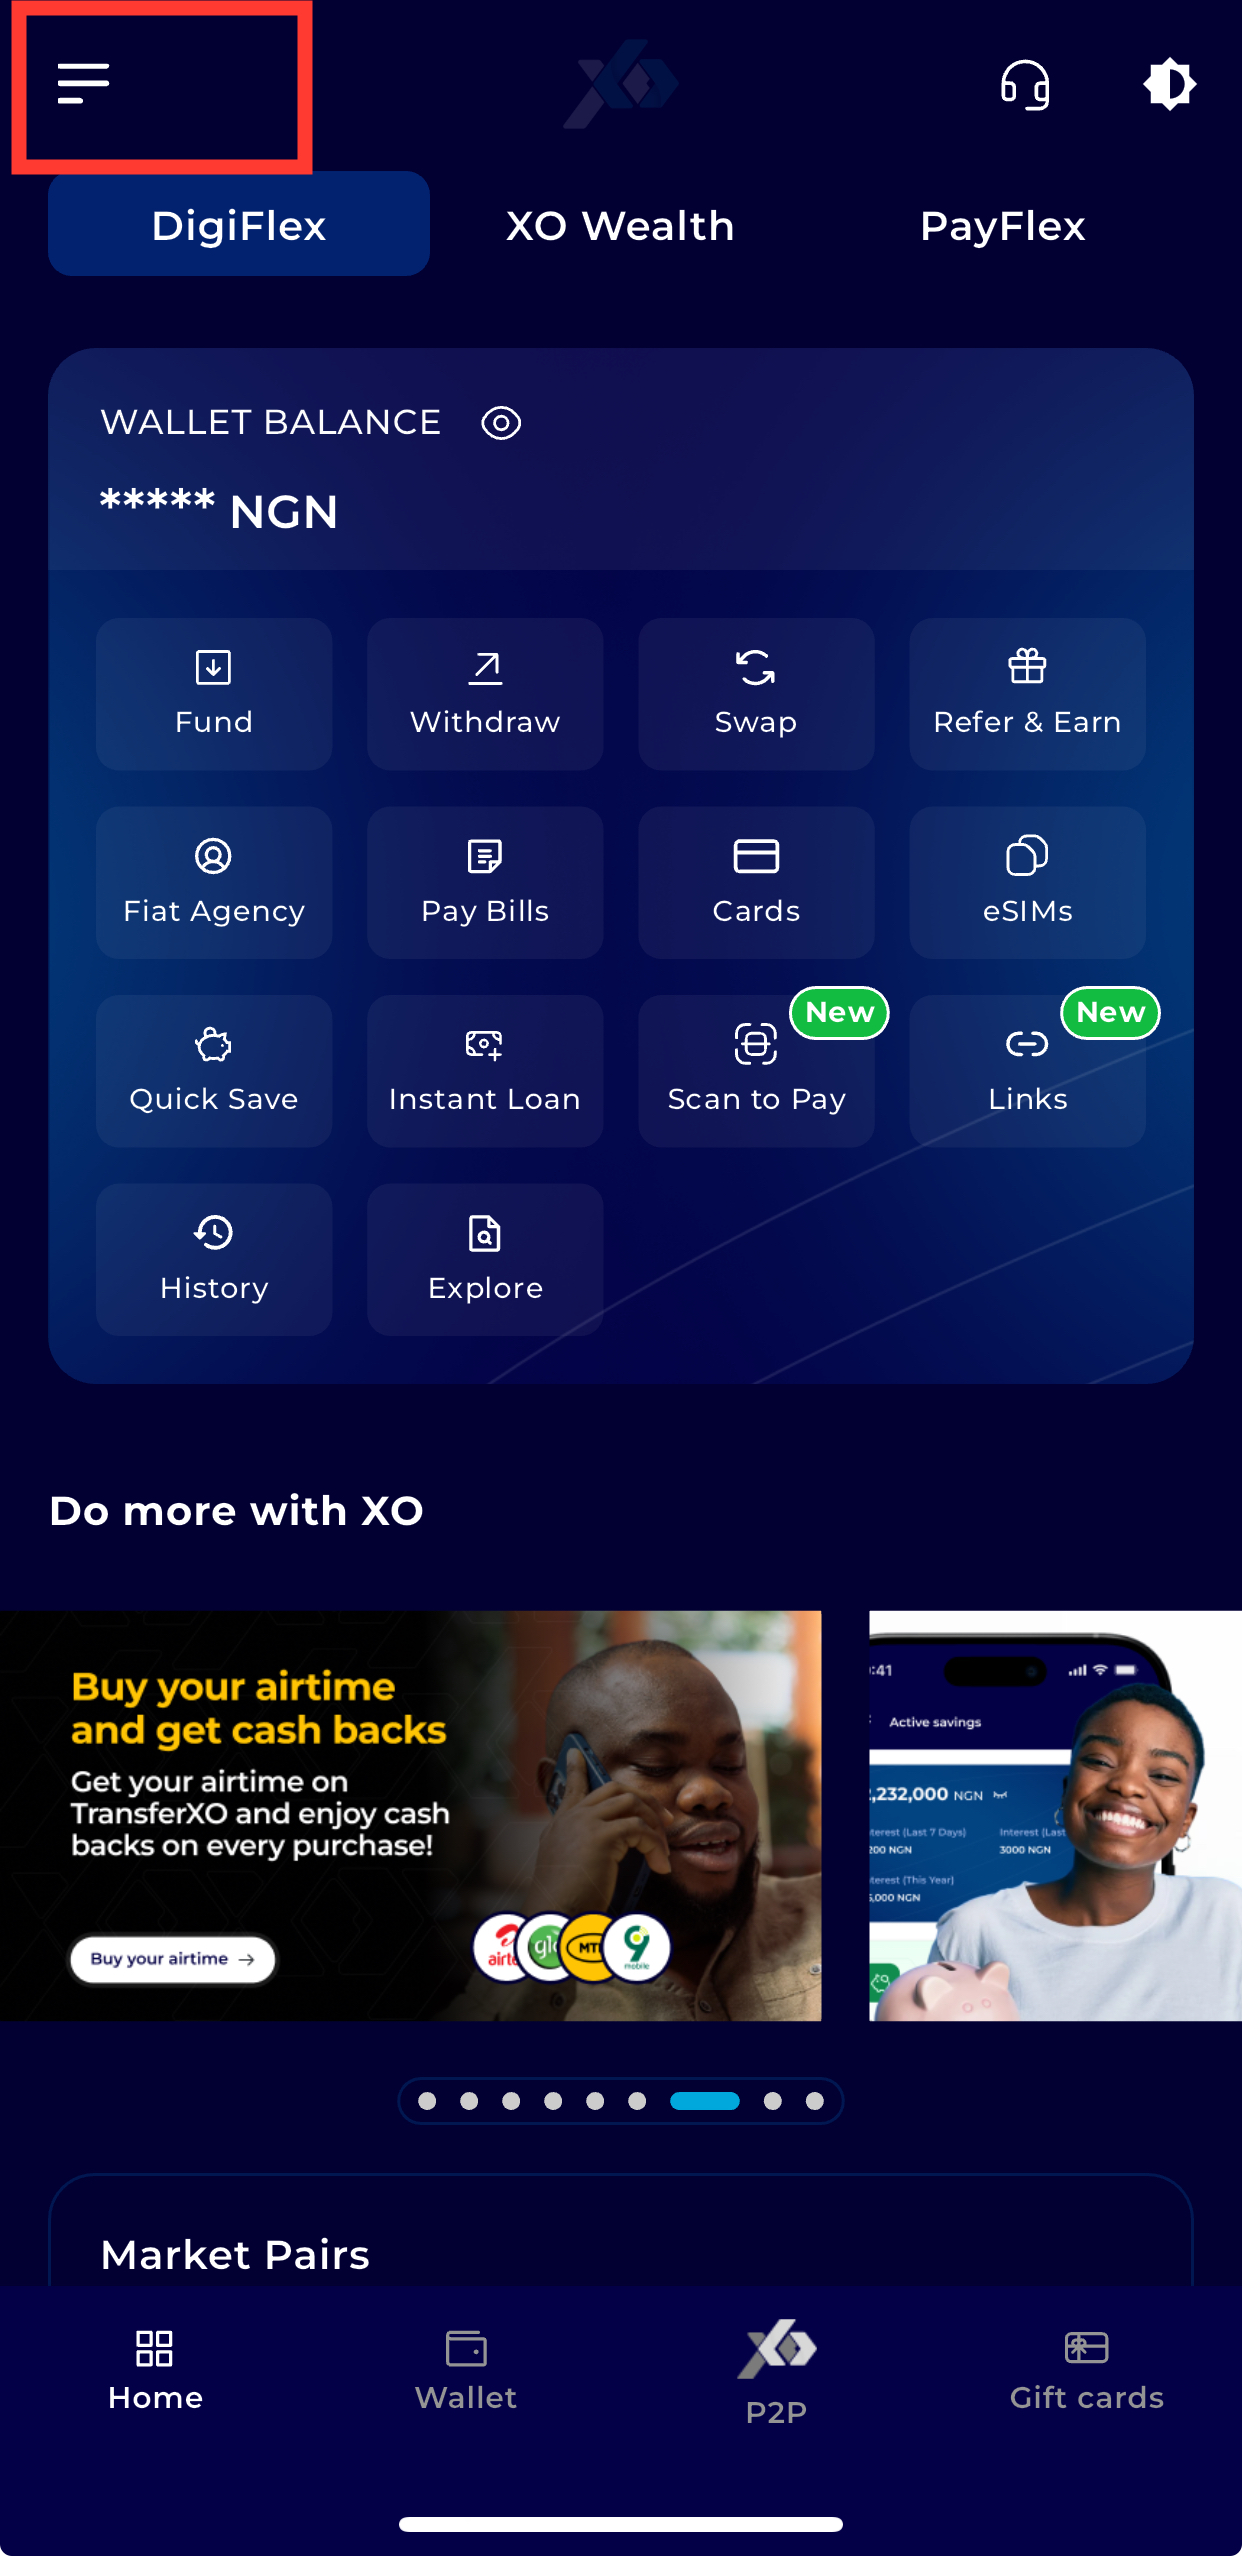
Step 4: Open the Menu
Tap the menu icon (three horizontal lines) at the top-left corner of the screen.
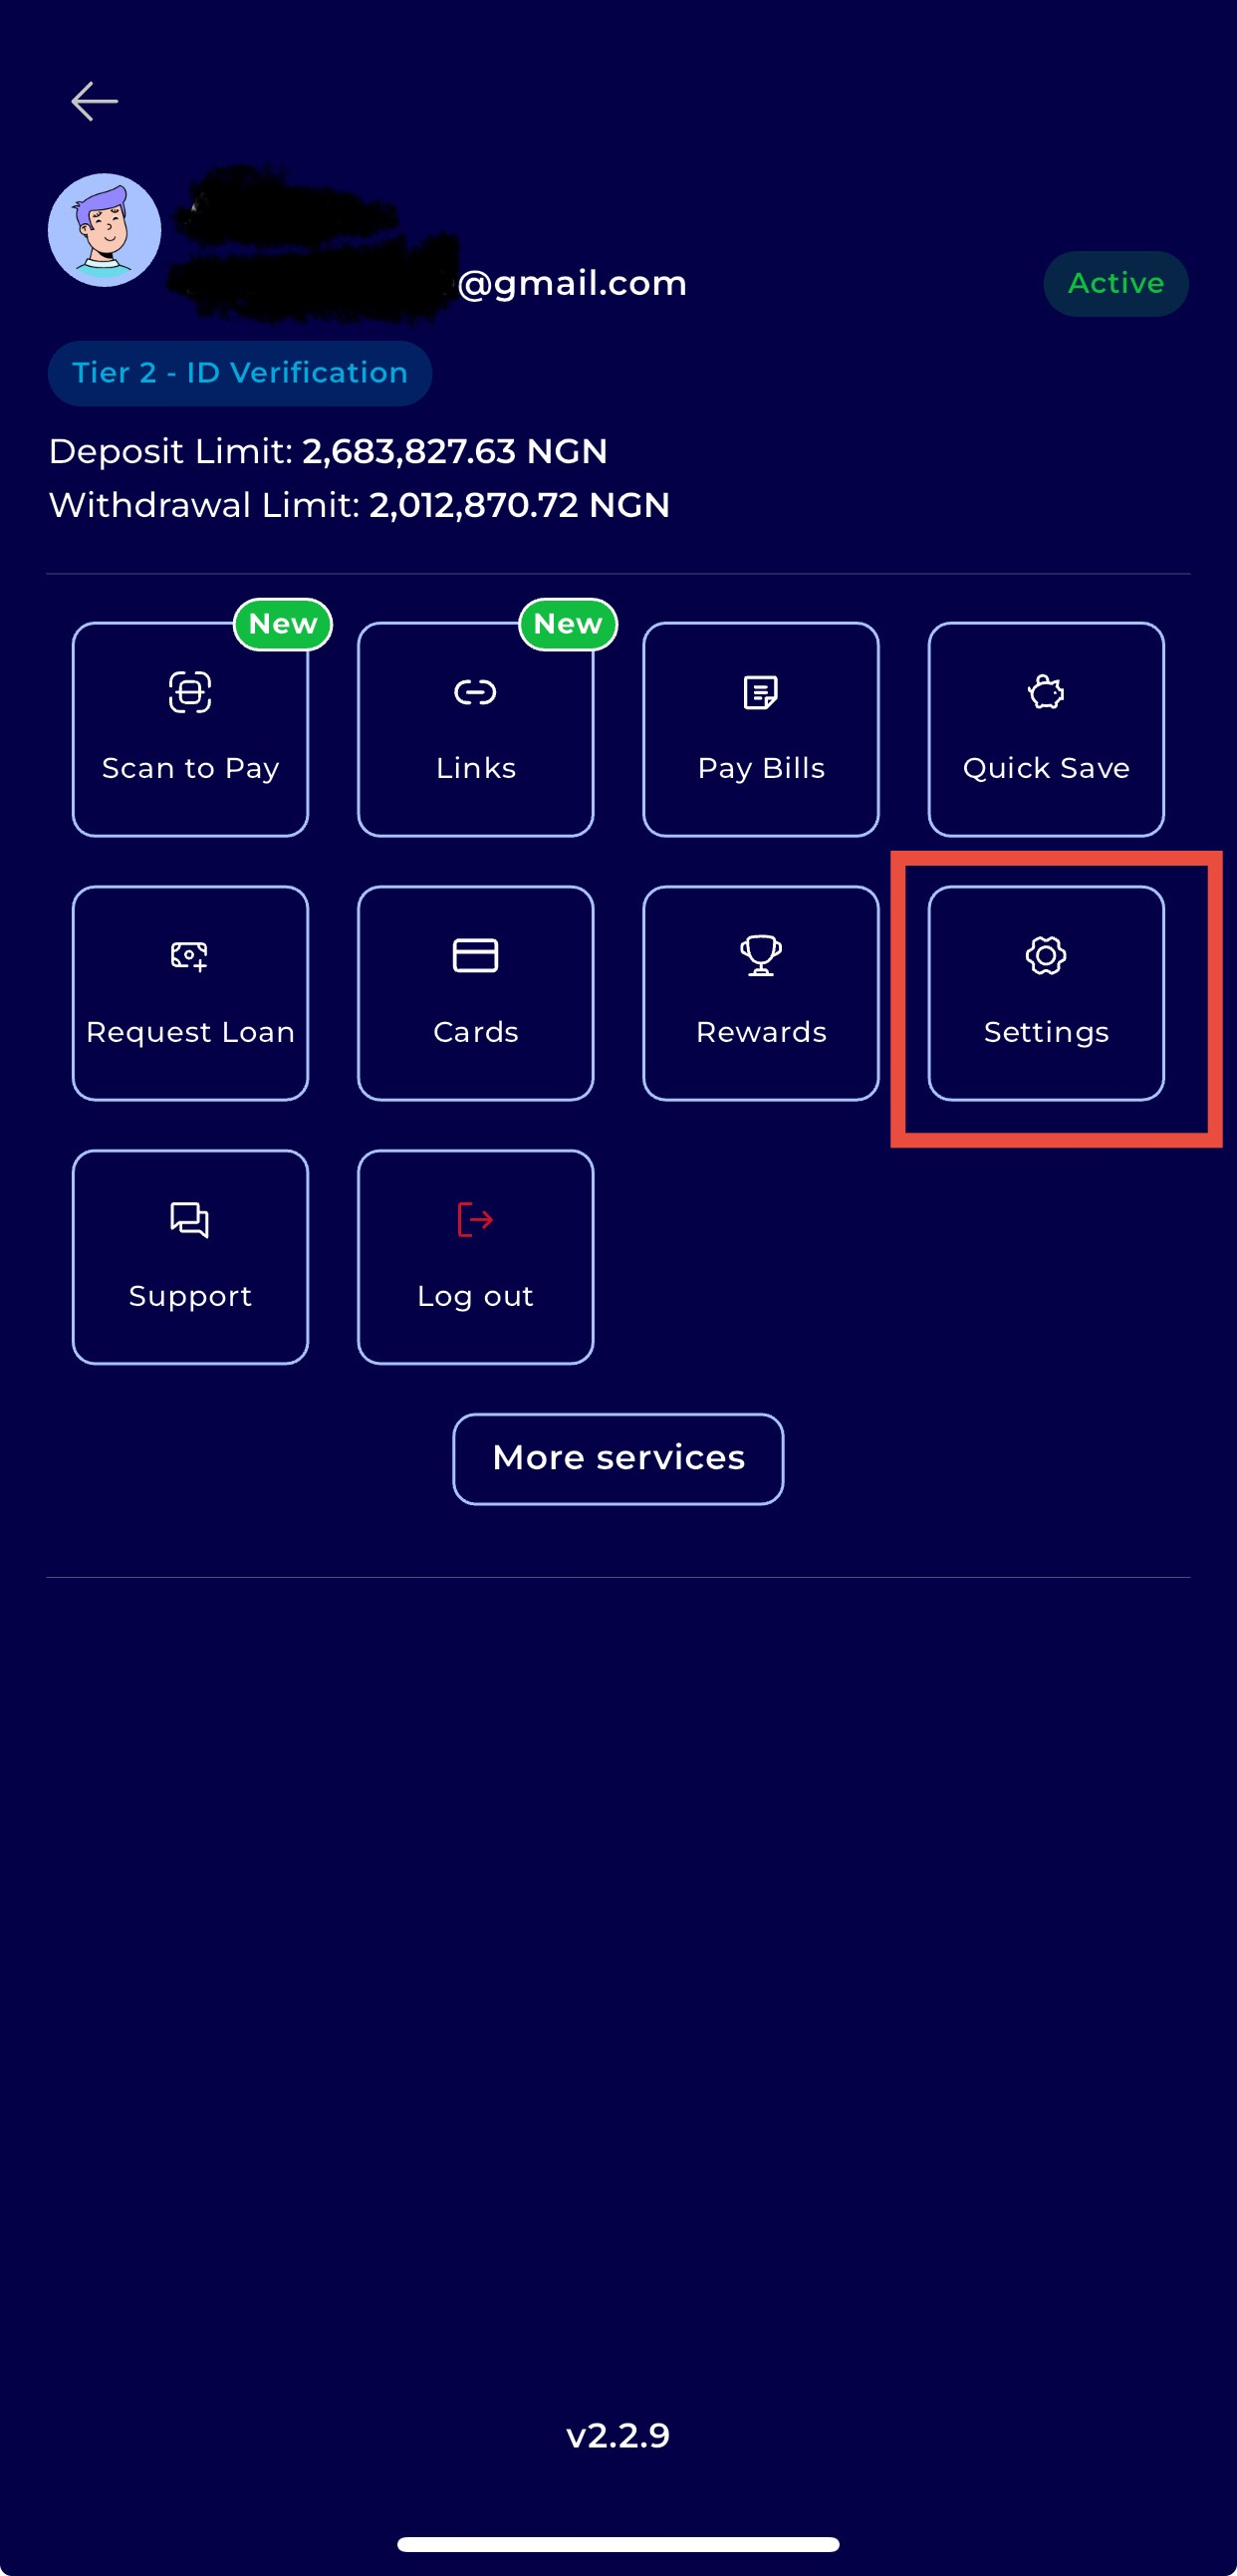
Step 5: Navigate to Settings
From the menu options, tap Settings.
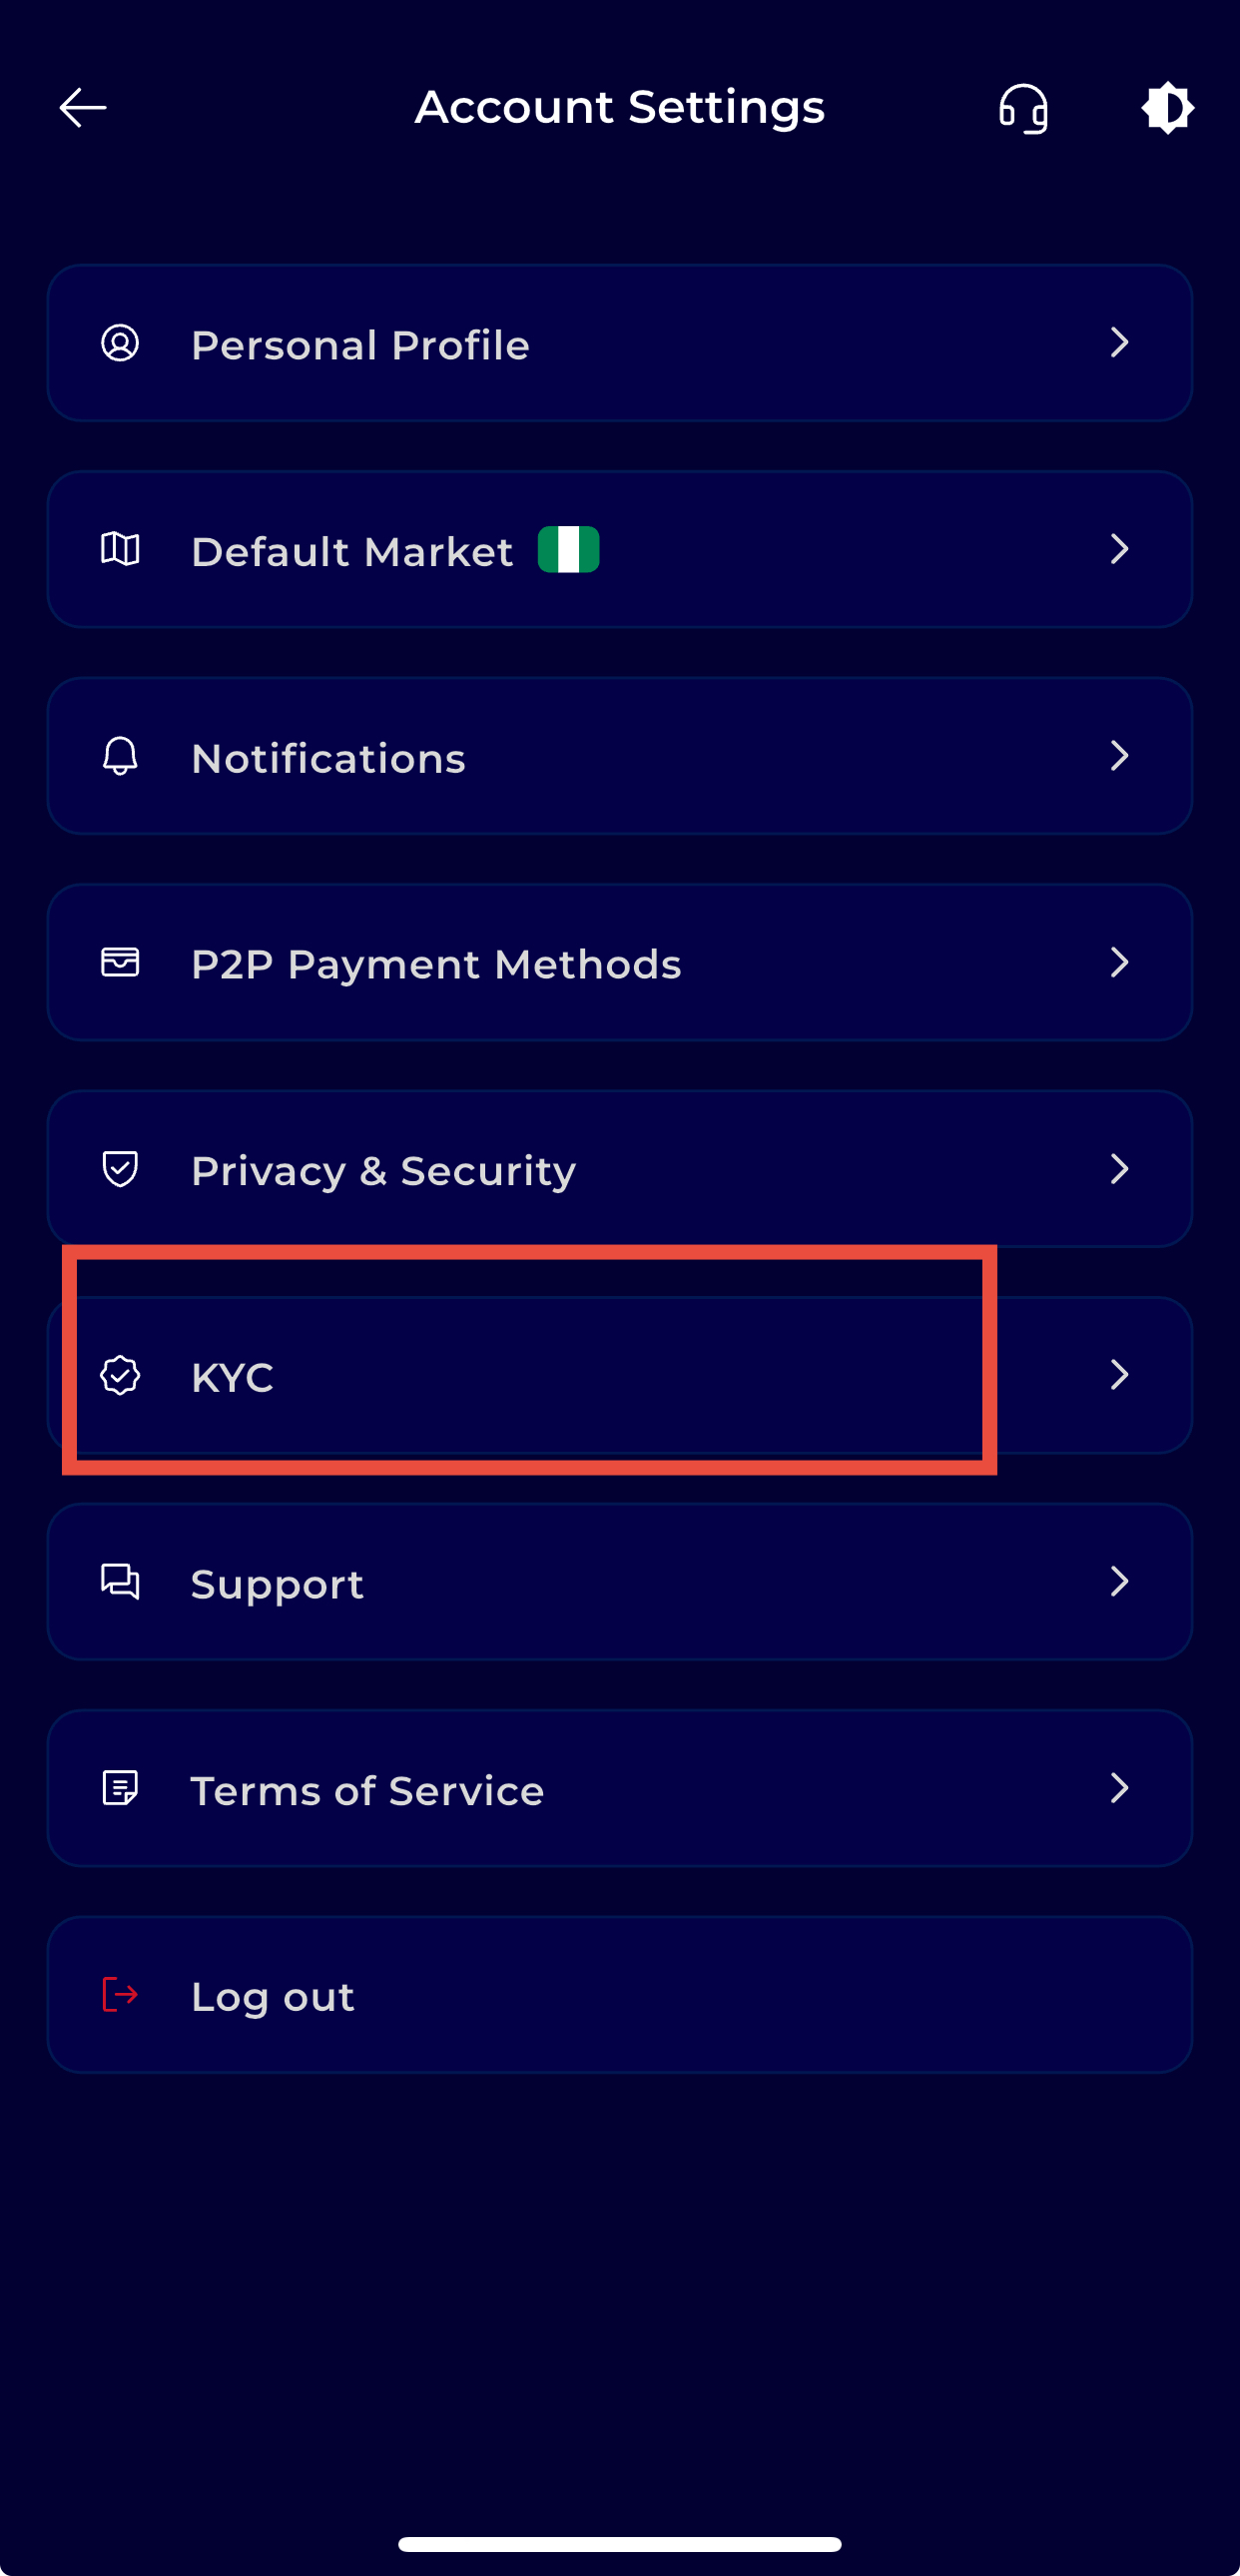
Step 6: Navigate to KYC Settings
Scroll down and click on KYC Settings to manage your verification documents.
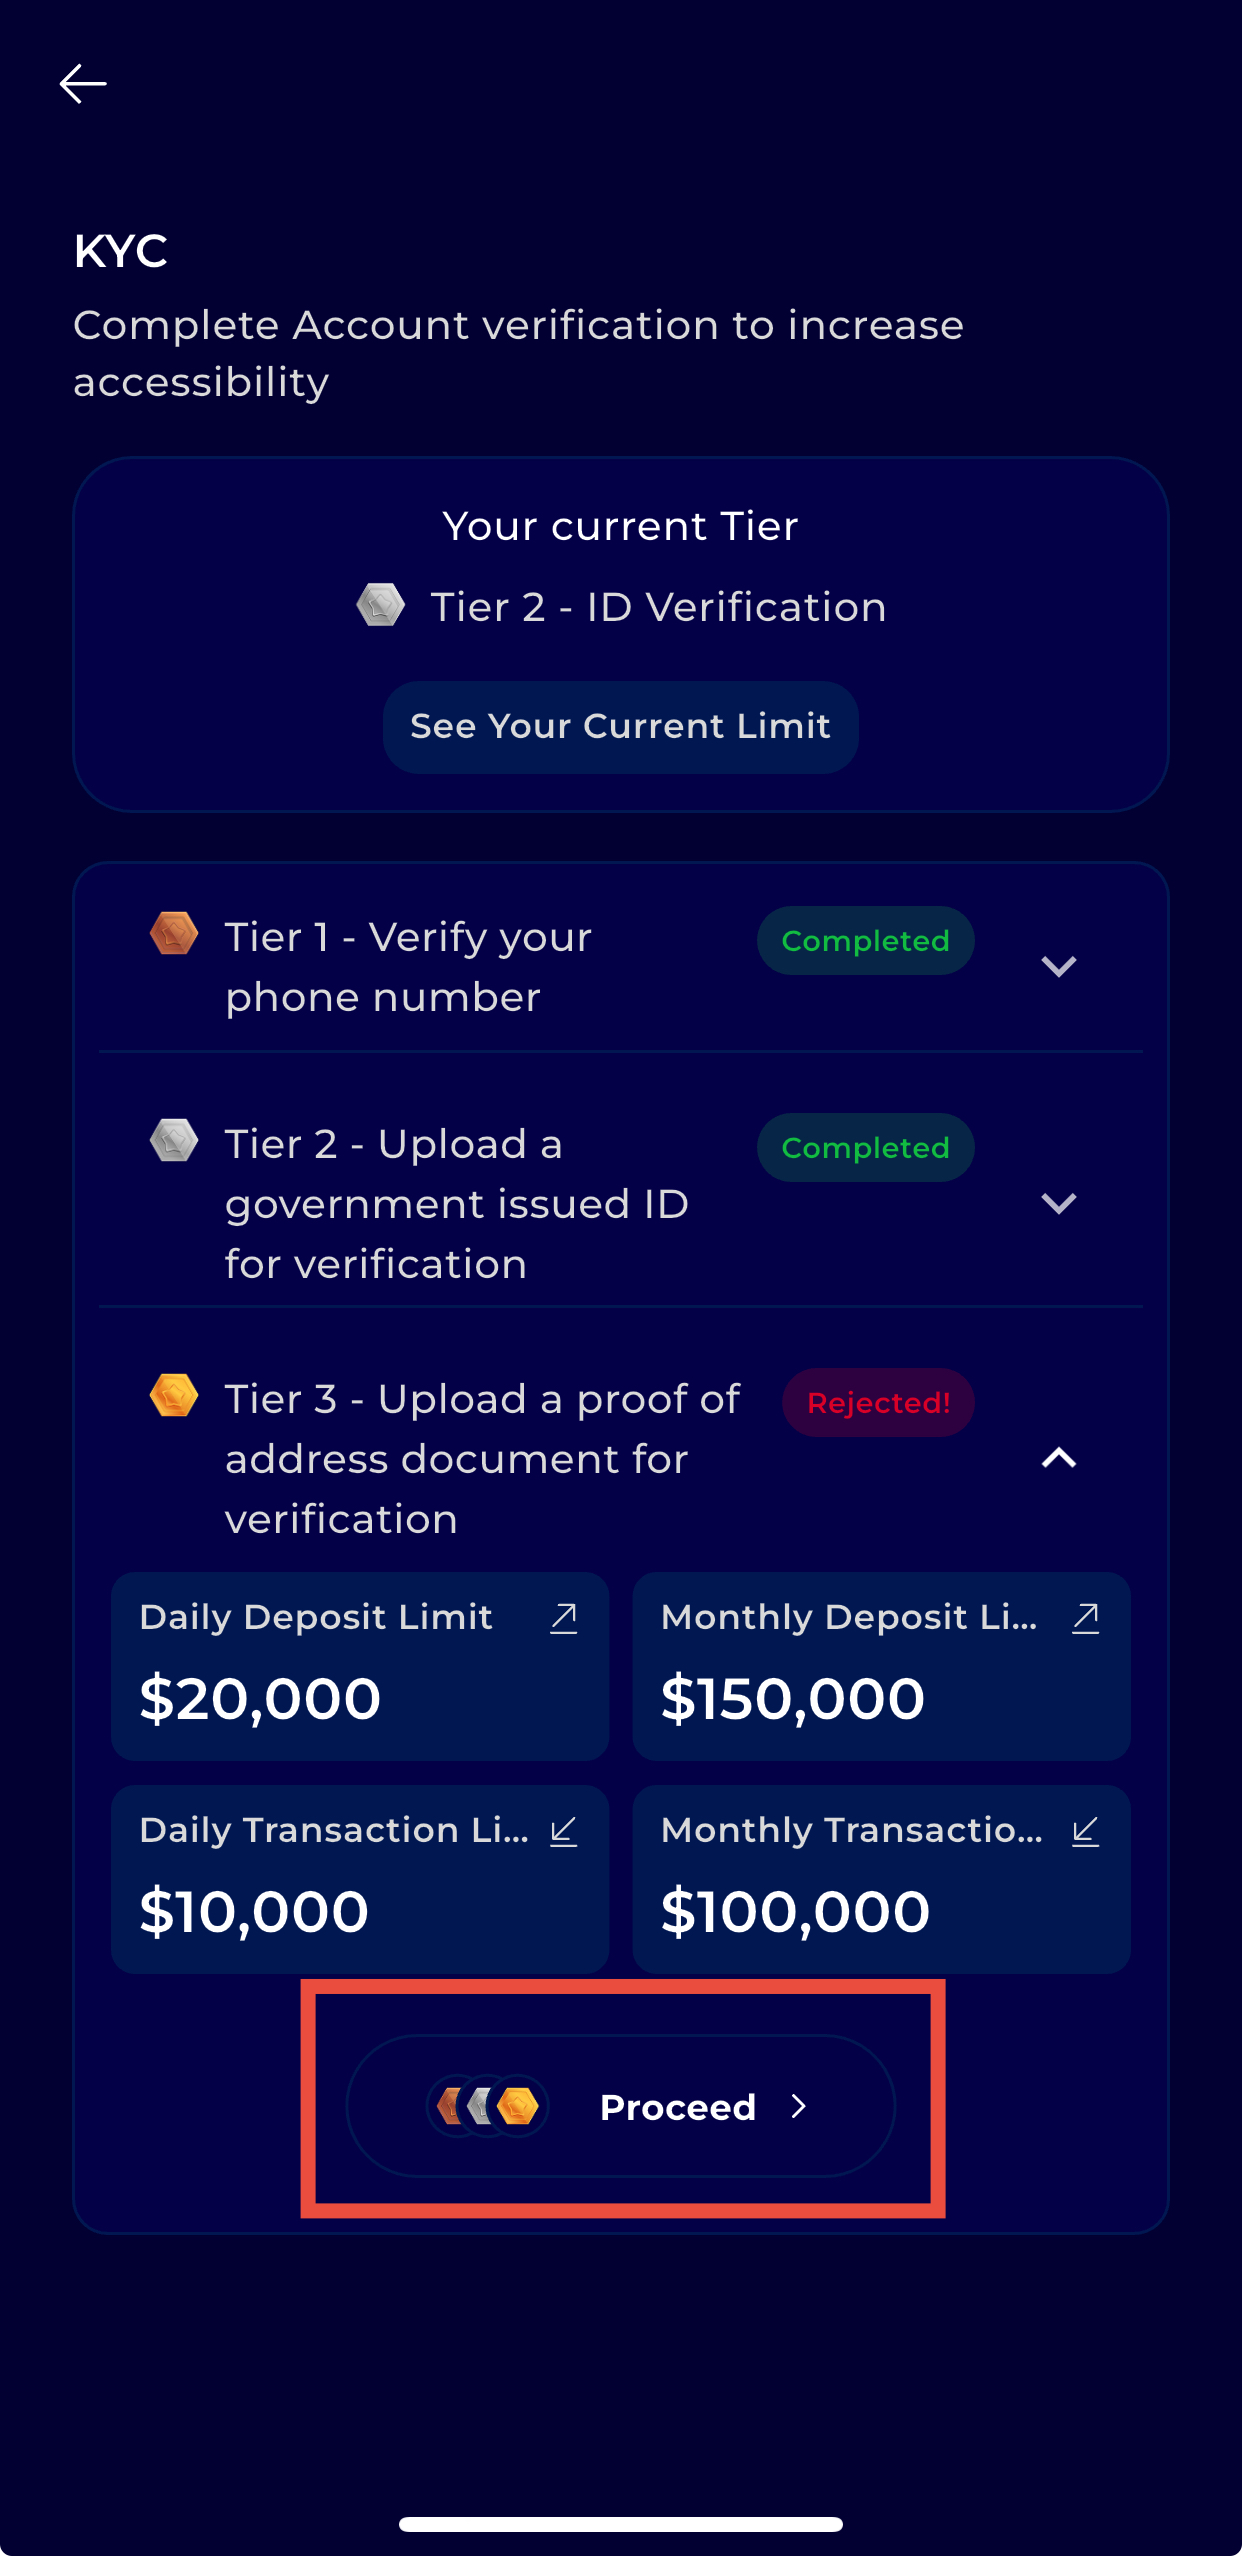
Step 7: Select Tier 3
Click on Tier 3 to start the verification process.
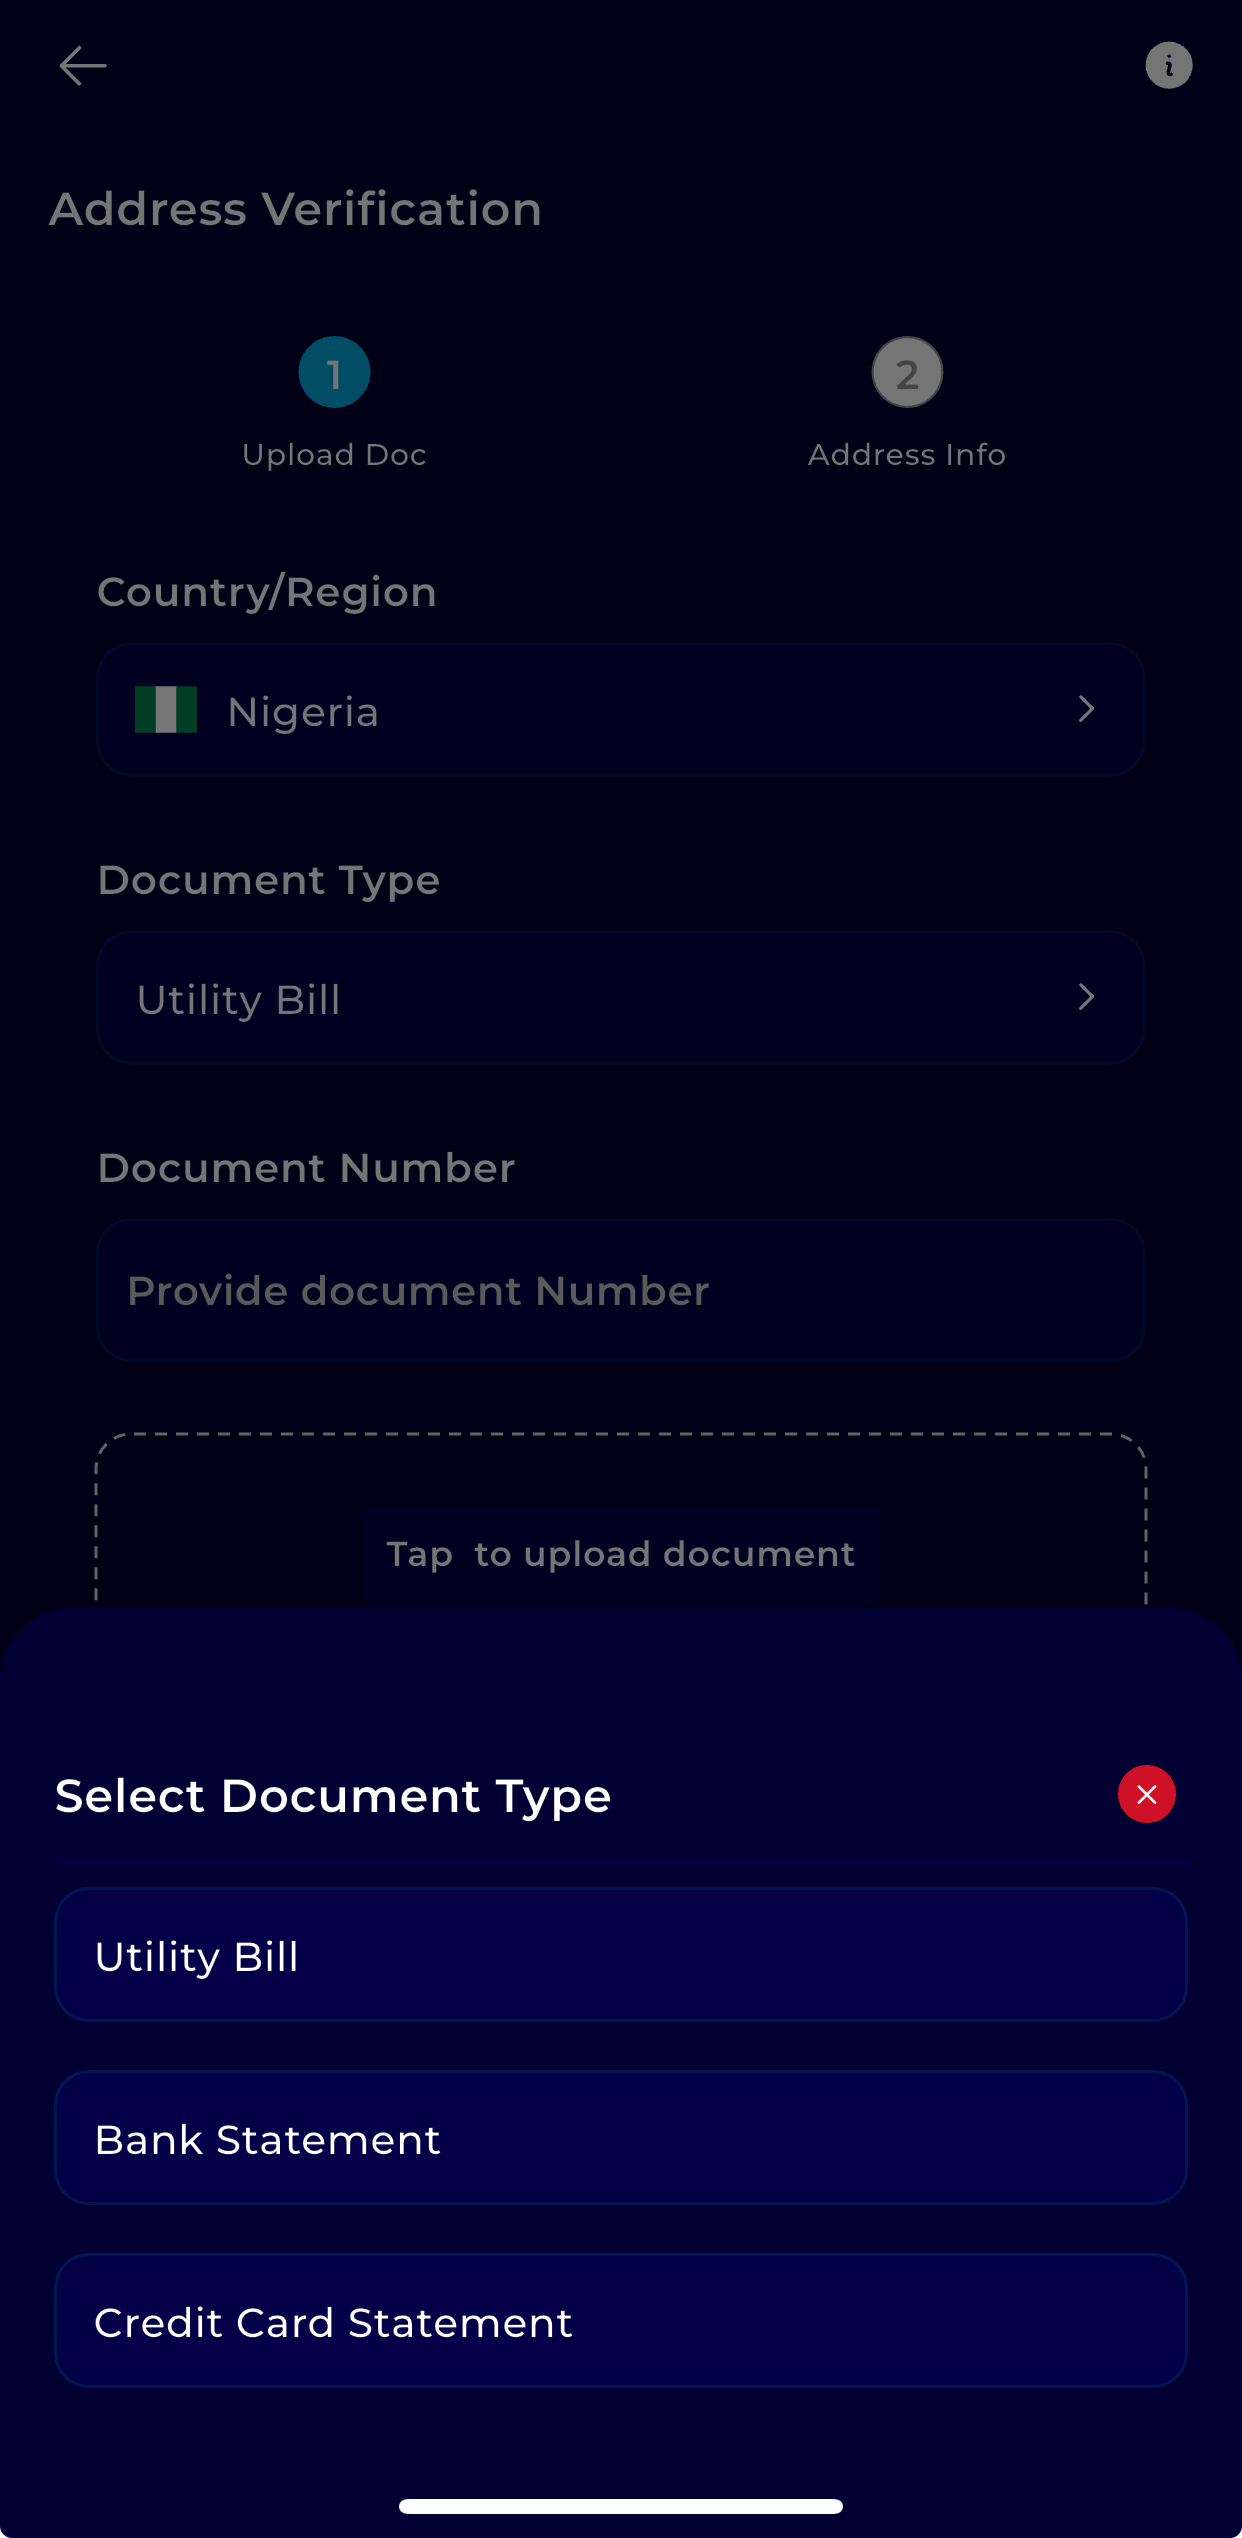
Step 8: Upload Proof of Address
Provide one of the following documents:
Utility bill
Bank statement
Credit card statement
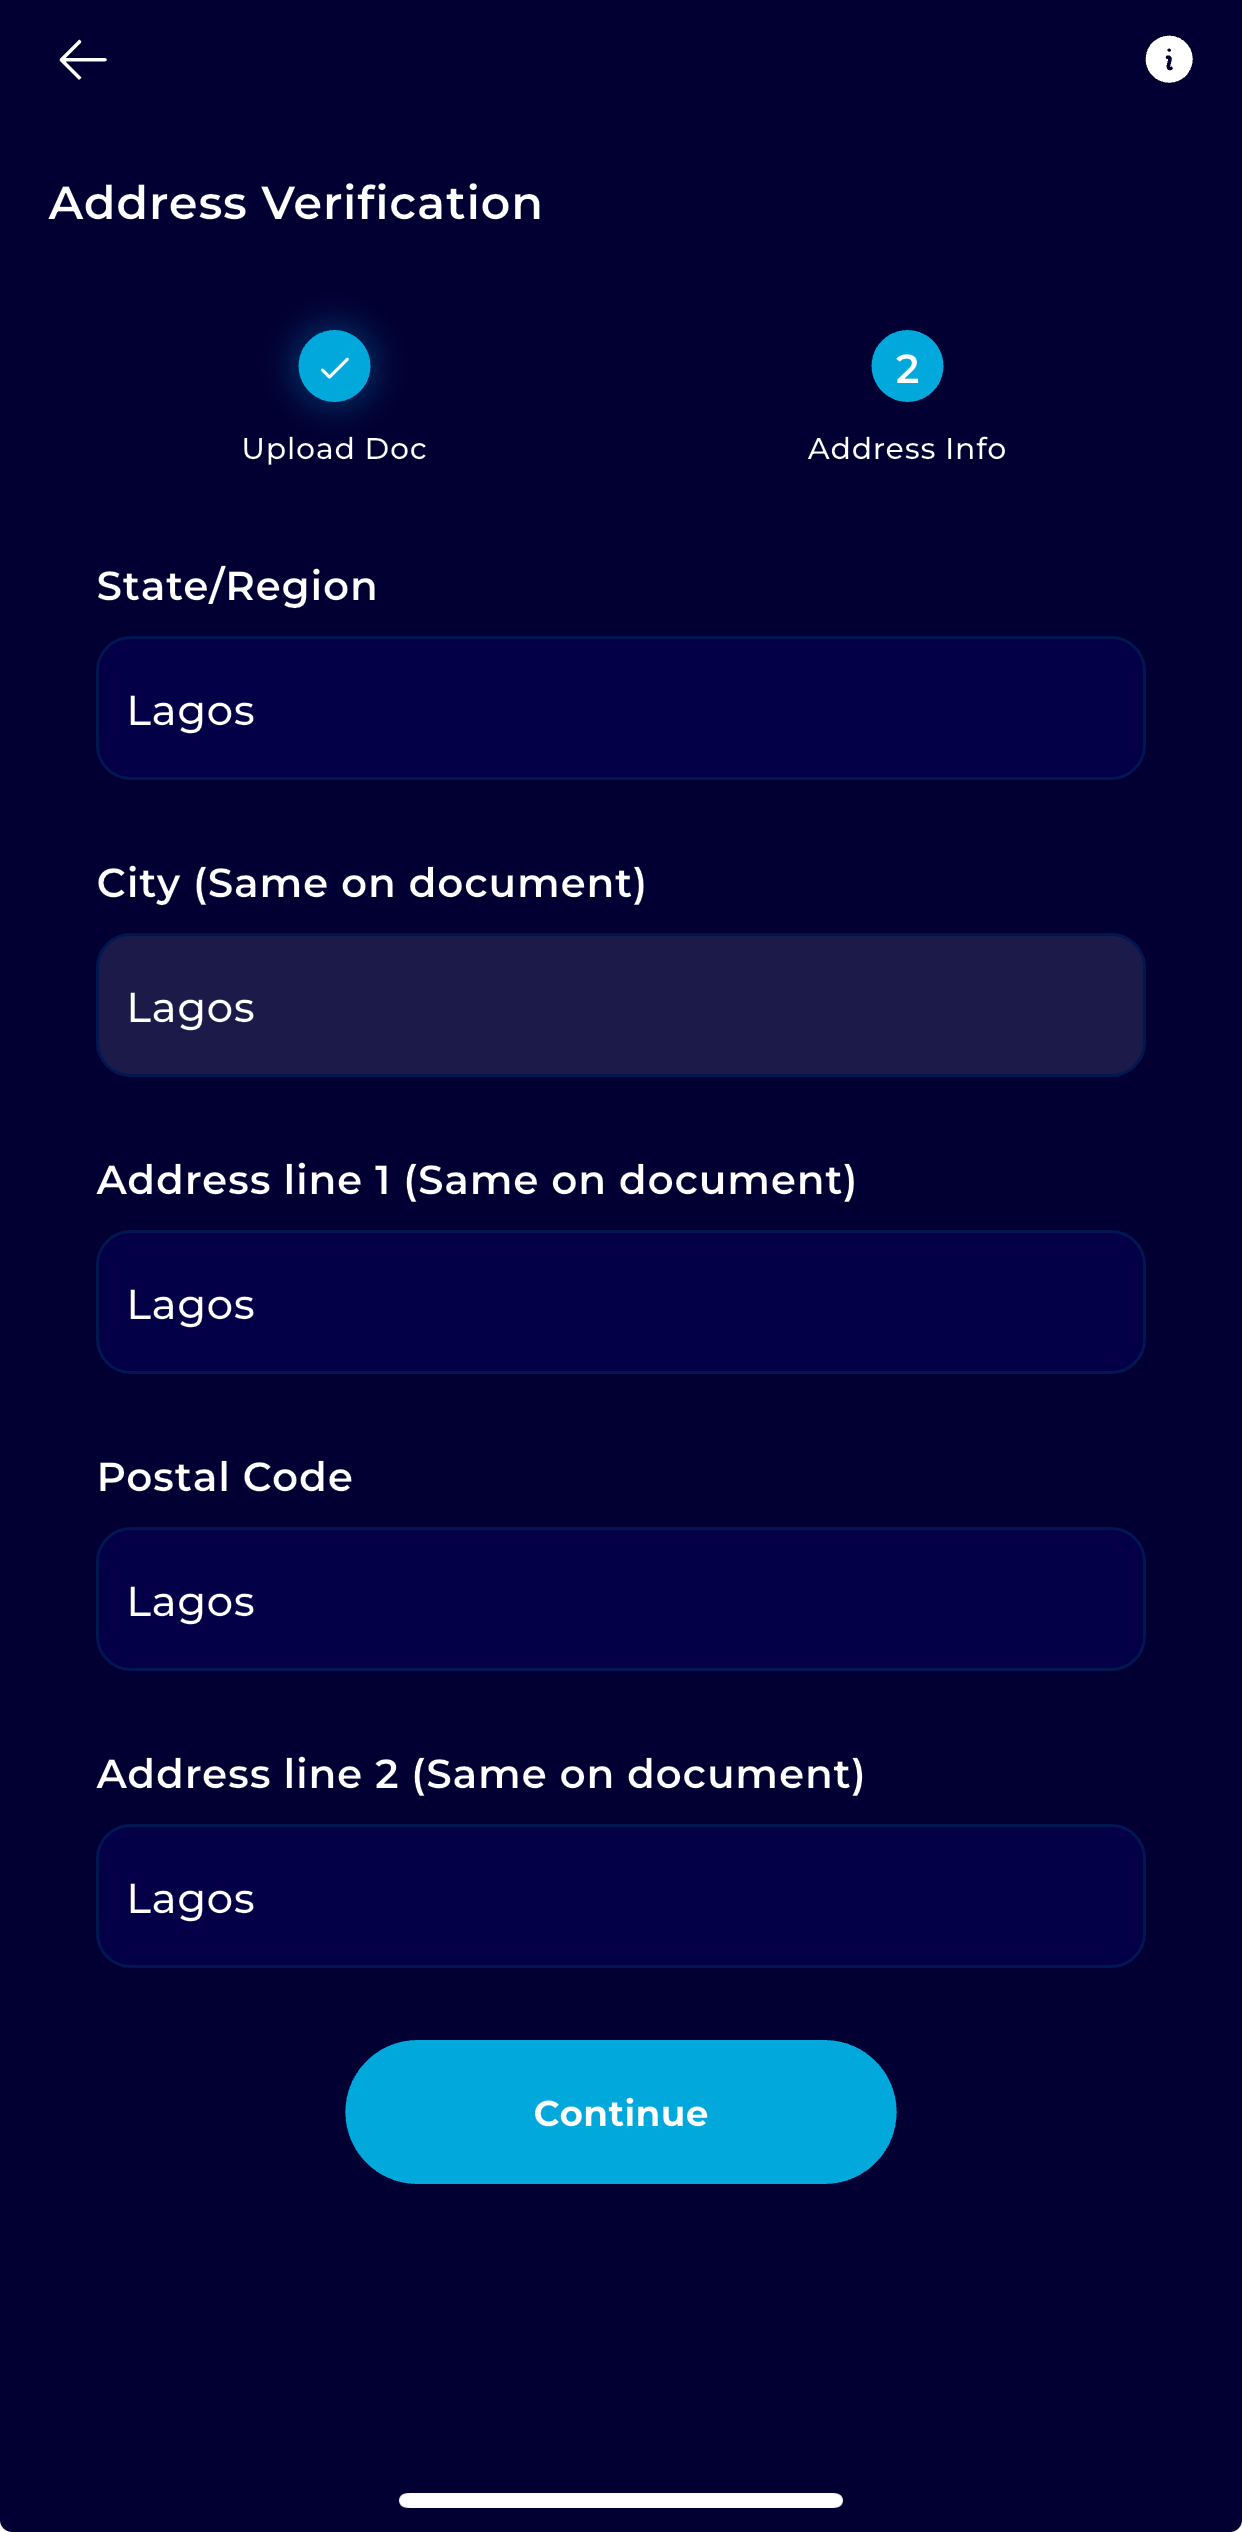
Step 9: Input Your Address
Enter your full residential address in the form provided.
Step 10: Upload and Submit
Review your details and upload your document.
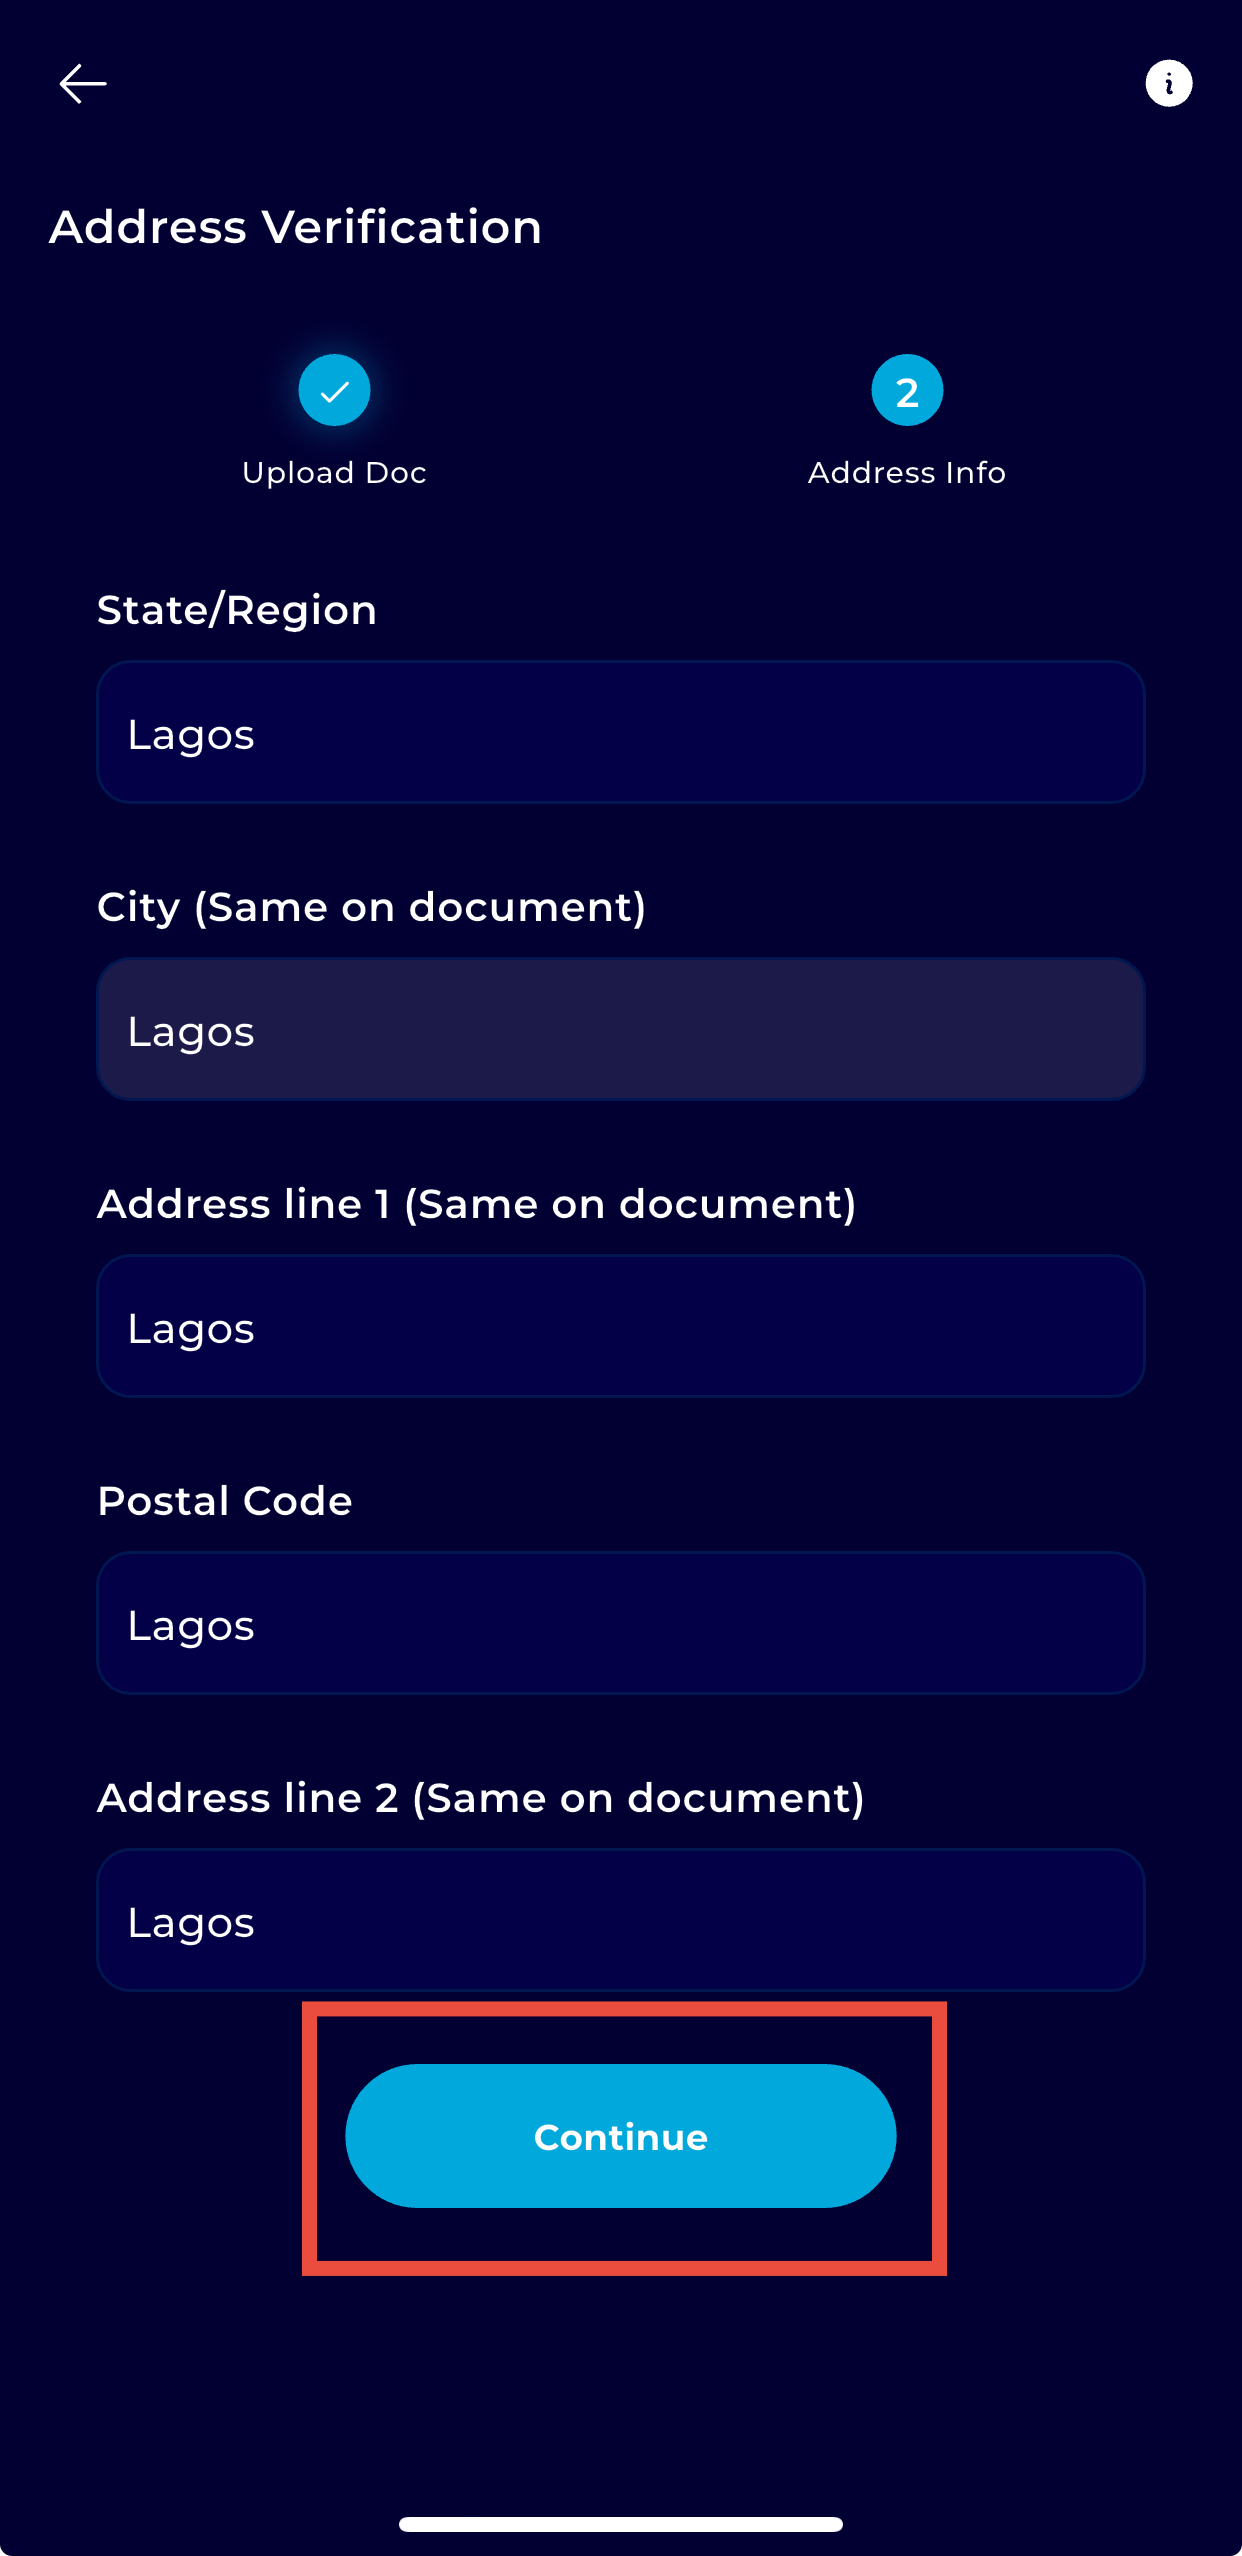
Then wait for verification. TransferXO will notify you once your Tier 3 upgrade is approved.