

Follow these simple steps to complete your Tier 3 KYC verification:
Step 1: Open the TransferXO Web App
Log in to your TransferXO account using your browser.
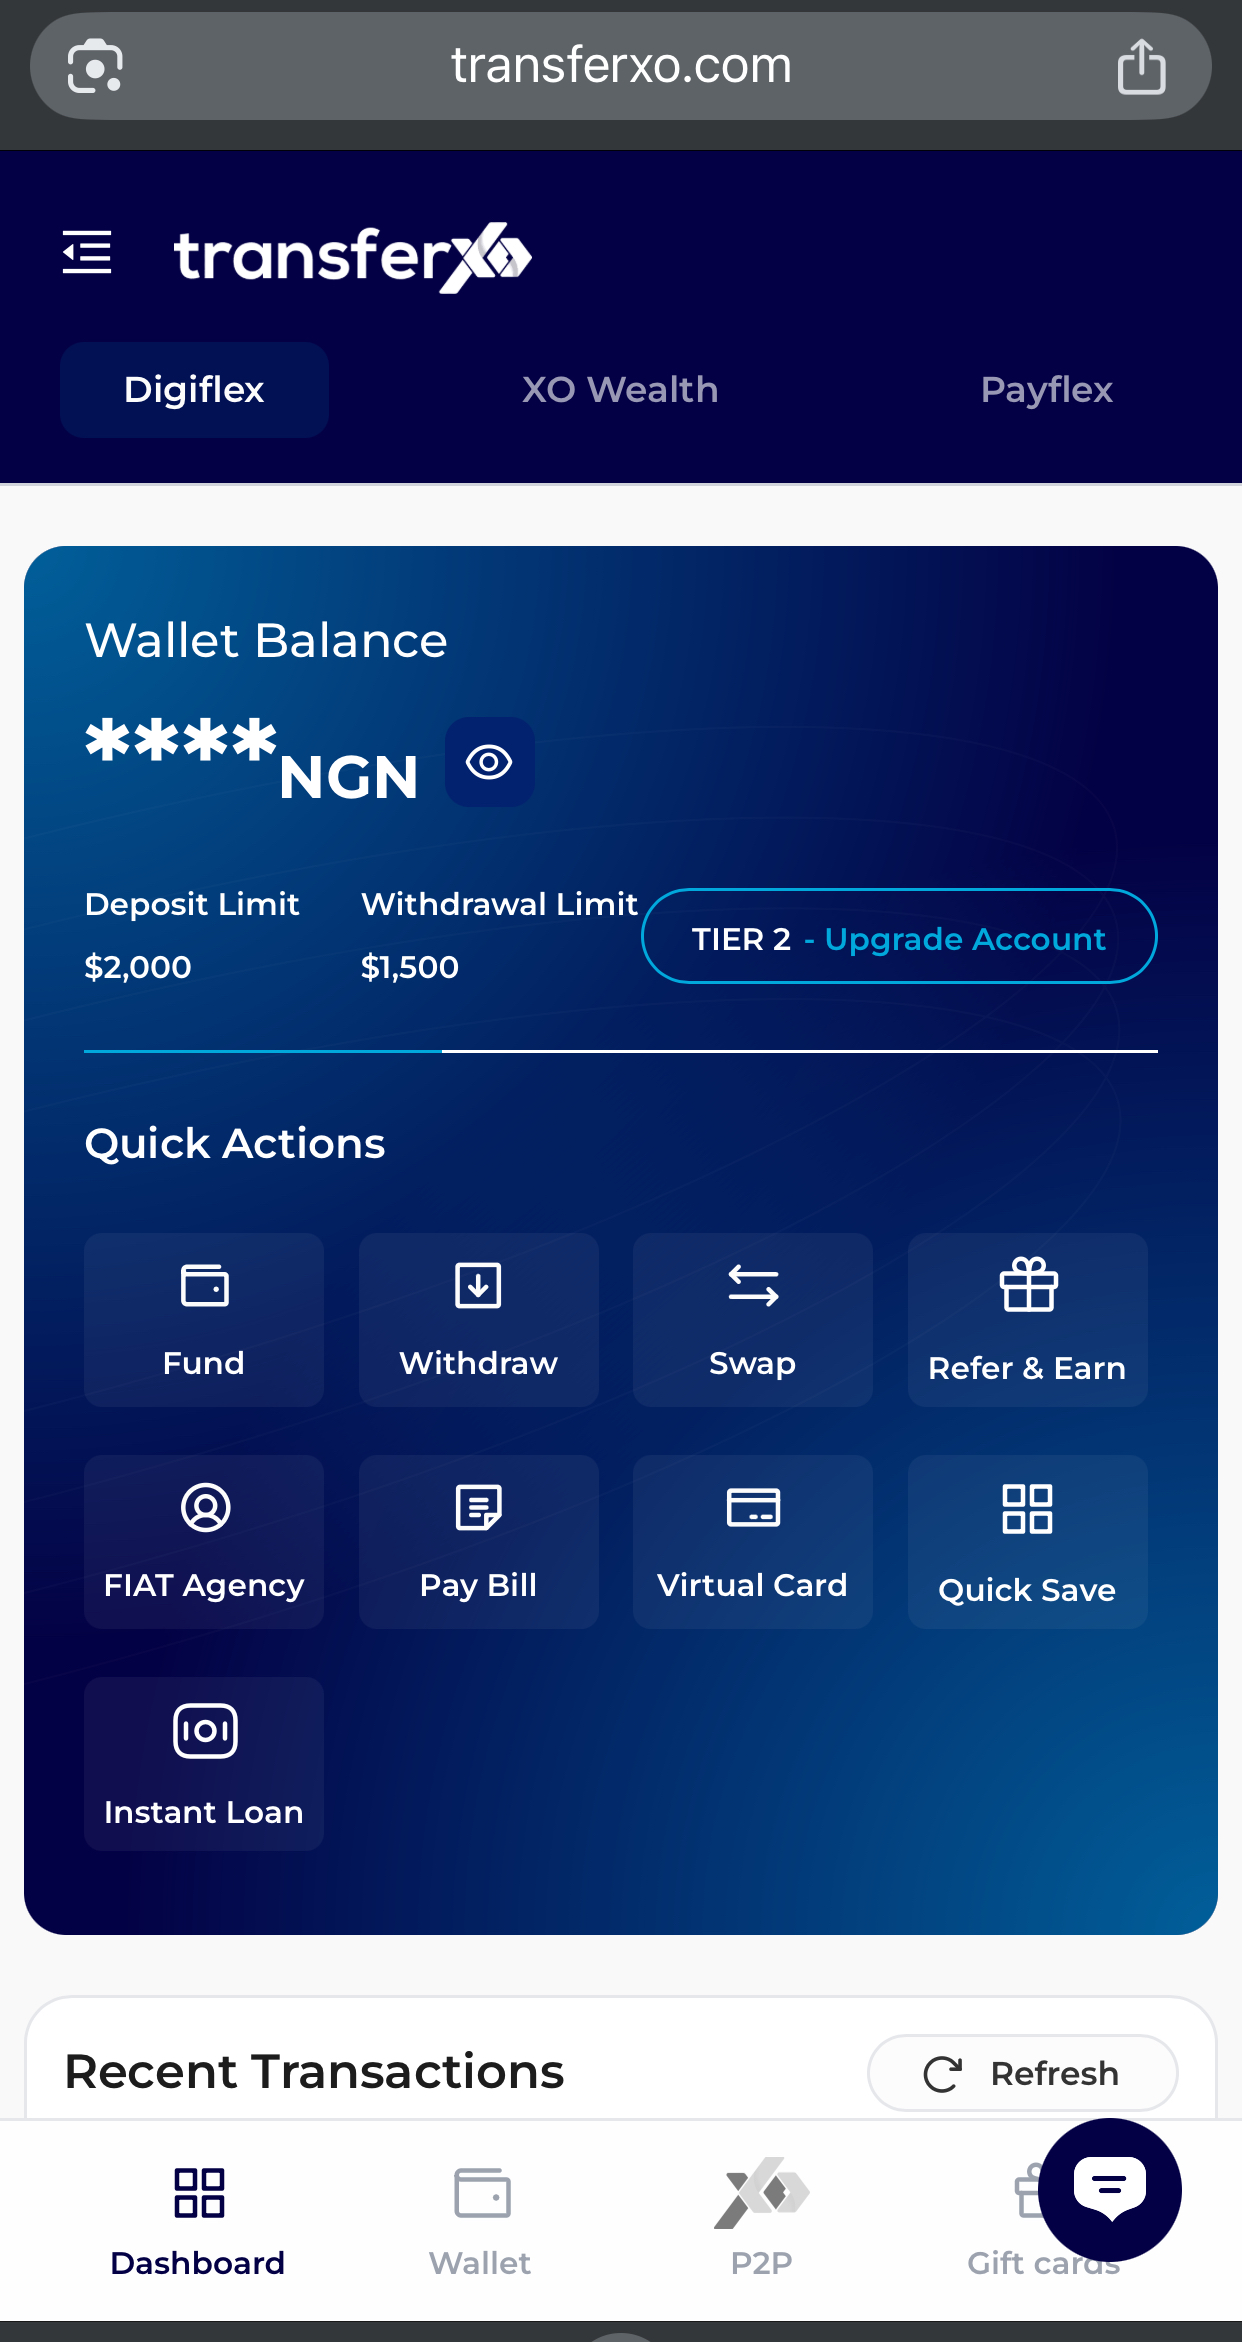
Step 2: Go to Your Dashboard
This is the main page displayed after login.
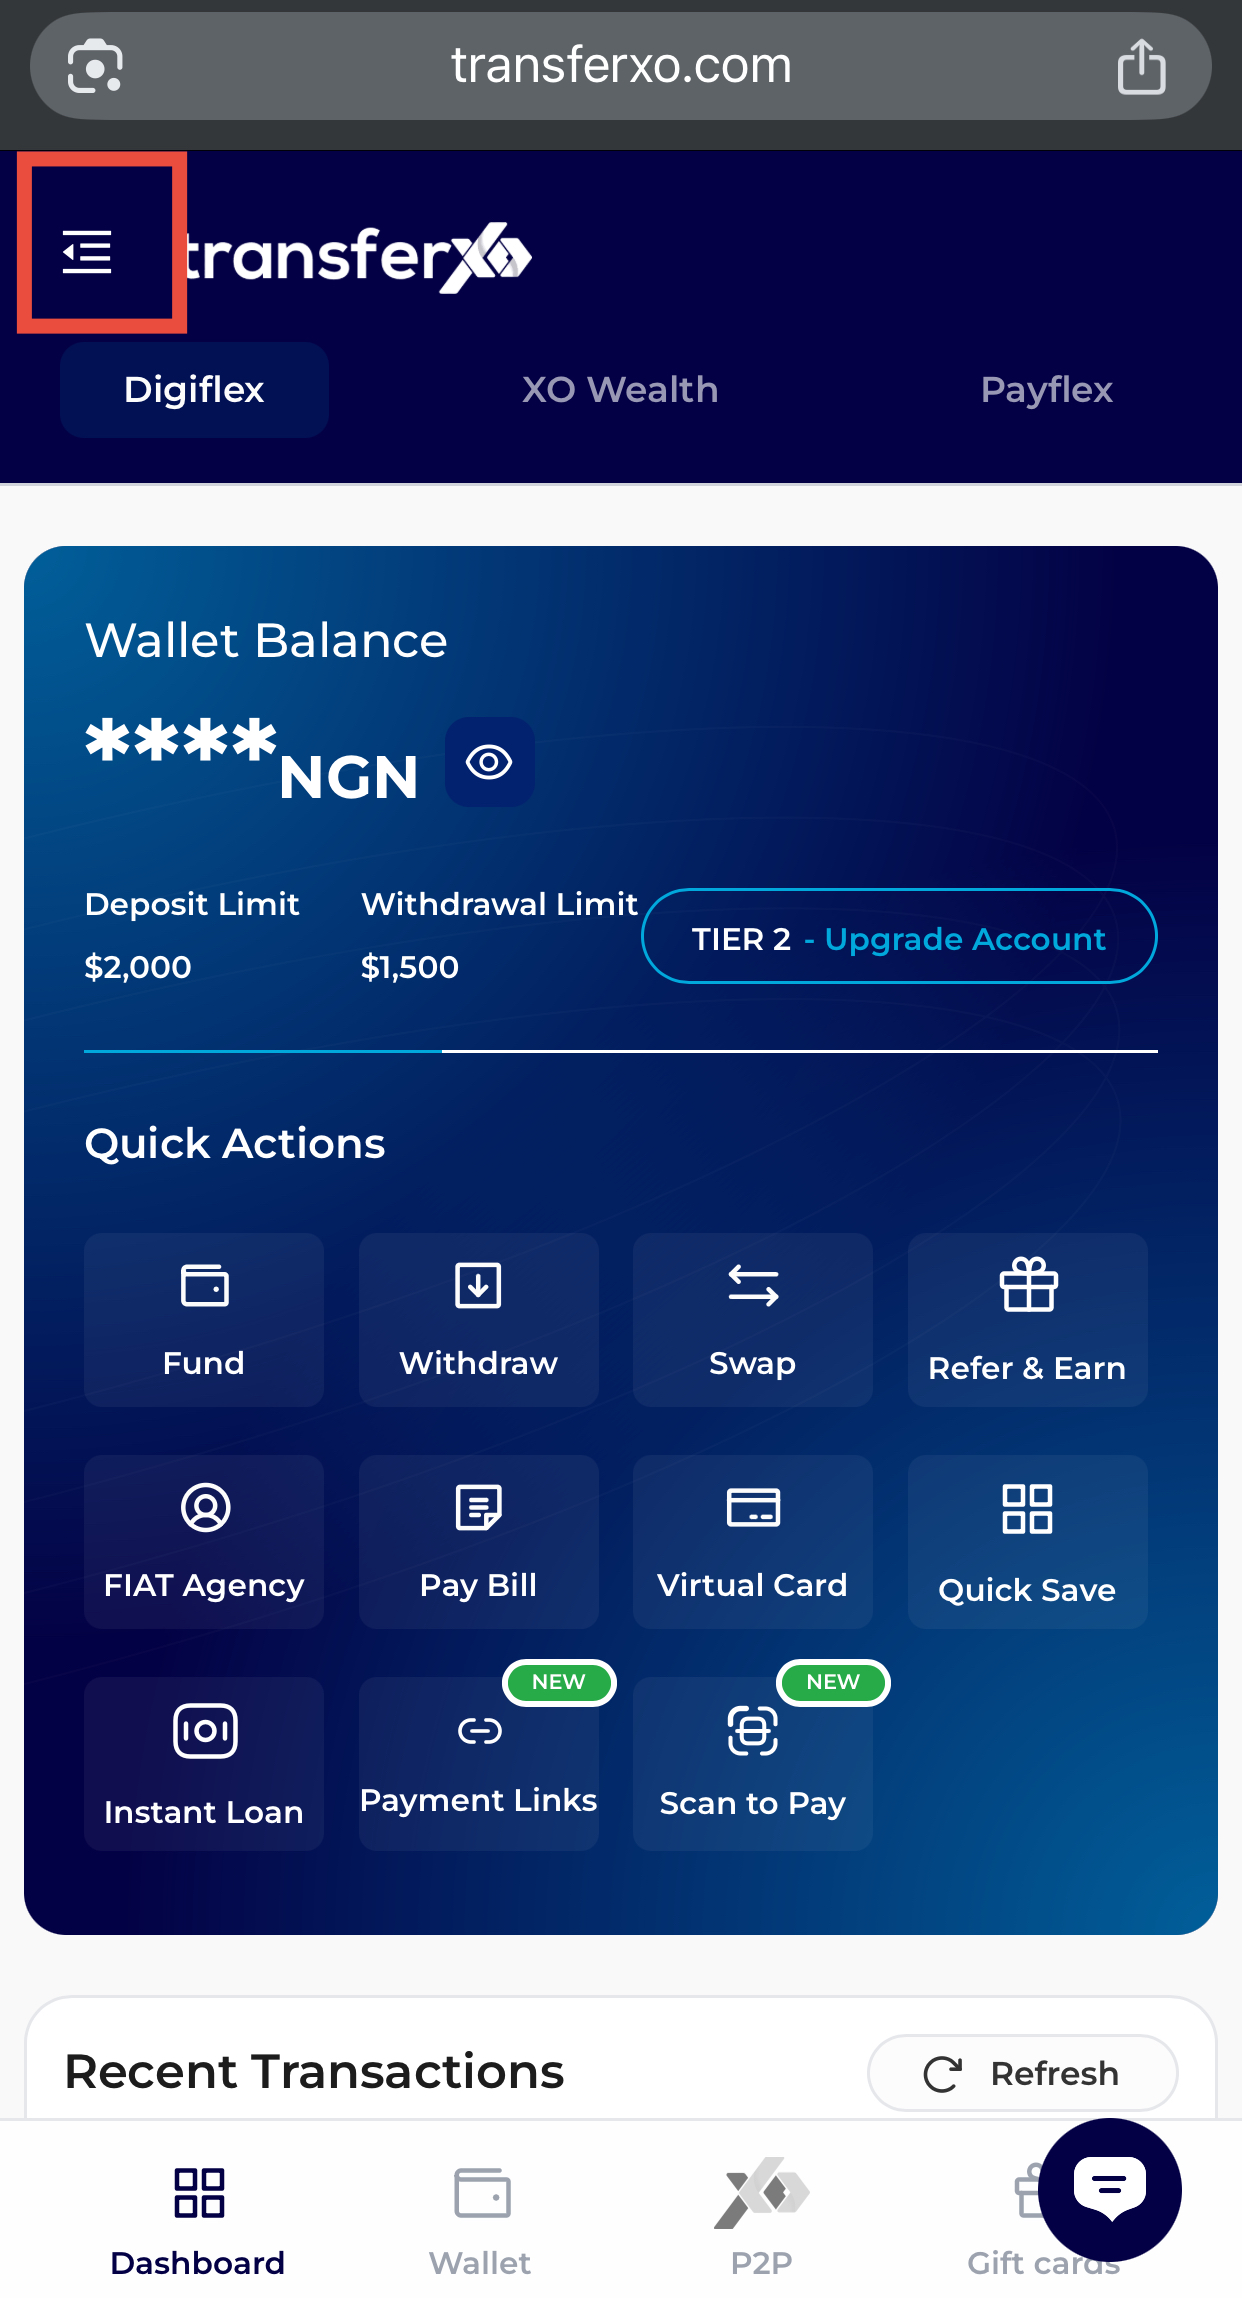
Step 3: Access Account Settings
Tap the menu icon (four horizontal lines) at the top-left corner of the screen.
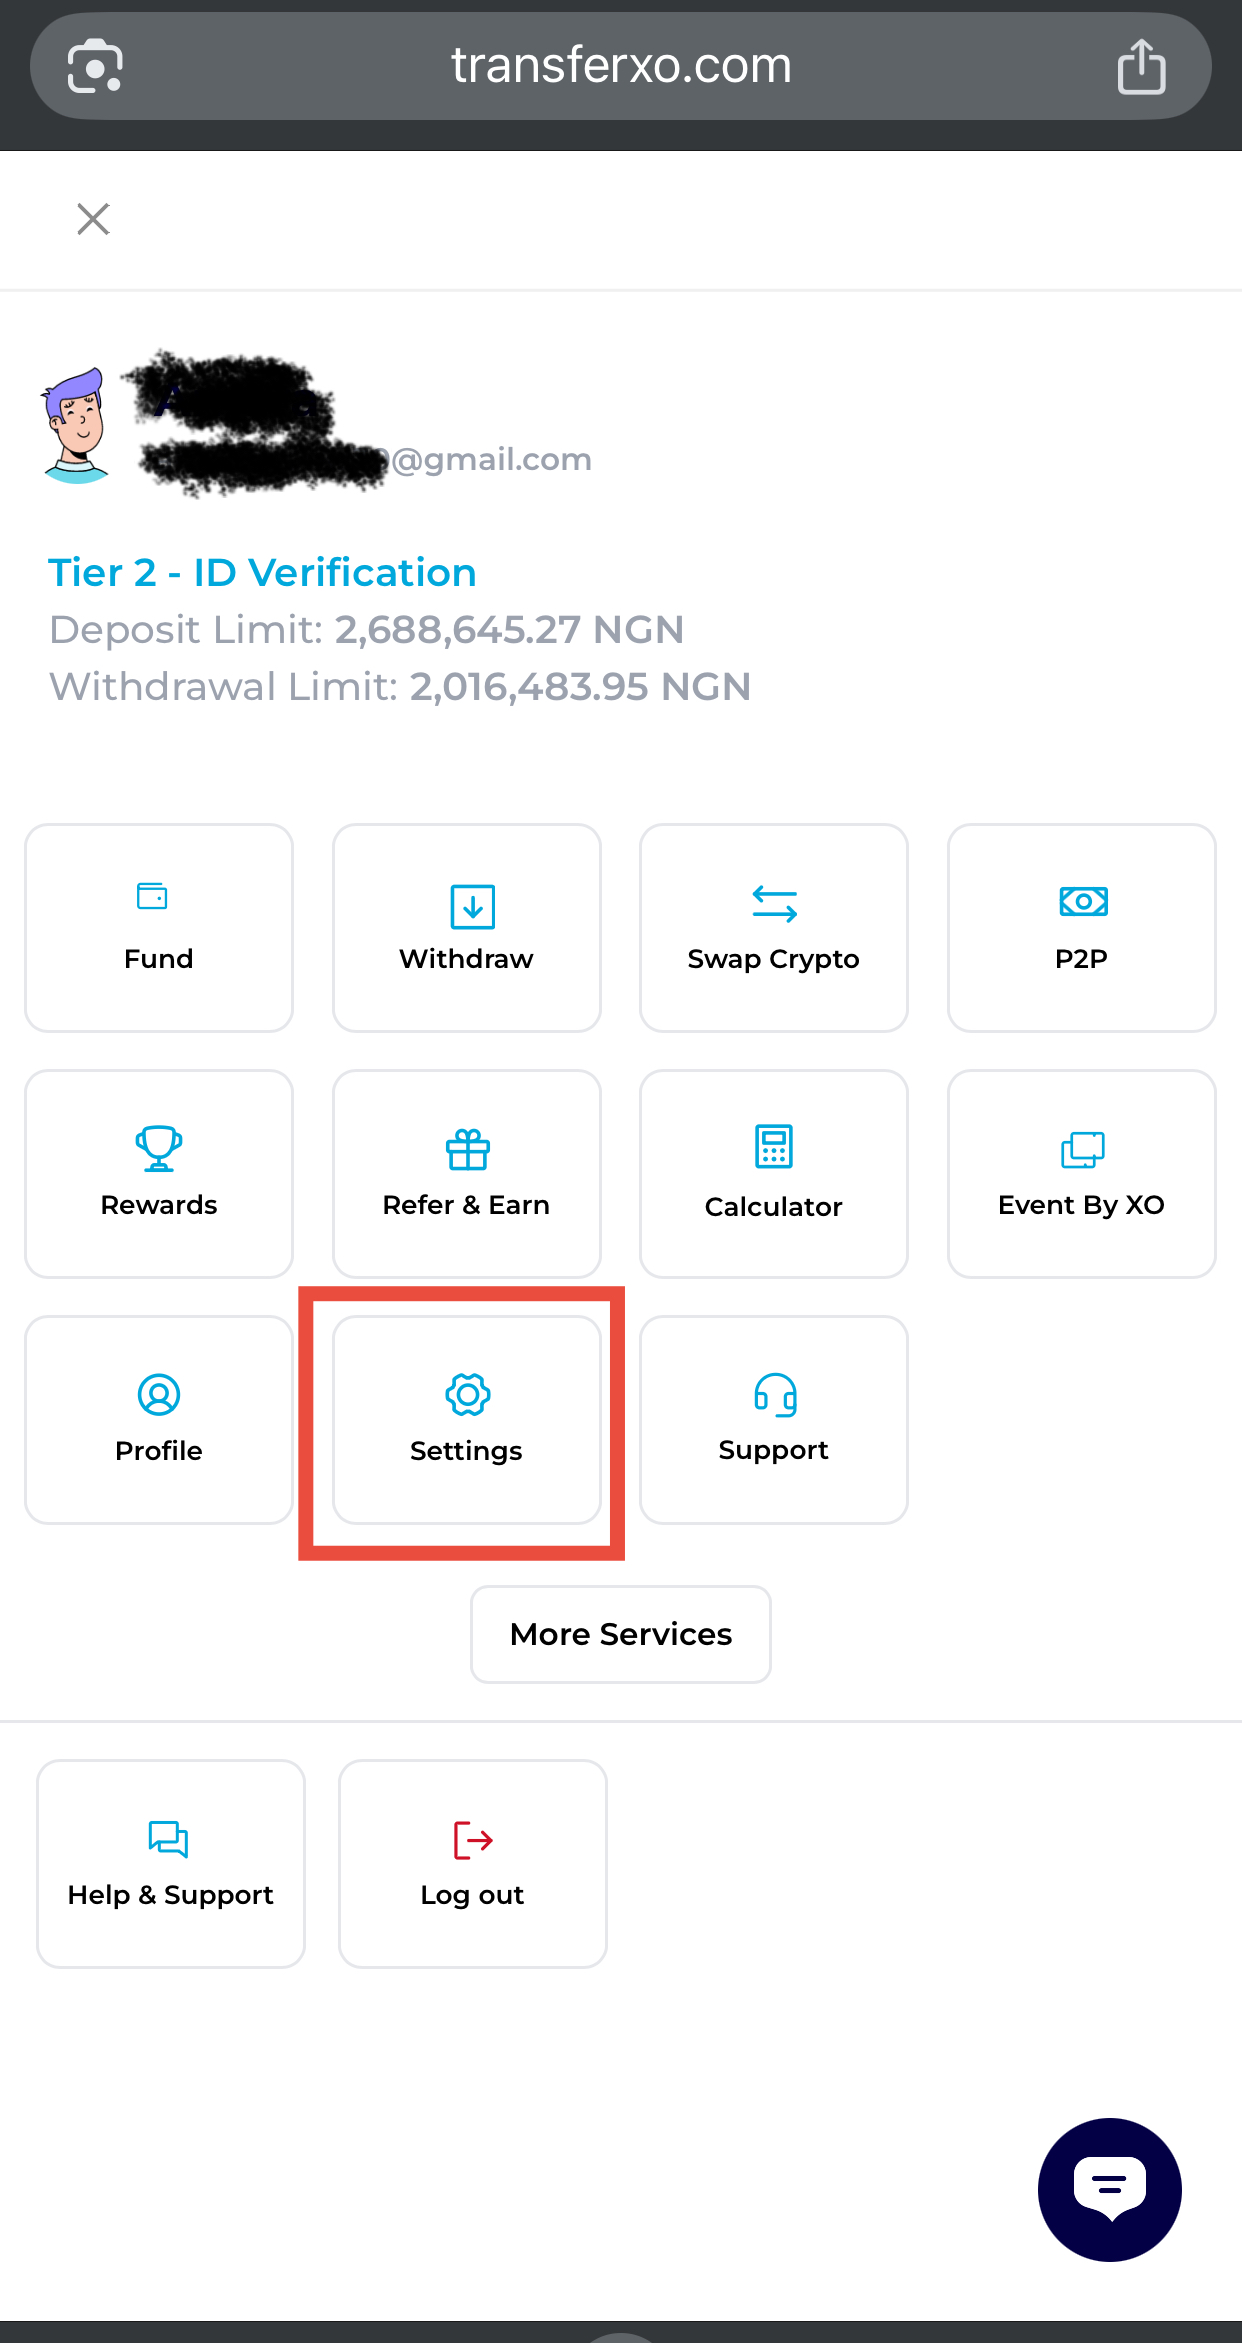
Step 4: Navigate to Account Settings
Scroll down and select Account Settings from the dropdown menu.
Step 5: Navigate to KYC Settings
Scroll down and click on KYC Settings to manage your verification documents.

Step 6: Select Tier 3
Click on Tier 3 to start the verification process.
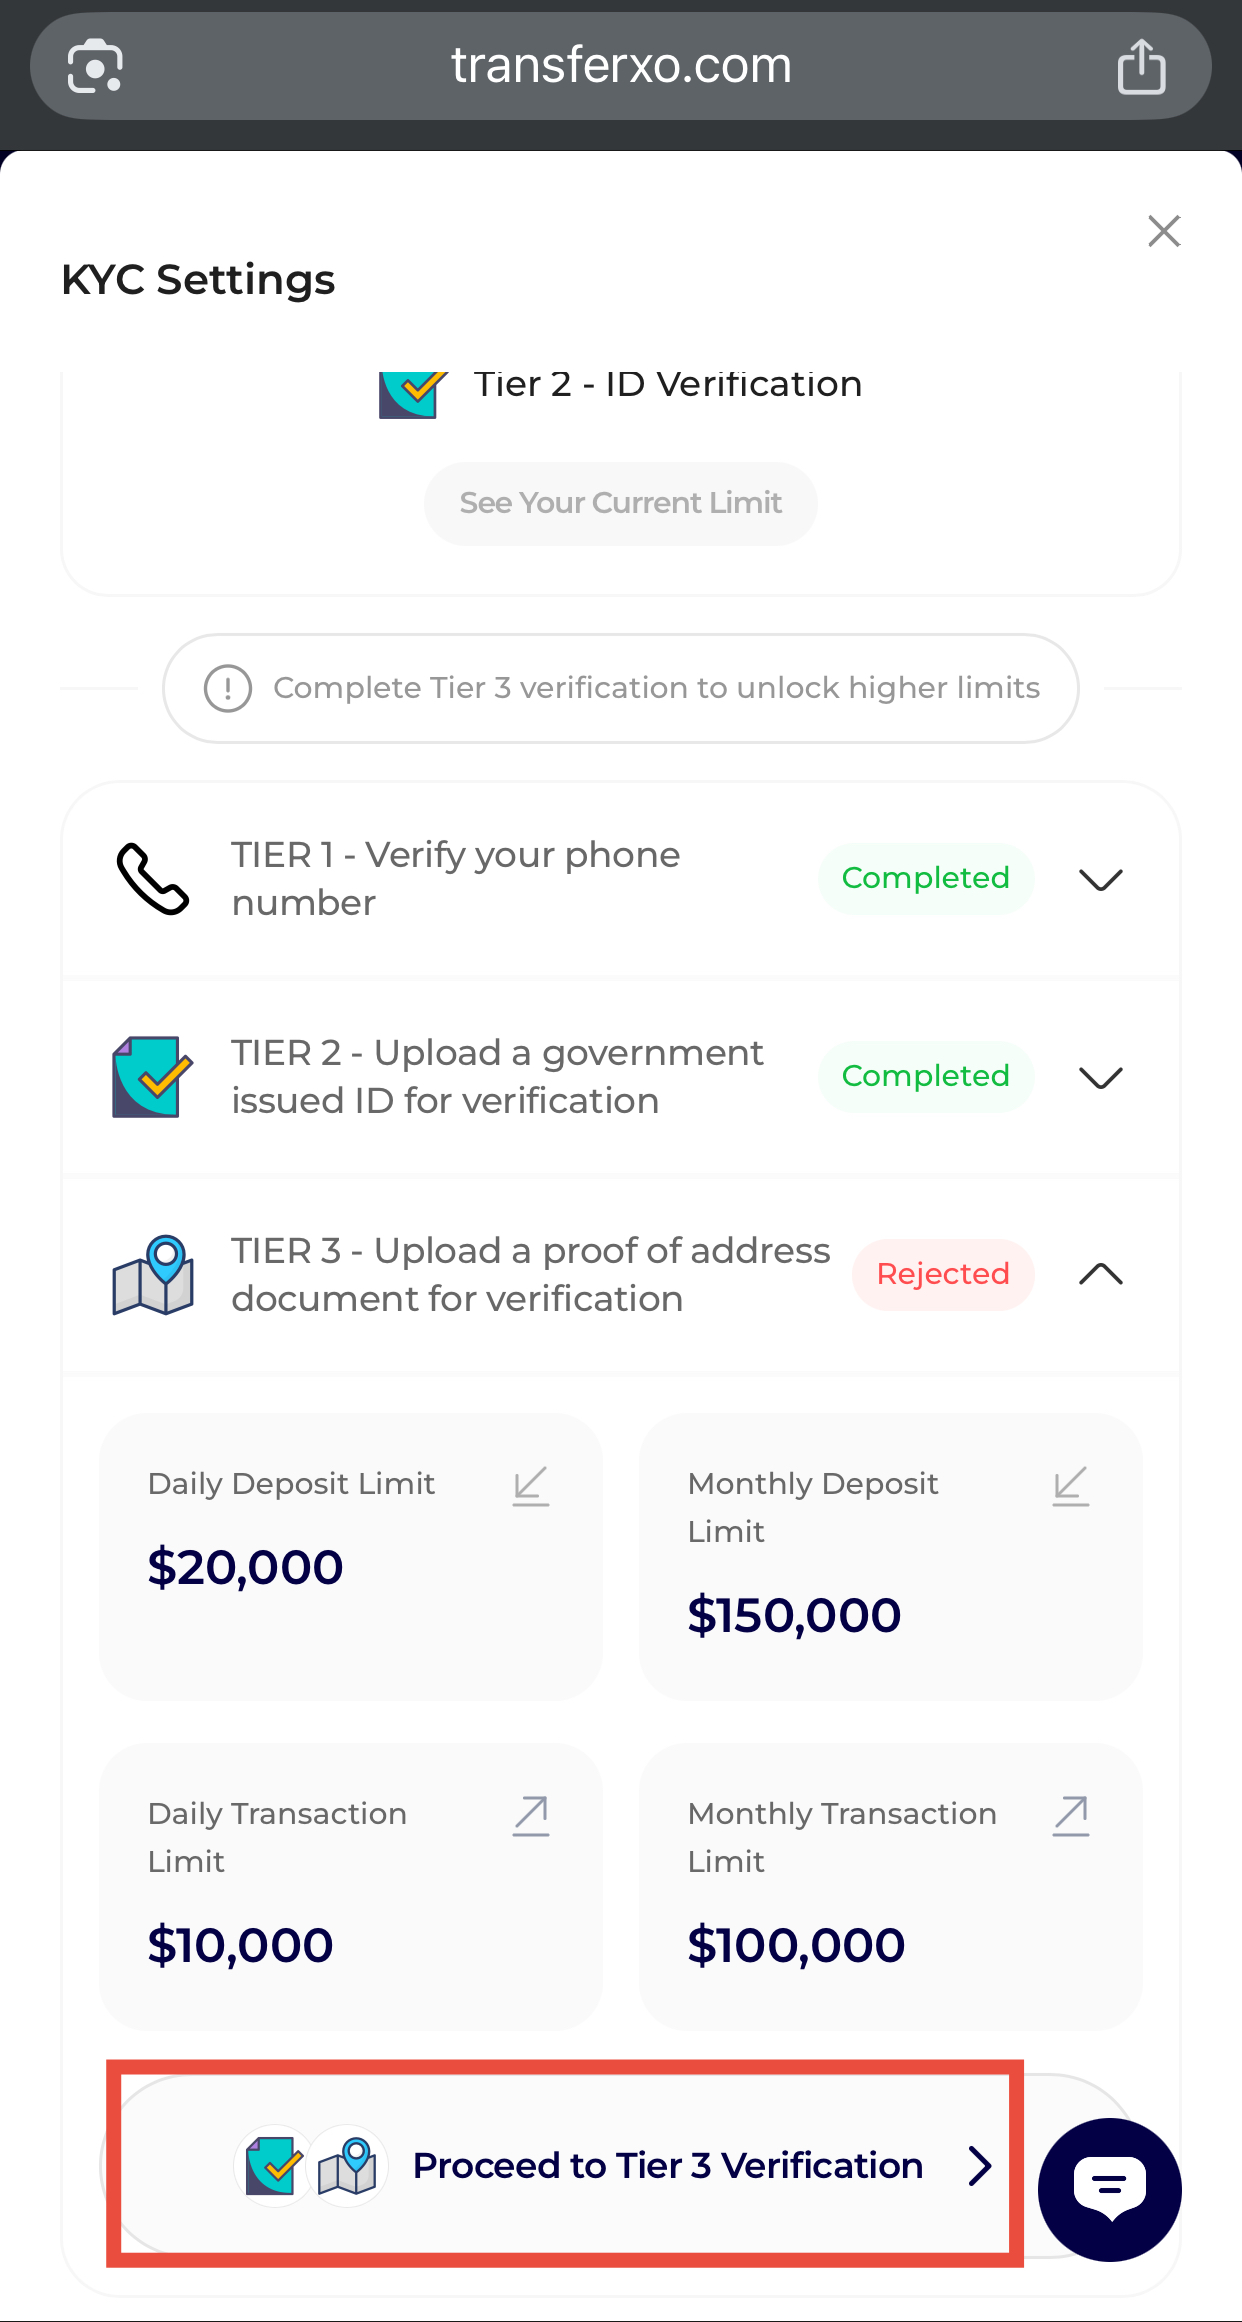
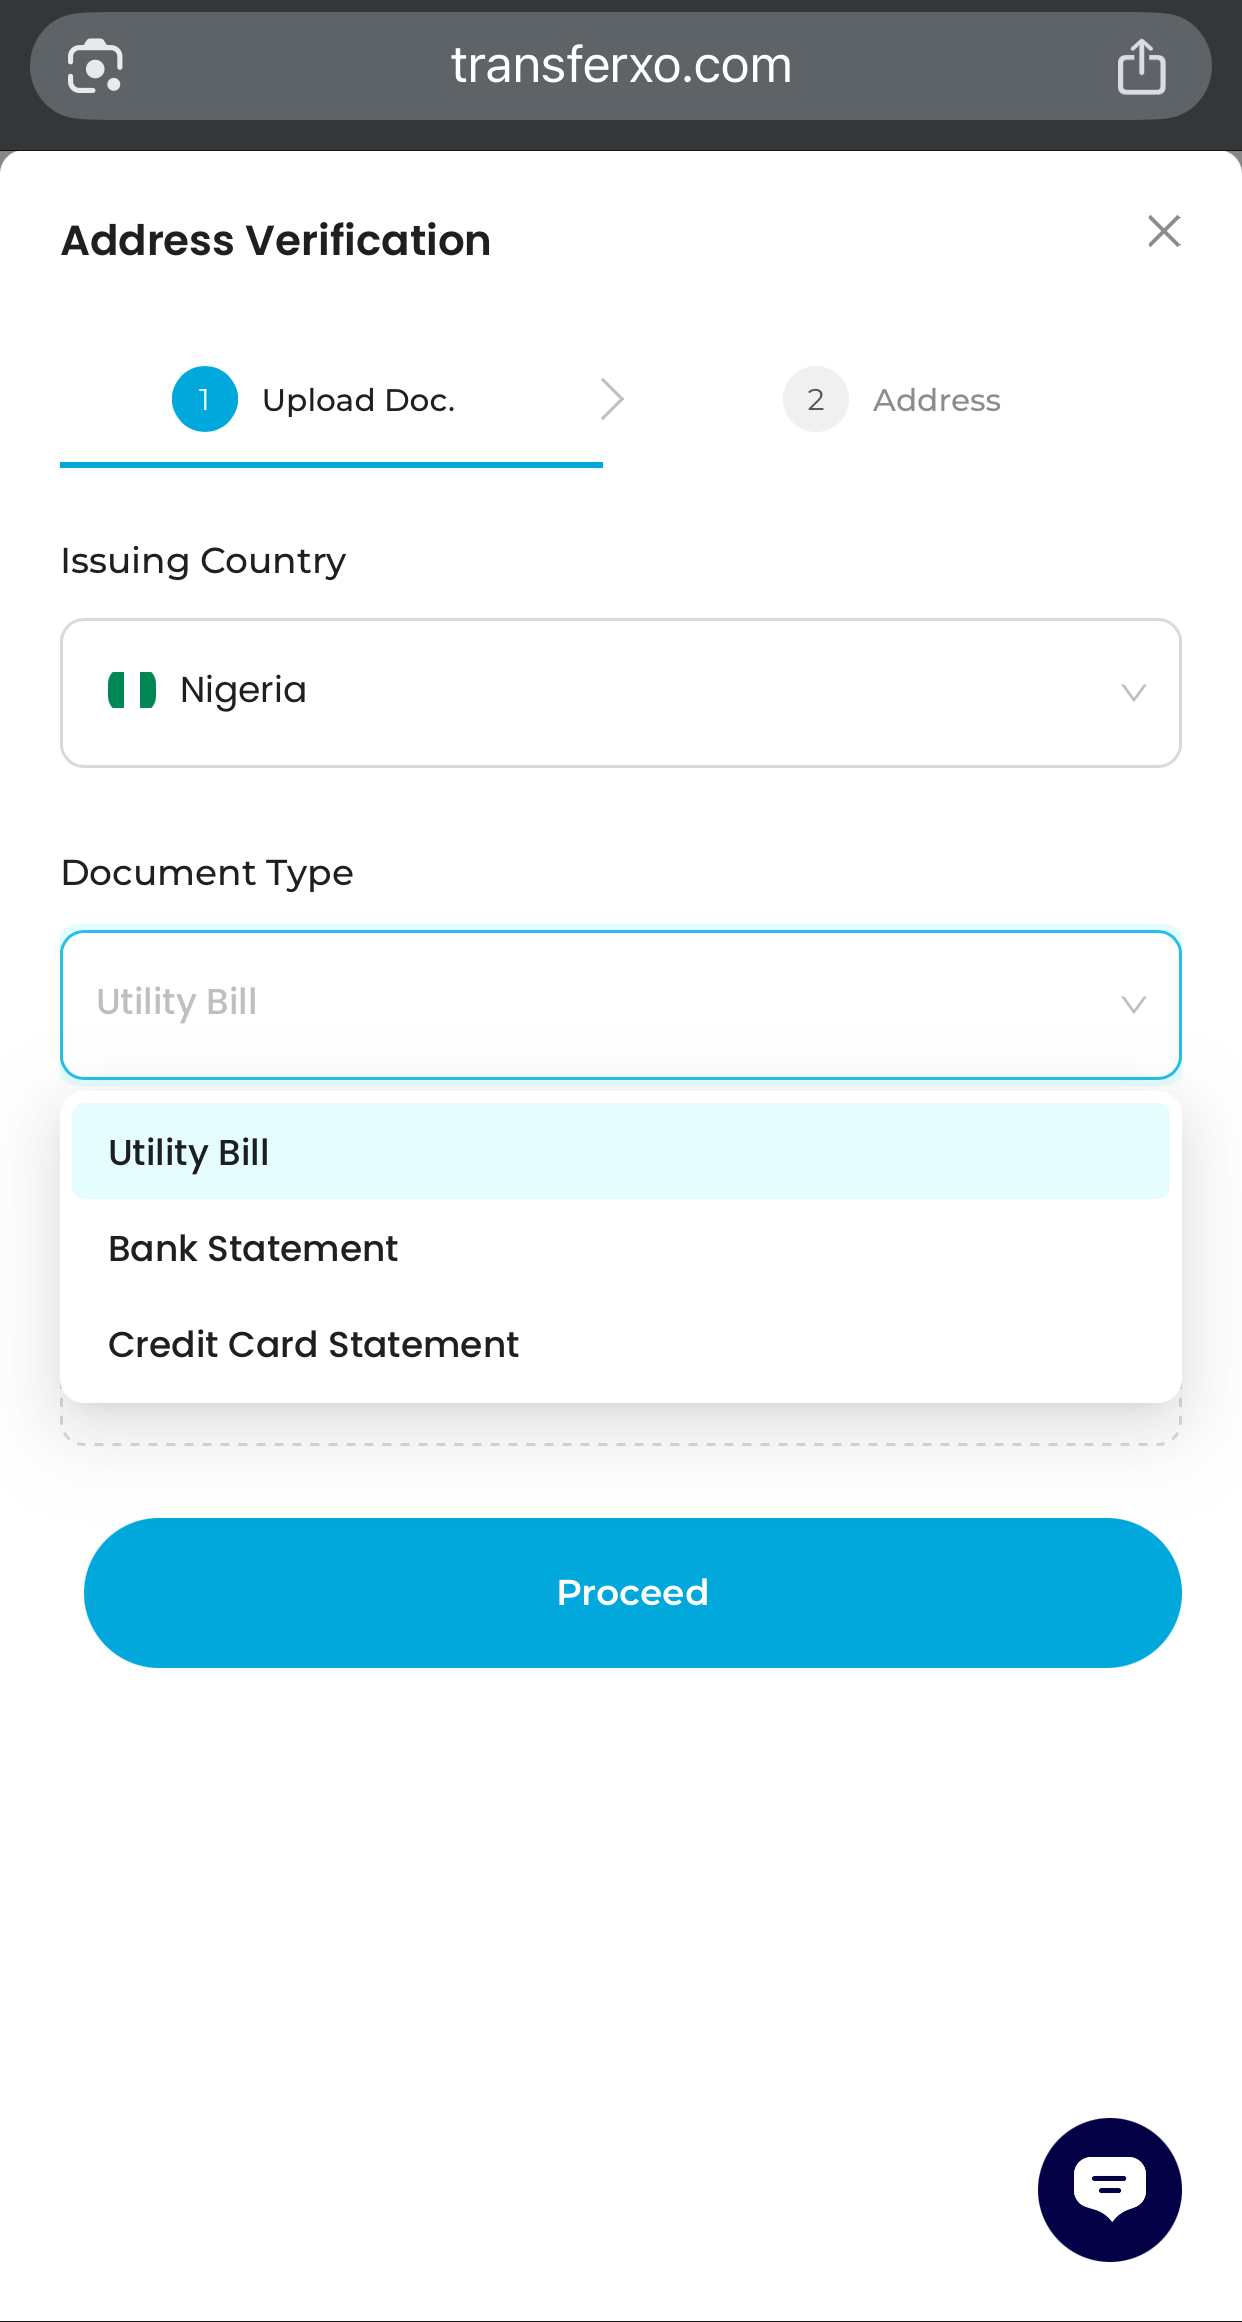
Step 7: Upload Proof of Address
Provide one of the following documents:
Utility bill
Bank statement
Credit card statement
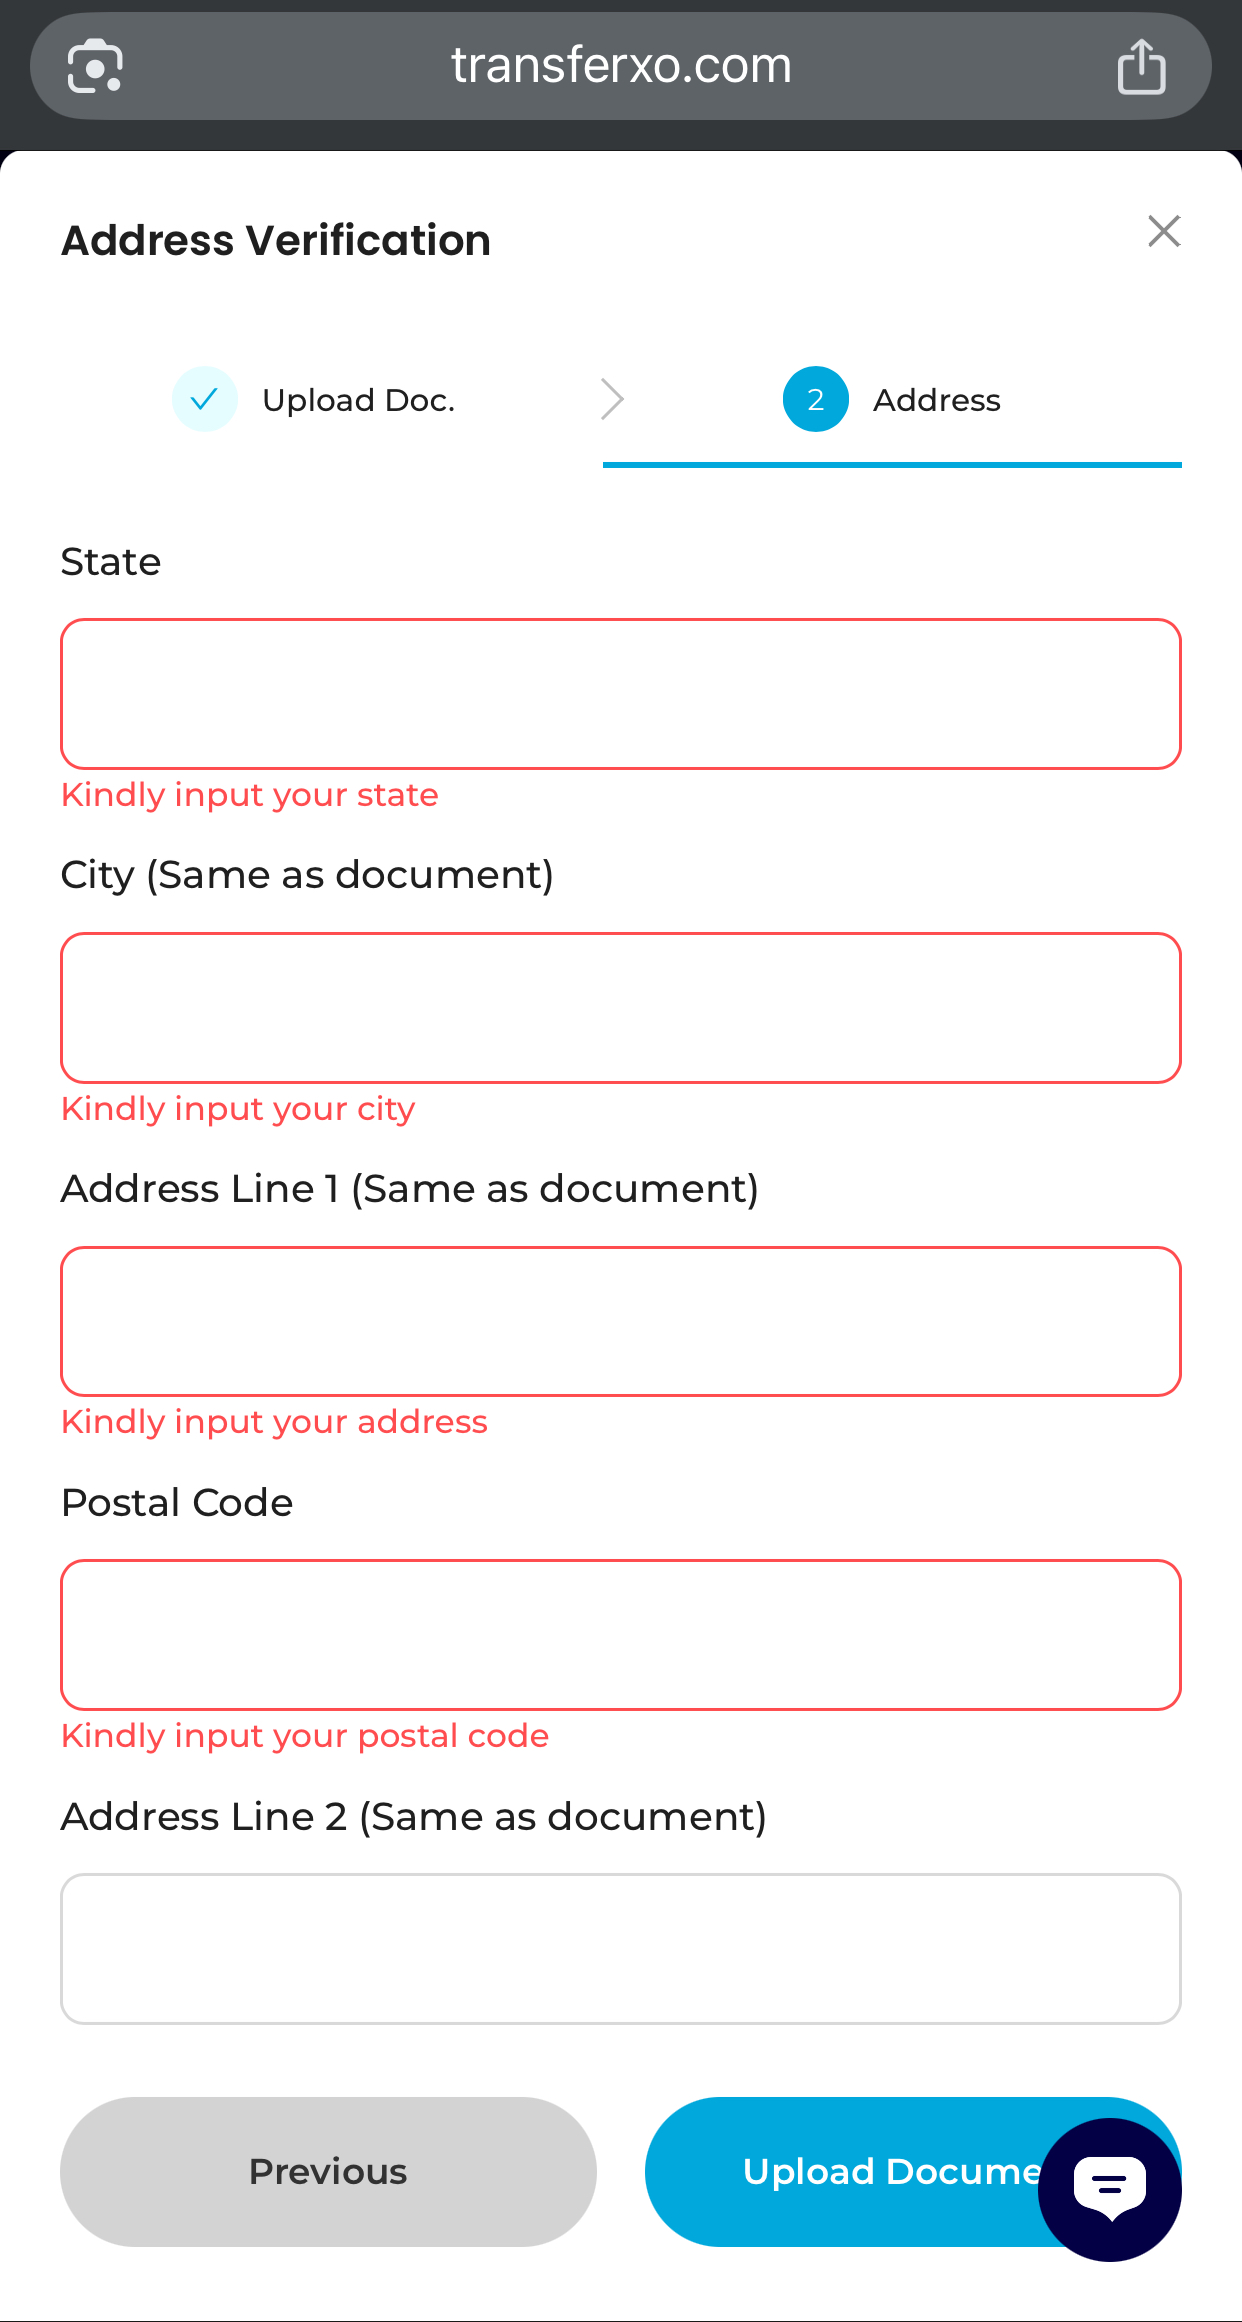
Step 8: Input Your Address
Enter your full residential address in the form provided.
Step 9: Upload and Submit
Review your details and upload your document.
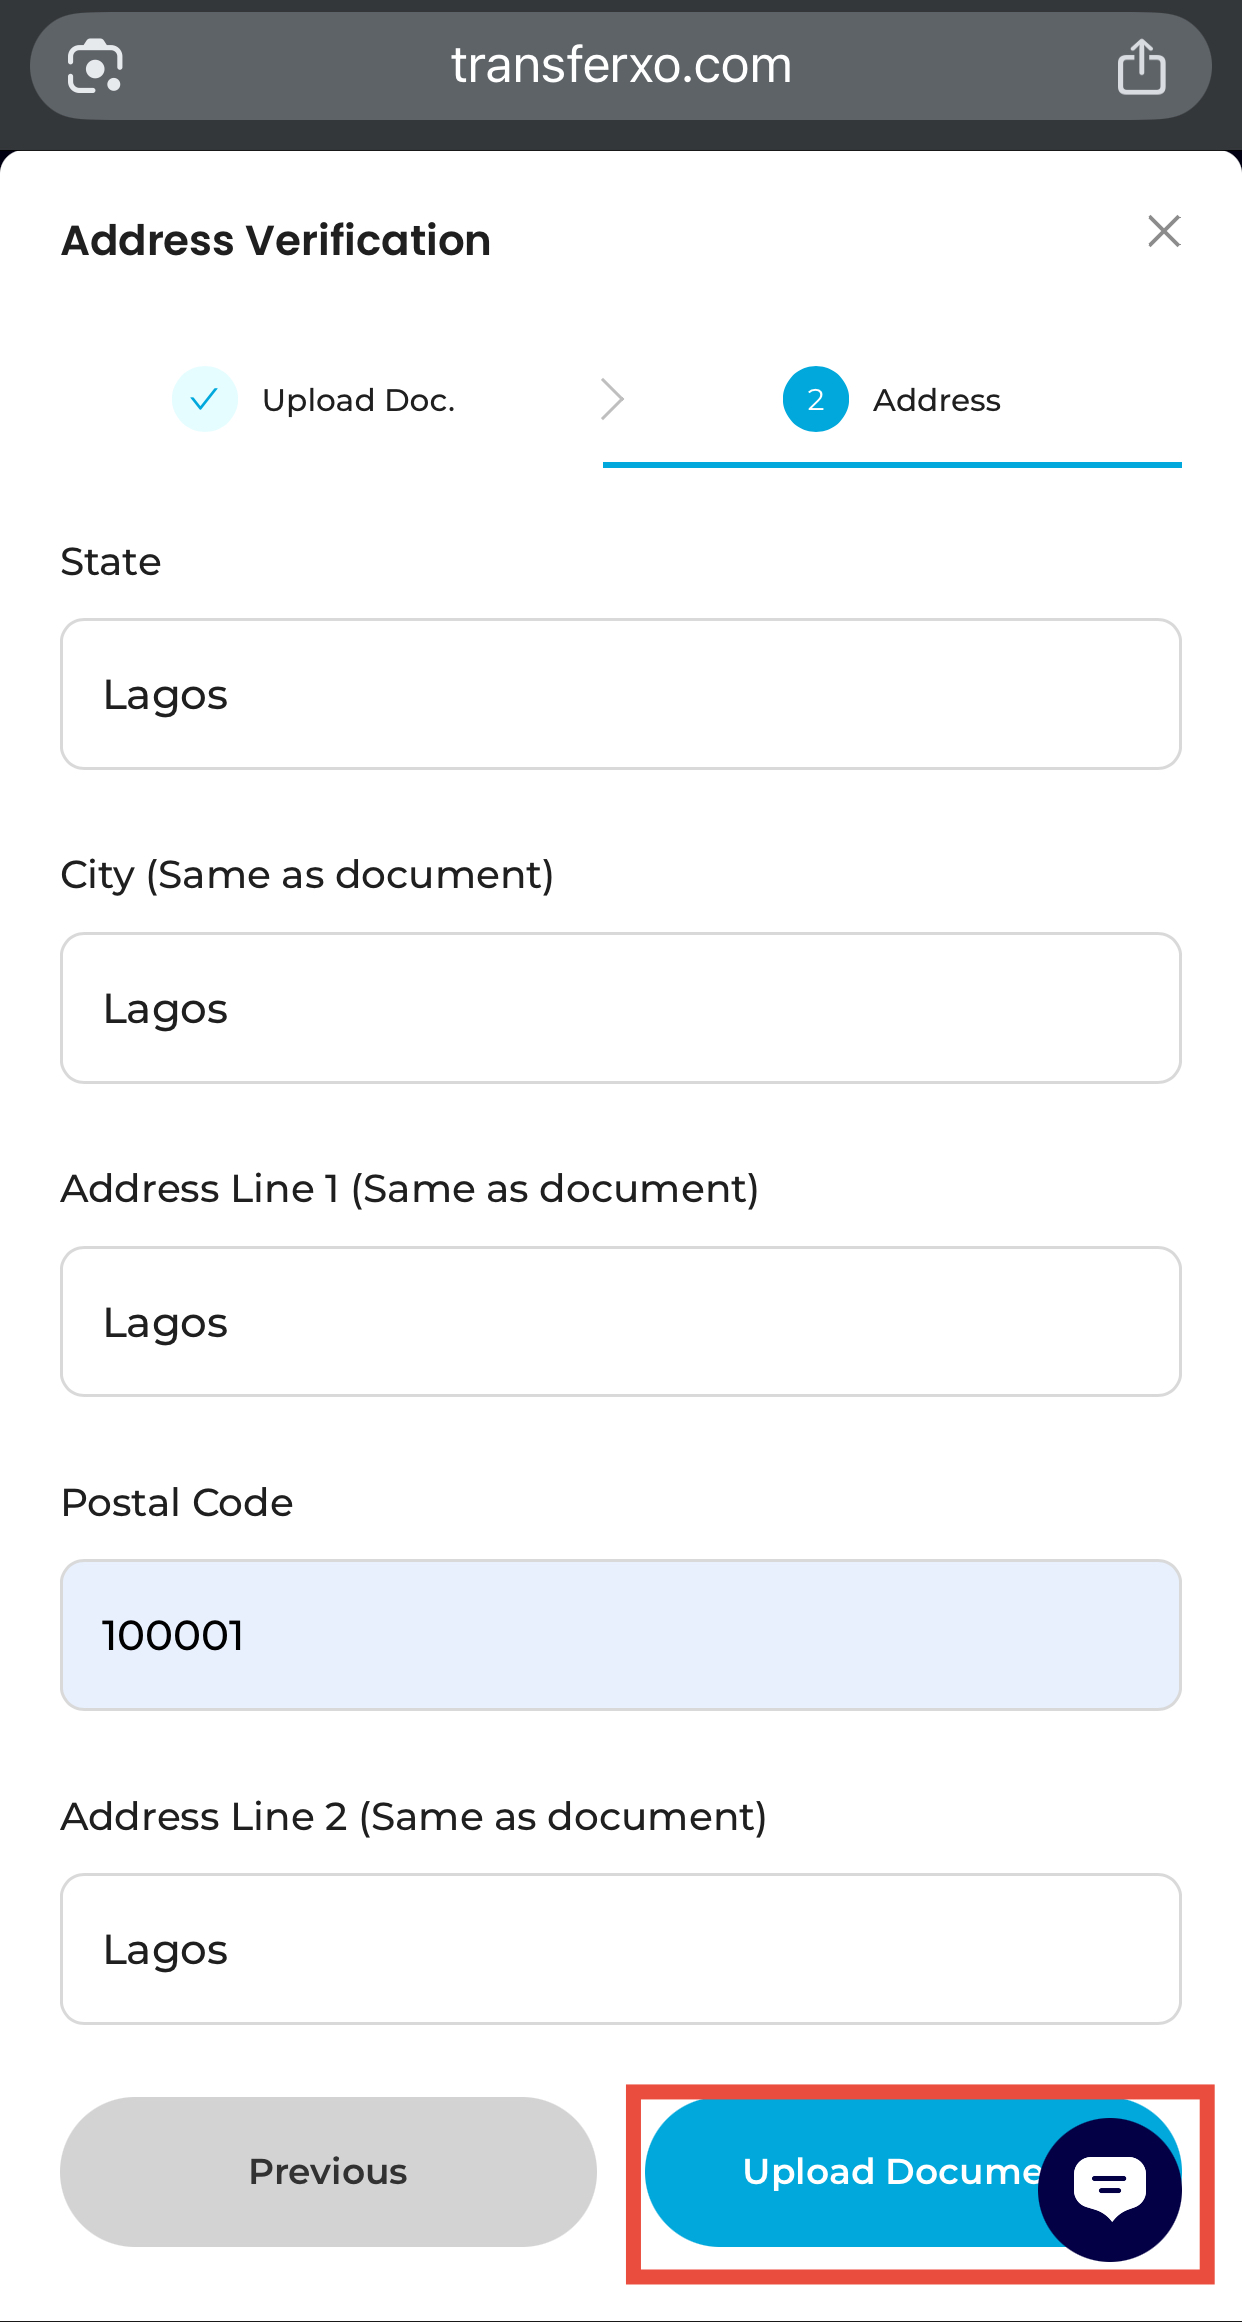
Then wait for verification. TransferXO will notify you once your Tier 3 upgrade is approved.