

TransferXO provides users with a streamlined experience for accessing, browsing, and purchasing tickets to events directly from a mobile browser. Whether you're attending a concert, conference, or local event, this guide walks you through each step of the ticket purchase process via mobile web.
Step 1: Access Your TransferXO Account
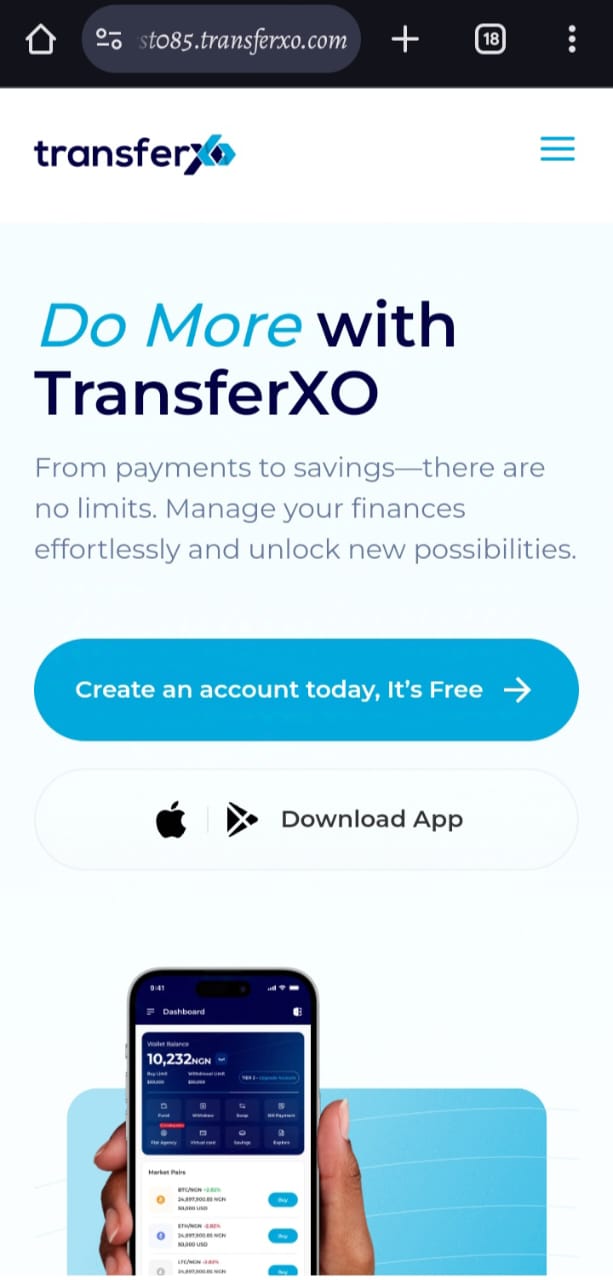
Open your phone's web browser and navigate to TransferXO's website: transferxo.com. Ensure you have a stable internet connection for a seamless experience.
Step 2: Sign in to Your TransferXO
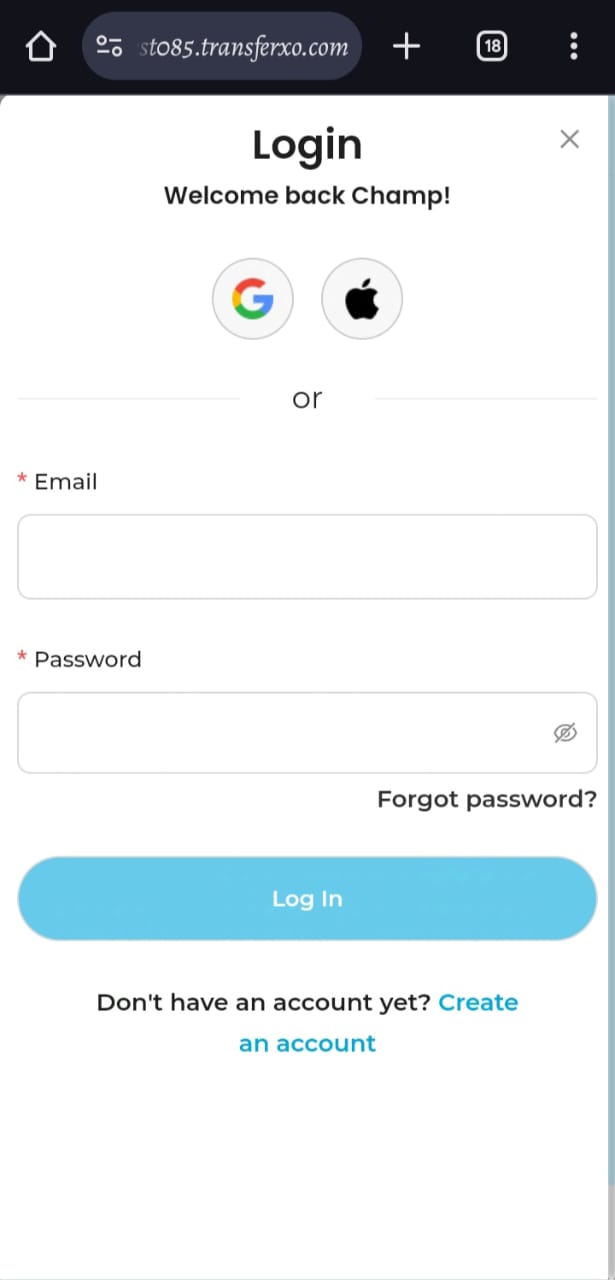
Enter your login credentials (email and password) and sign in to your TransferXO account. If you do not have an account, select Sign Up to create one.
Step 3: Access the Dashboard
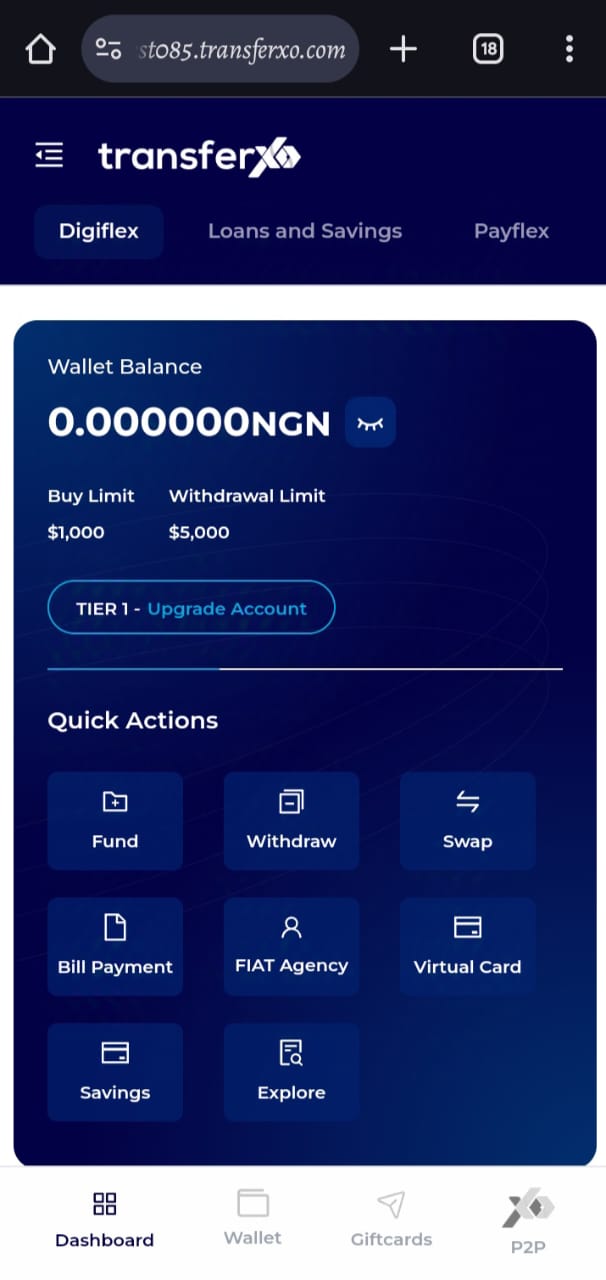
After a successful login, you will be directed to your account's Dashboard. This is your central hub for managing various services offered by TransferXO.
Step 4: Locate the Key Offering Panel
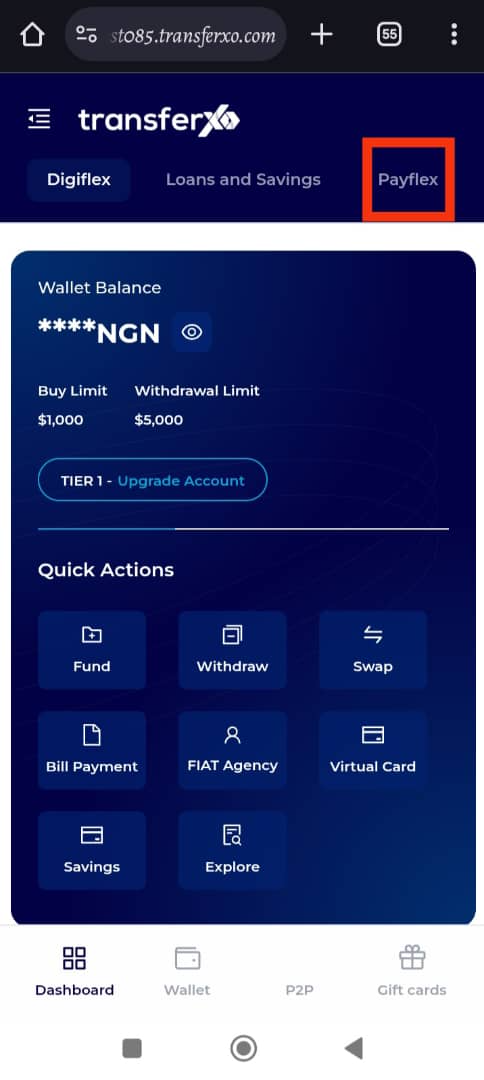
At the top of the screen, to the left of the TransferXO logo, locate the Key Offering buttons, which provide access to various services on the platform.
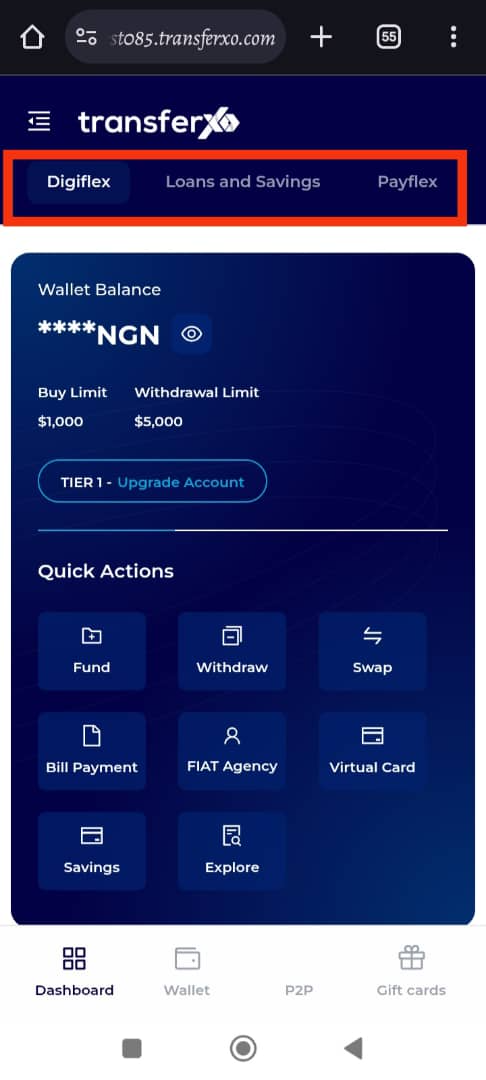
Step 5: Click on Payflex
From the Key Offerings panel, locate and click on Payflex to proceed to the payment services section.
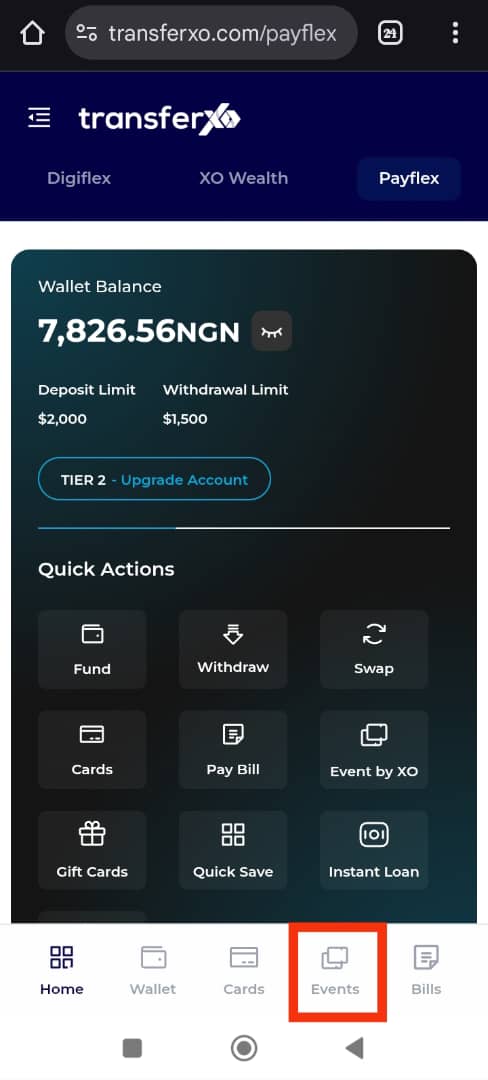
Step 6: Open the Events Tab
From the Payflex dashboard, locate and click on Events, which is positioned at the far right of the screen.
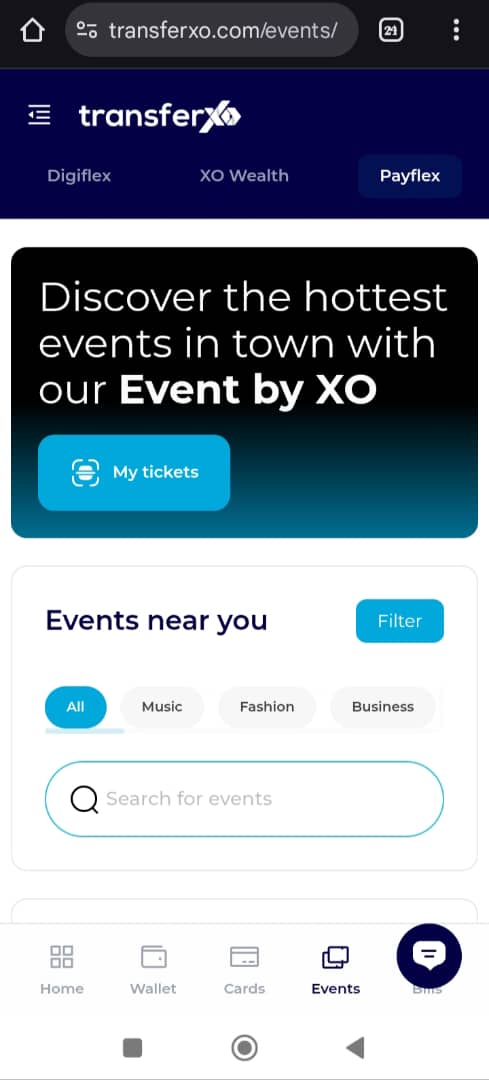
Step 7: Browse for Events
Scroll through the listed events on the platform.
To find a specific event, use the search bar.
Alternatively, use the category filter to explore events that match your interests.
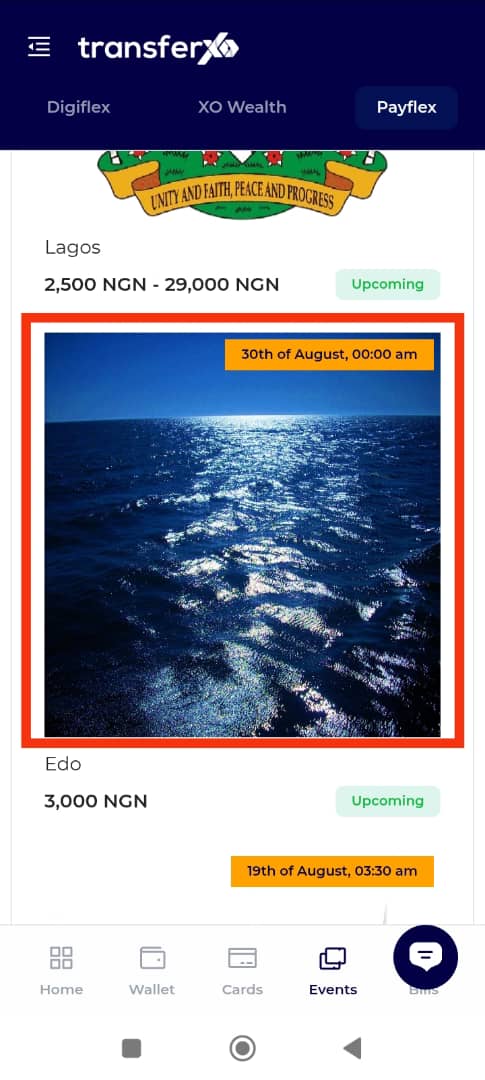
Step 8: Click on Your Selected Event
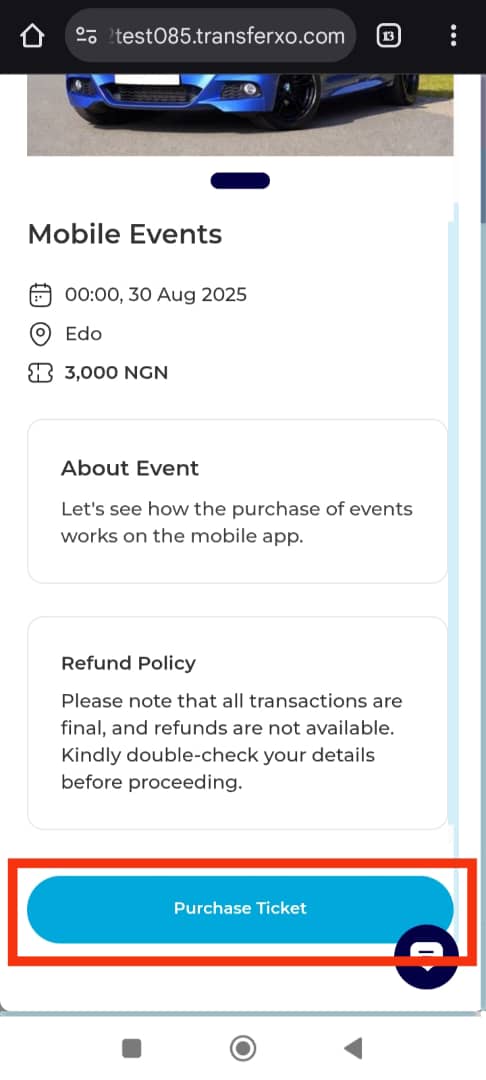
Once you find an event you’d like to attend, click on it to view more details, including venue, time, and available ticket types.
Step 9: Proceed to Purchase
On the event details page, tap on the Purchase Ticket button to begin your ticket order.
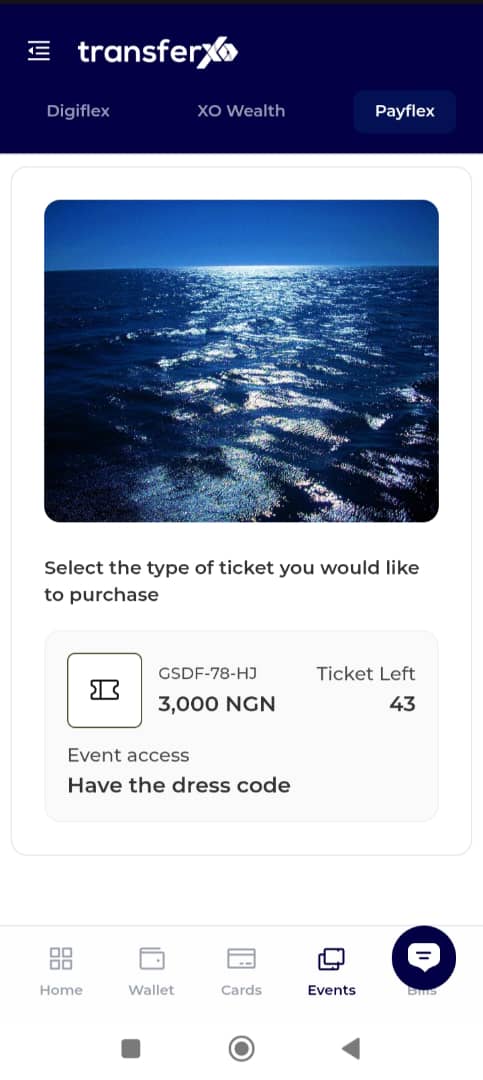
Step 10: Select Ticket Type
Choose the type of ticket you want to purchase.
Note: Ticket types vary depending on the event organizer’s categorization of attendees, so options may differ for each event.
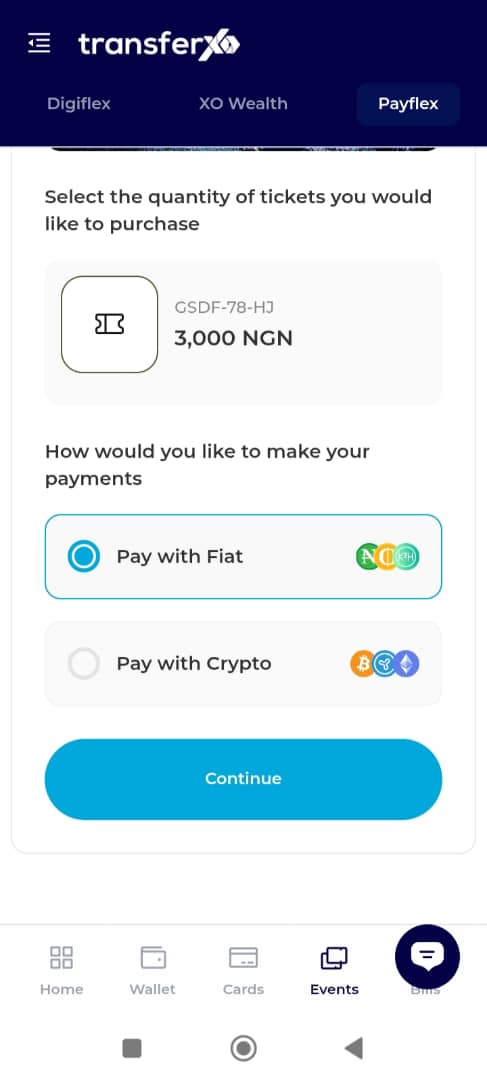
Step 11: Choose Your Payment Wallet
Select the wallet you will use for payment. You can choose between your fiat wallet or crypto wallet, depending on your preferred payment method.
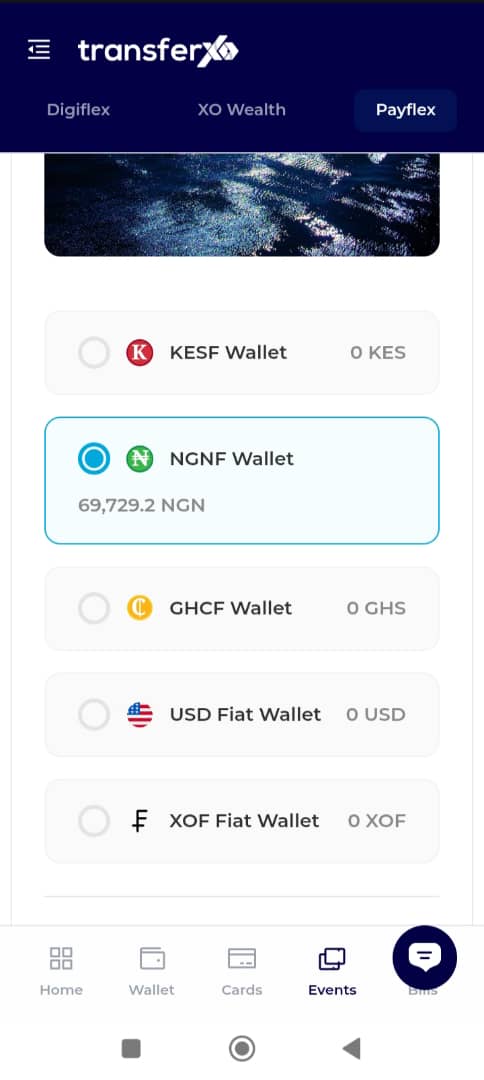
Step 12: Choose Payment Asset
From the selected wallet, choose the specific asset (e.g., NGN, USDT) that you wish to use for payment.
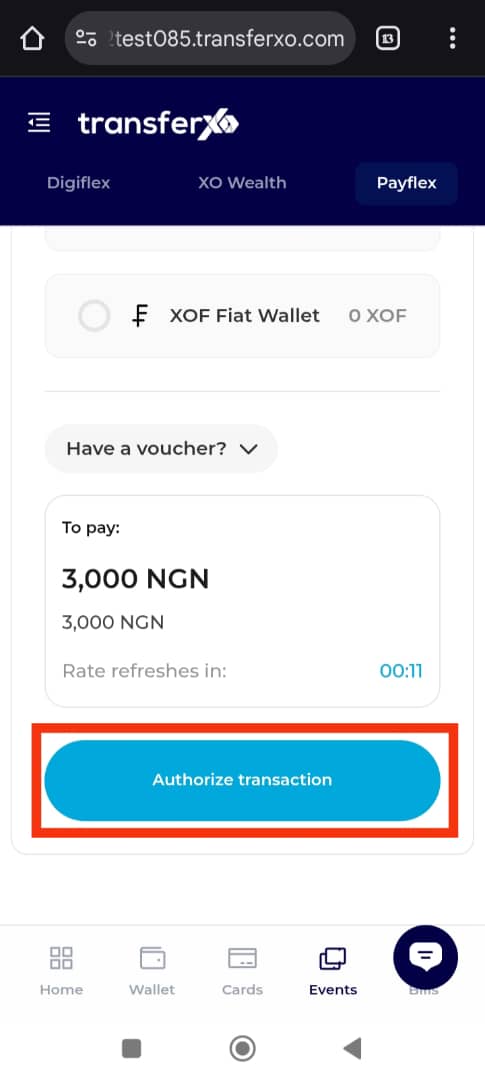
Step 13: Authorise the Transaction
Click on Authorise Transaction to proceed with the payment process.
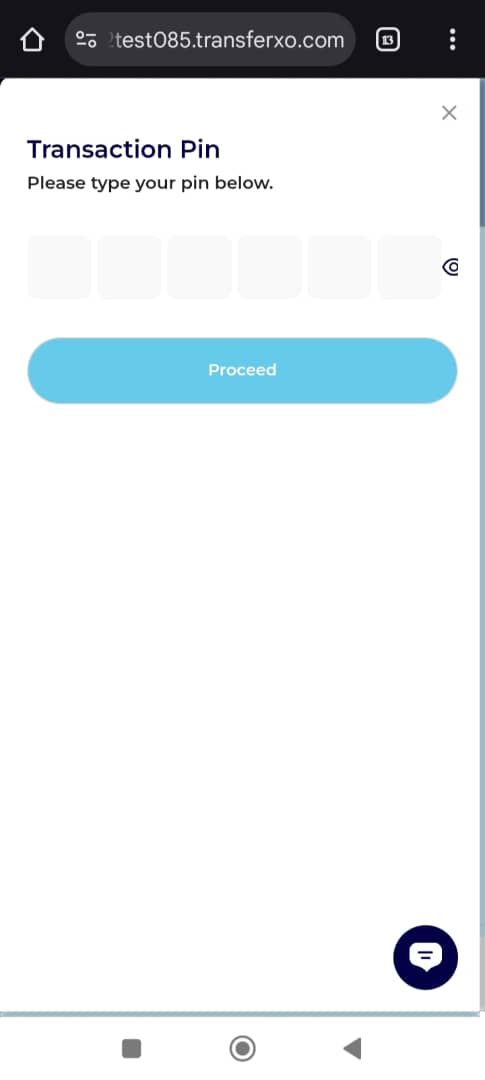
Step 14: Enter Your Transaction PIN
Enter your 6-digit transaction PIN, then check the confirmation box to verify the payment.
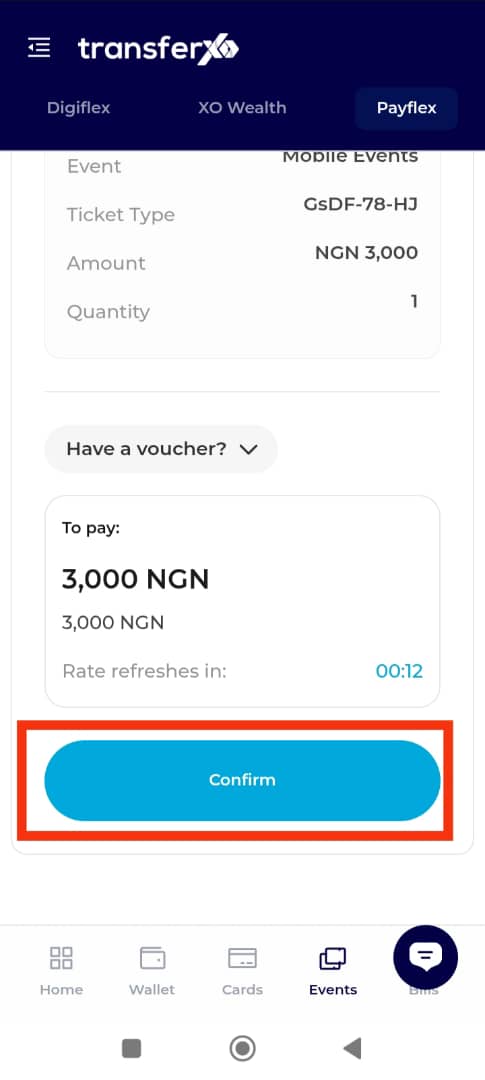
Step 15: Click on Confirm
Tap on the Confirm button to finalise your purchase.
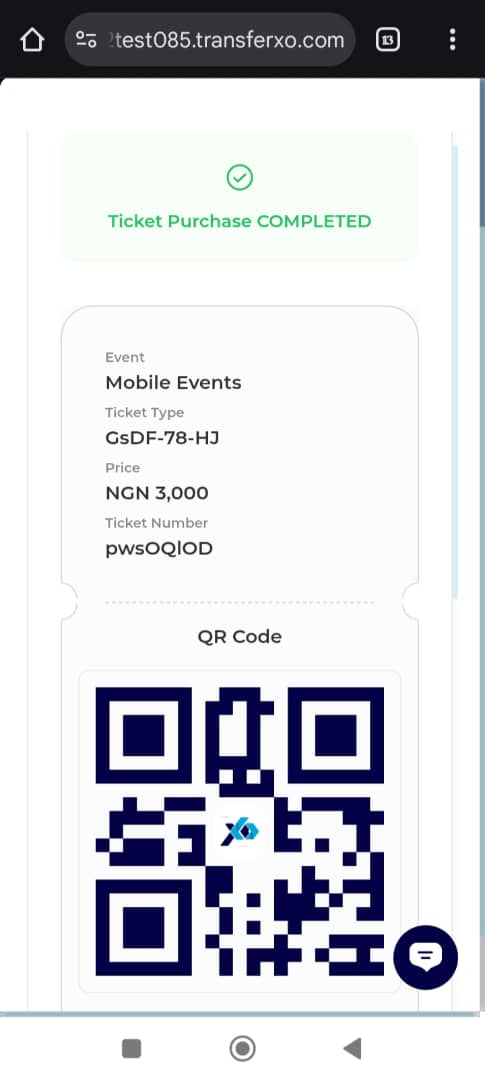
Completion and Next Steps
Congratulations! You have successfully purchased your ticket on TransferXO.
A confirmation email will be sent to your registered address. Be sure to retain the email, as it may be required for entry or verification at the event.
TransferXO makes event ticketing simple and secure. With just a few taps, you're on your way to attending memorable events.
Stay tuned to TransferXO for more event listings and exclusive offers.