

Funding your TransferXO virtual card ensures you have a secure and convenient way to make online payments. Whether you need to shop, subscribe to services, or make business transactions, a funded virtual card allows seamless and hassle-free payments.
Follow this detailed step-by-step guide to successfully add funds to your virtual card using the TransferXO web app.
Step 1: Open the TransferXO Web App
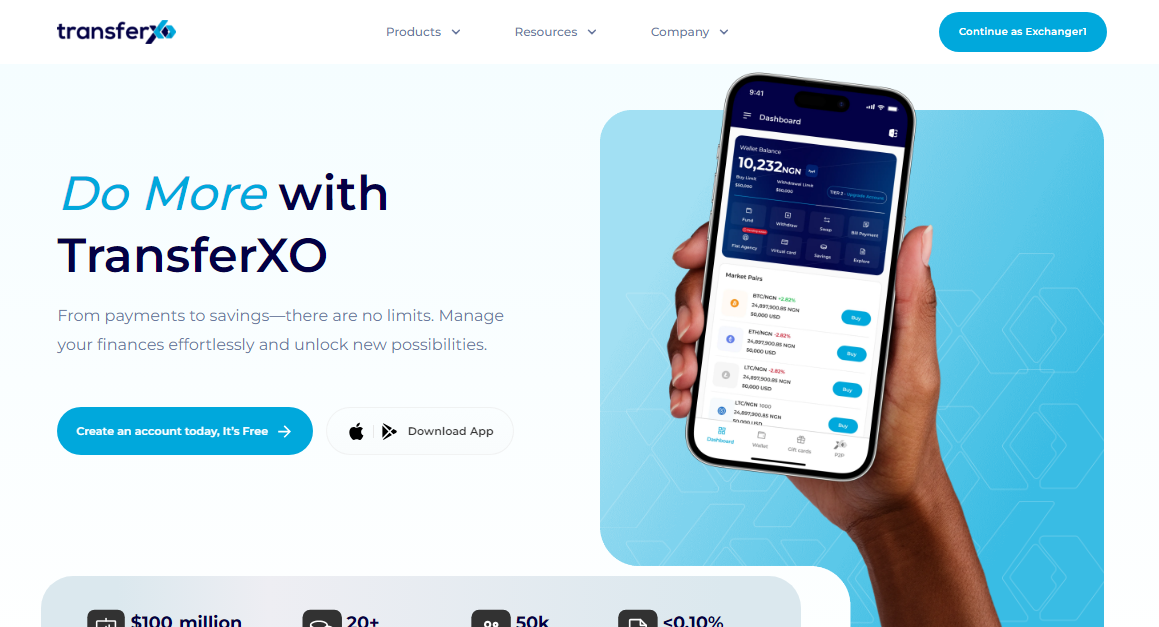
Open a web browser on your device and navigate to the TransferXO website by entering transferxo.com in the address bar.
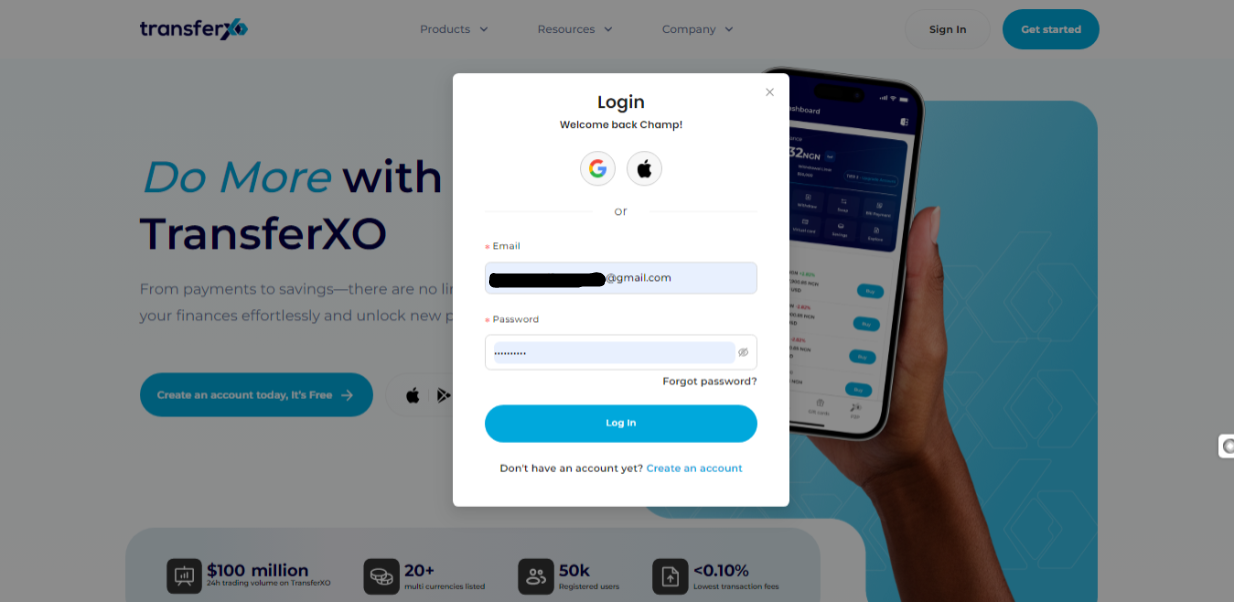
Step 2: Sign In to Your TransferXO Account
Step 3: Access Your Dashboard
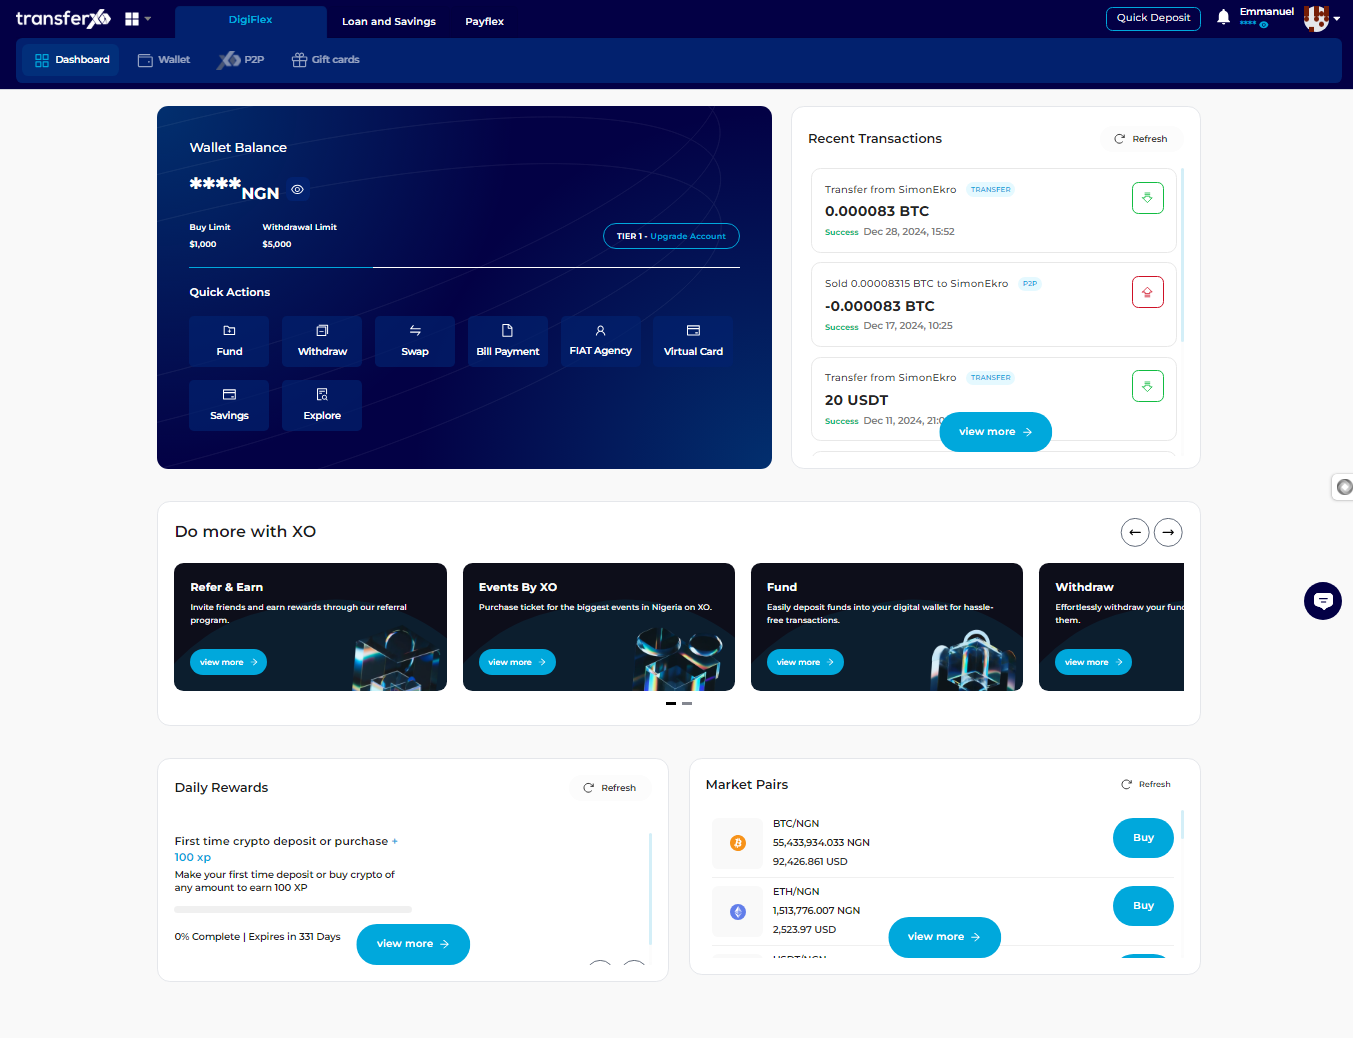
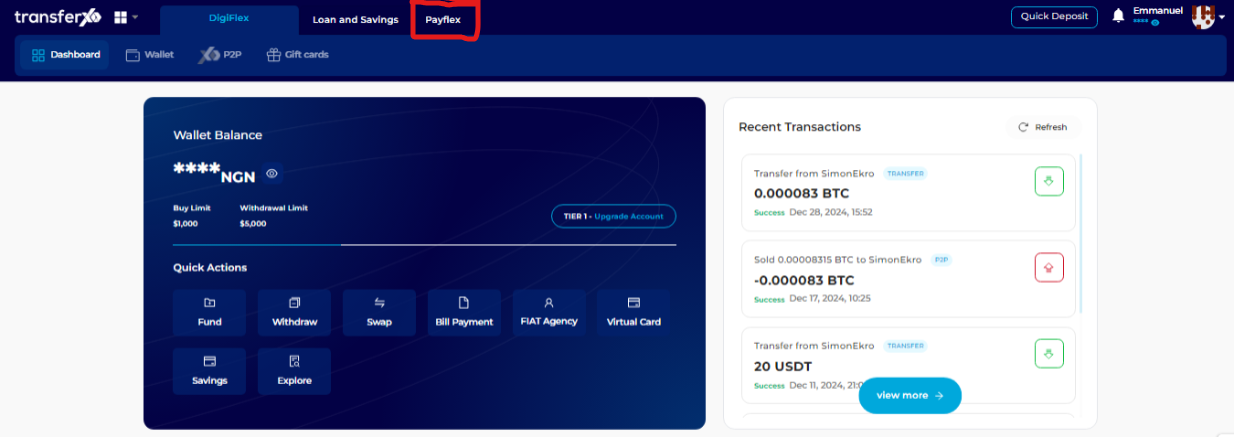
Step 4: Locate the Key Offering Buttons
Right after the TransferXO logo, you will see key offering buttons that allow you to access different features of the platform.
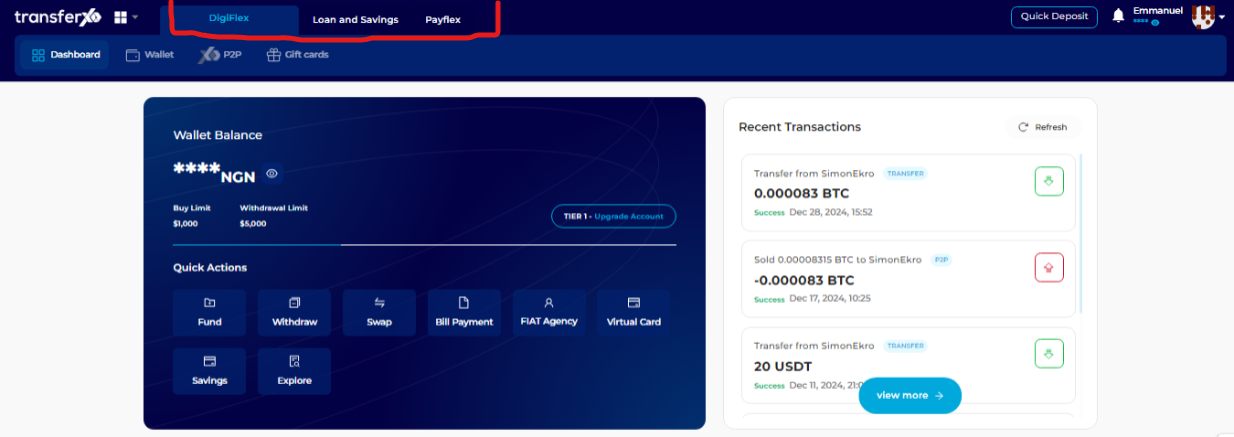
Step 5: Click on Payflex
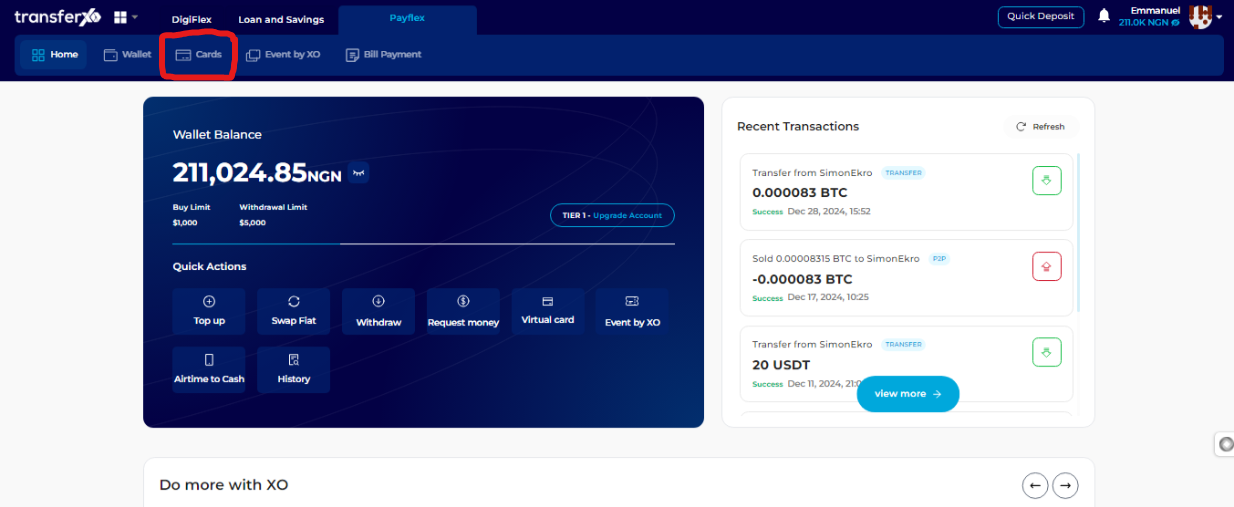
Step 6: Select the Cards Option
On the Payflex Dashboard, locate and click on Cards, positioned below the Key Offerings bar.
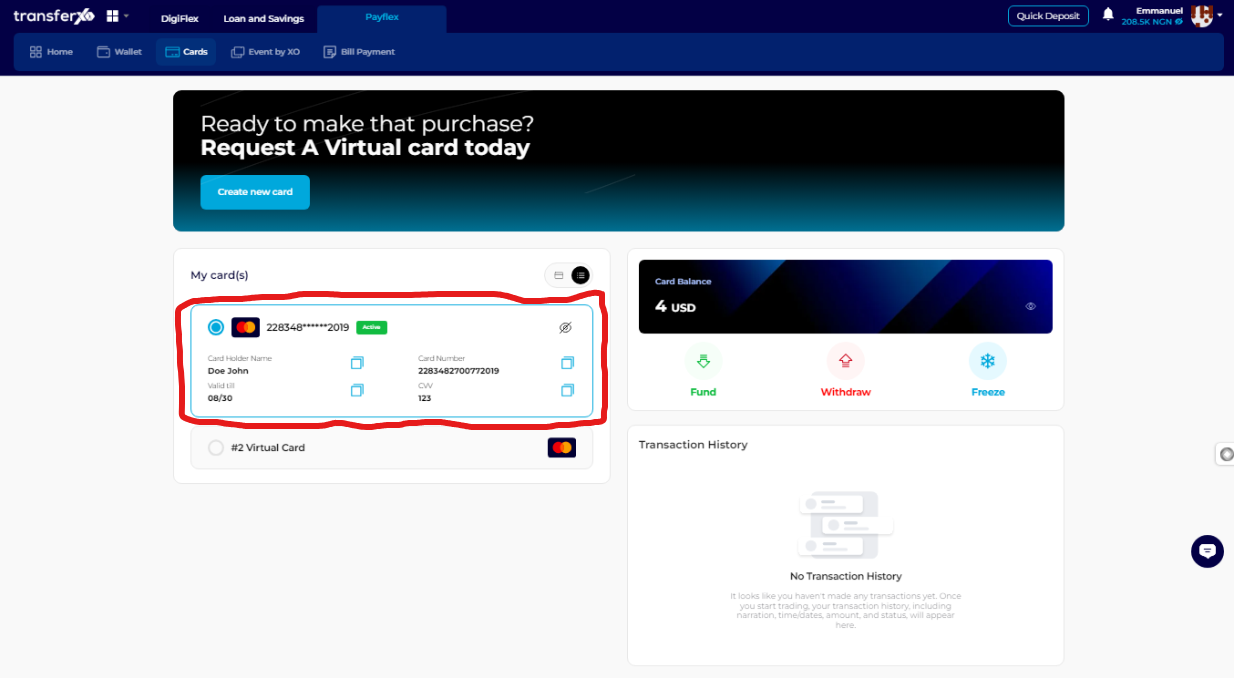
Step 7: Select a Virtual Card to Fund
From the Virtual Cards interface, select the specific virtual card you want to fund.
Important Note: Only active cards can be funded. If your card is still pending, you must wait until it is approved before proceeding.
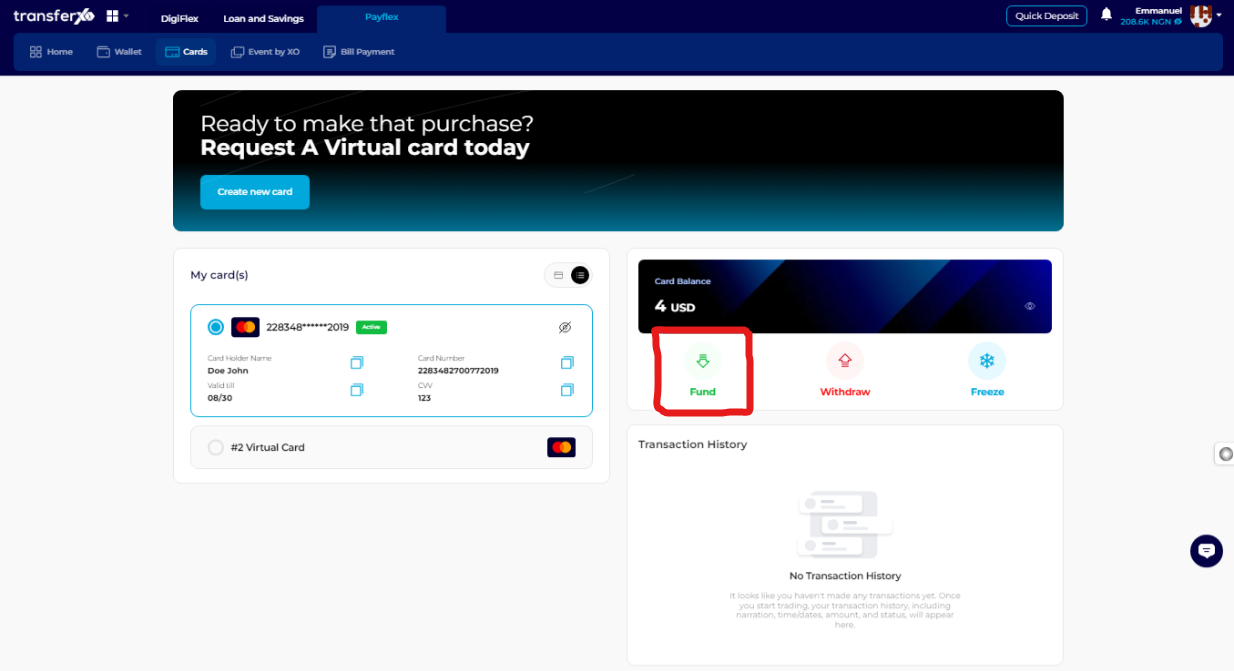
Step 8: Initiate Funding
Click on the Fund button located in the panel where the card details are displayed to the right.
Step 9: Enter Funding Details
Enter the amount you want to fund your virtual card with.
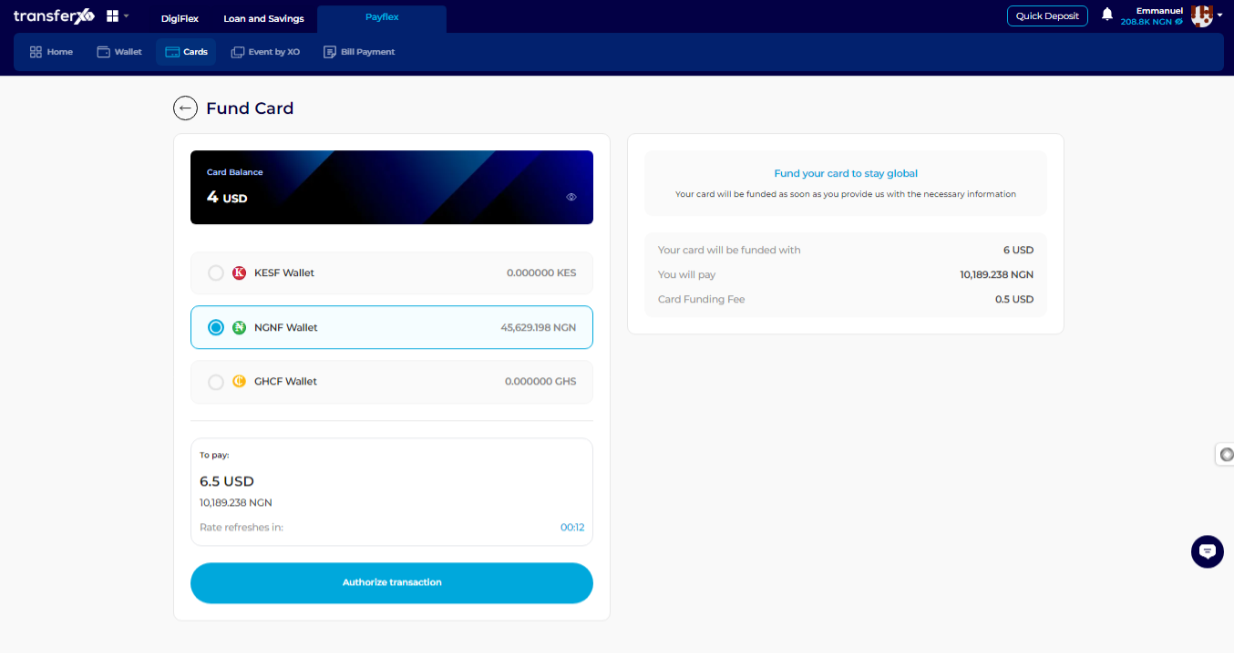
Select the wallet you will use for payment. You can choose between a fiat wallet or a crypto wallet.
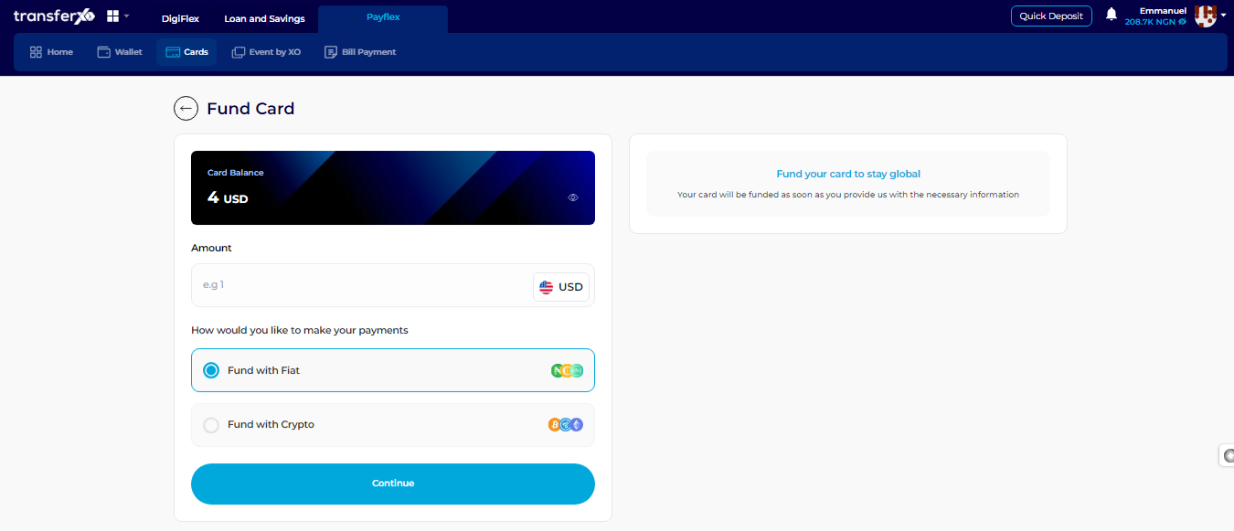
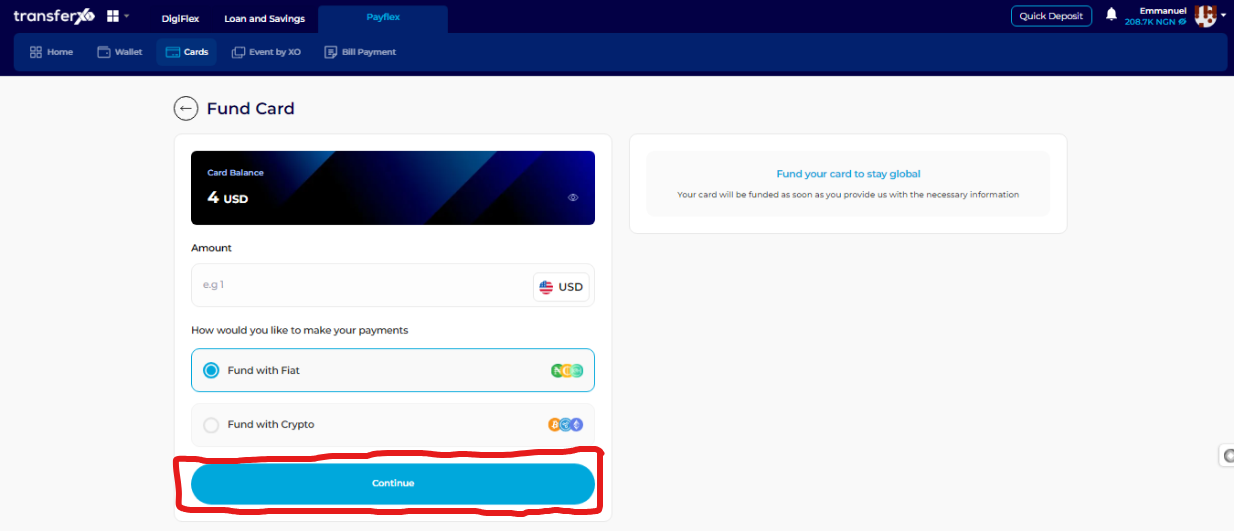
Step 10: Click on Continue
After entering the required details, click Continue to proceed.
Step 11: Select the Asset for Payment
Choose the asset (currency or crypto) from your selected wallet that you want to use for funding the virtual card.
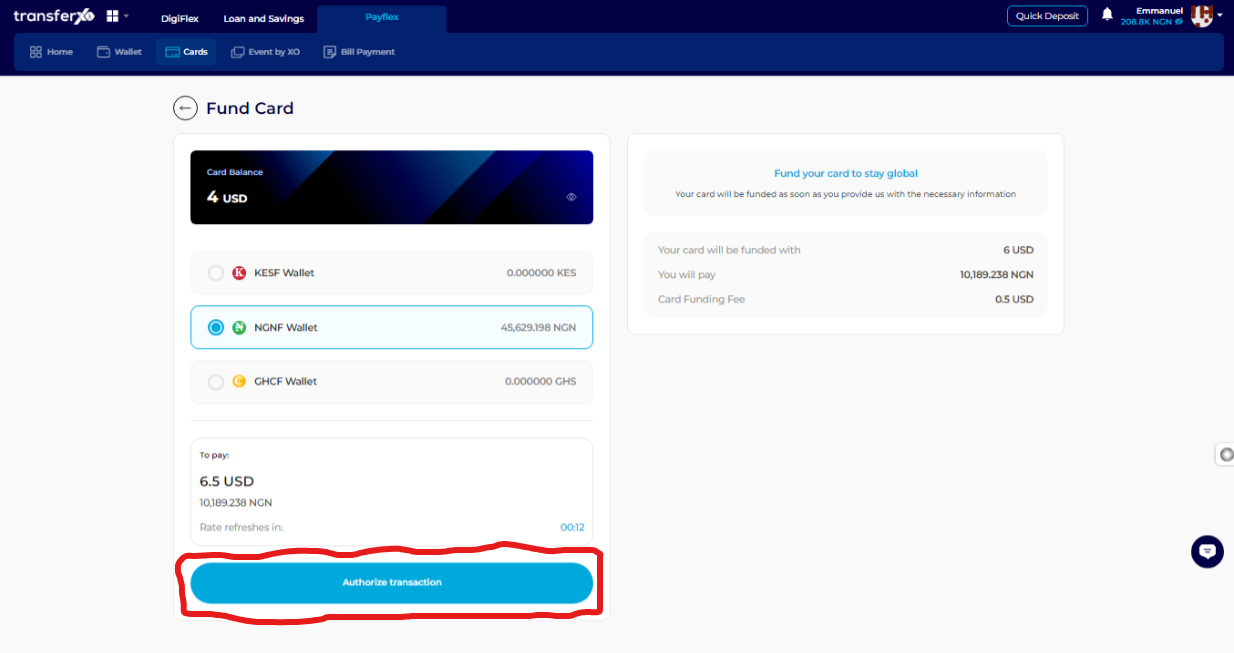
Step 12: Authorize the Transaction
Click Authorize Transaction to proceed with the funding process.
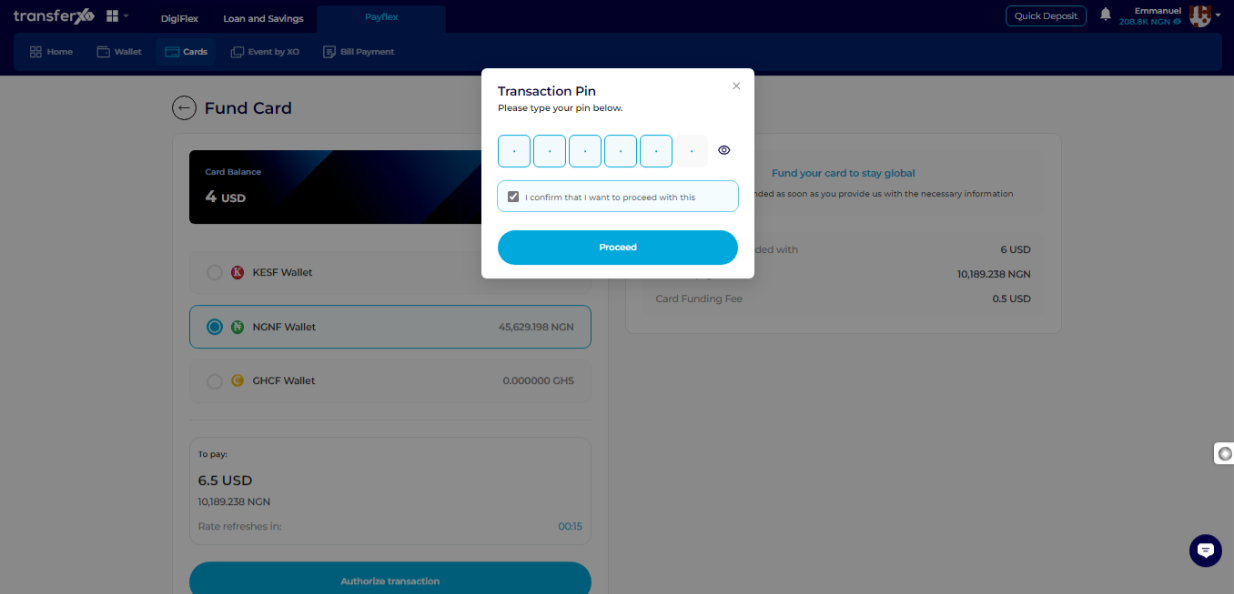
Step 13: Enter Your Transaction PIN
Enter your 6-digit transaction PIN to confirm the transaction.
Check the confirmation box to ensure the transaction details are correct.
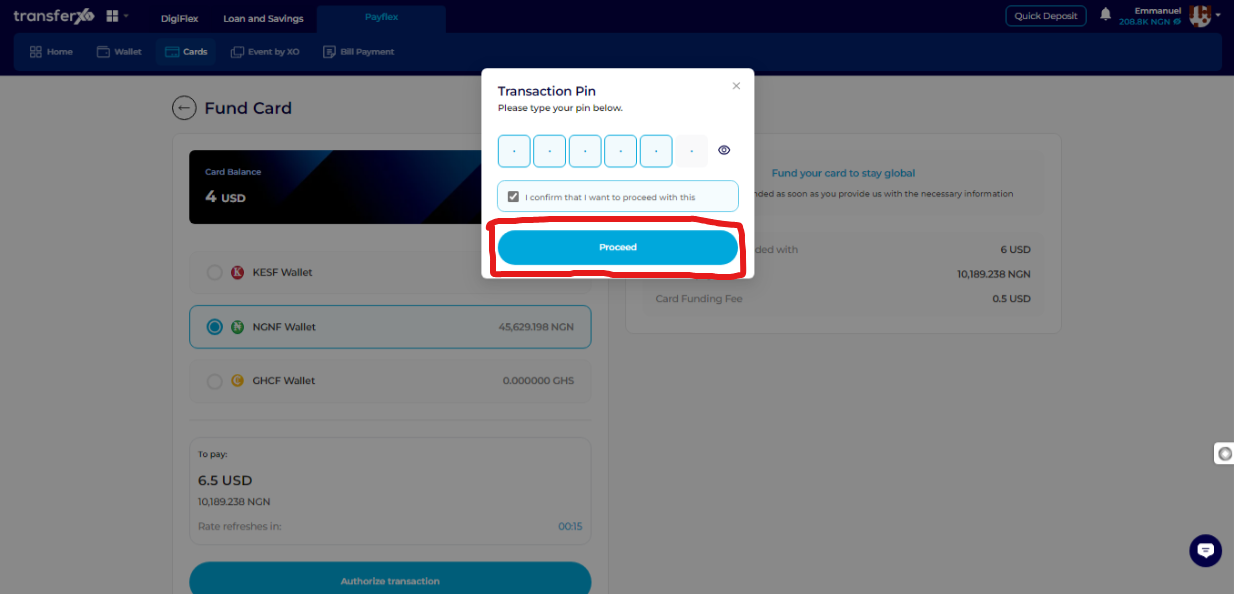
Step 14: Click on Proceed
Click Proceed to move to the final confirmation stage.
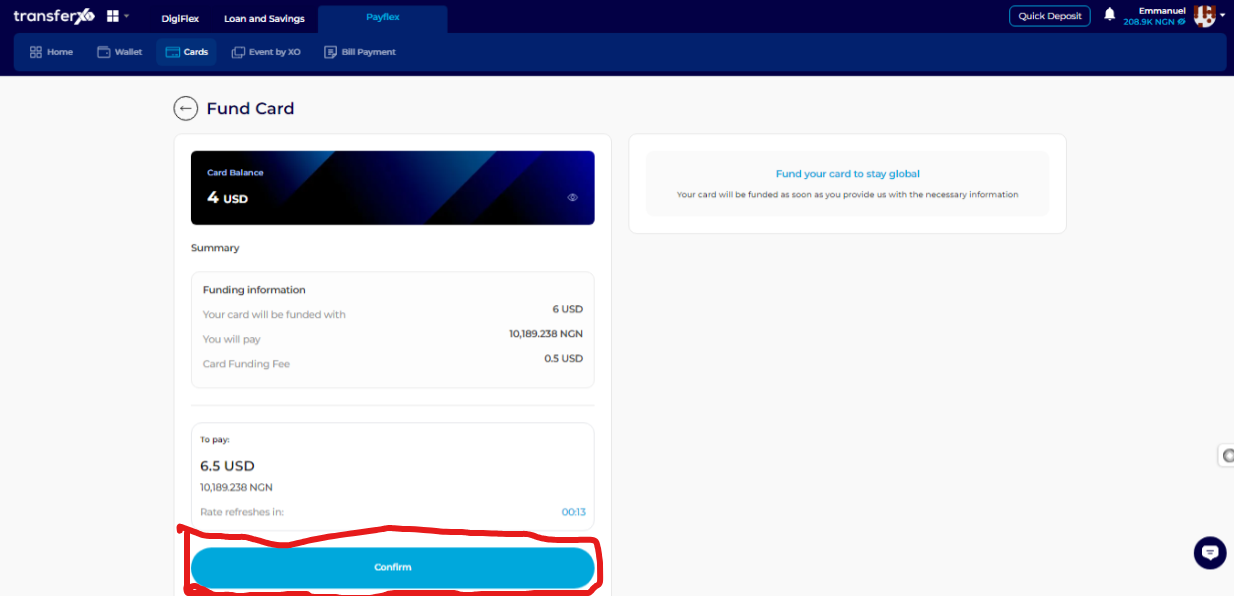
Step 15: Confirm and Complete the Process
Click Confirm to finalize the transaction and fund your virtual card.
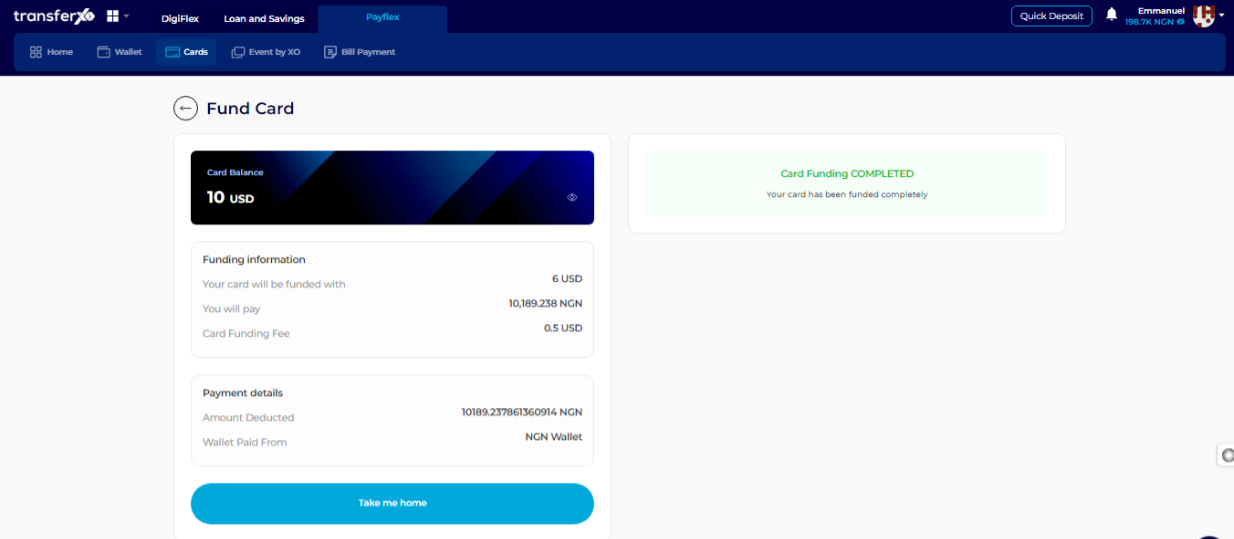
Step 16: Completion and Next Steps
Congratulations! You have successfully funded your TransferXO virtual card.
Click Take Me Home to return to the Dashboard.
You can now use your virtual card to make payments and carry out transactions seamlessly on various platforms.
Funding your virtual card on TransferXO is quick and convenient. By following these steps, you can ensure smooth and secure transactions using your virtual card.
If you encounter any issues, contact TransferXO support for assistance.