

Virtual cards provide a secure way to make online payments without exposing your primary bank details. With TransferXO, you can easily create a virtual card through the web app and fund it with either fiat or cryptocurrency.
Follow the steps below to generate your virtual card effortlessly.
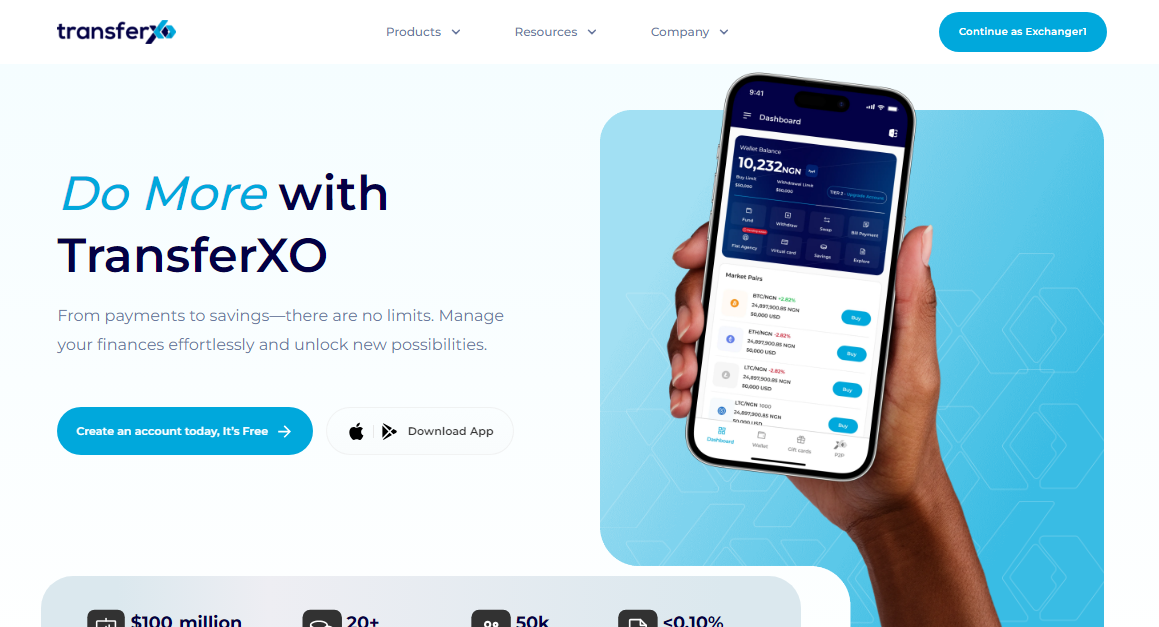
Step 1: Open the TransferXO Web App
Open a web browser on your device and navigate to the TransferXO website by entering transferxo.com in the address bar.
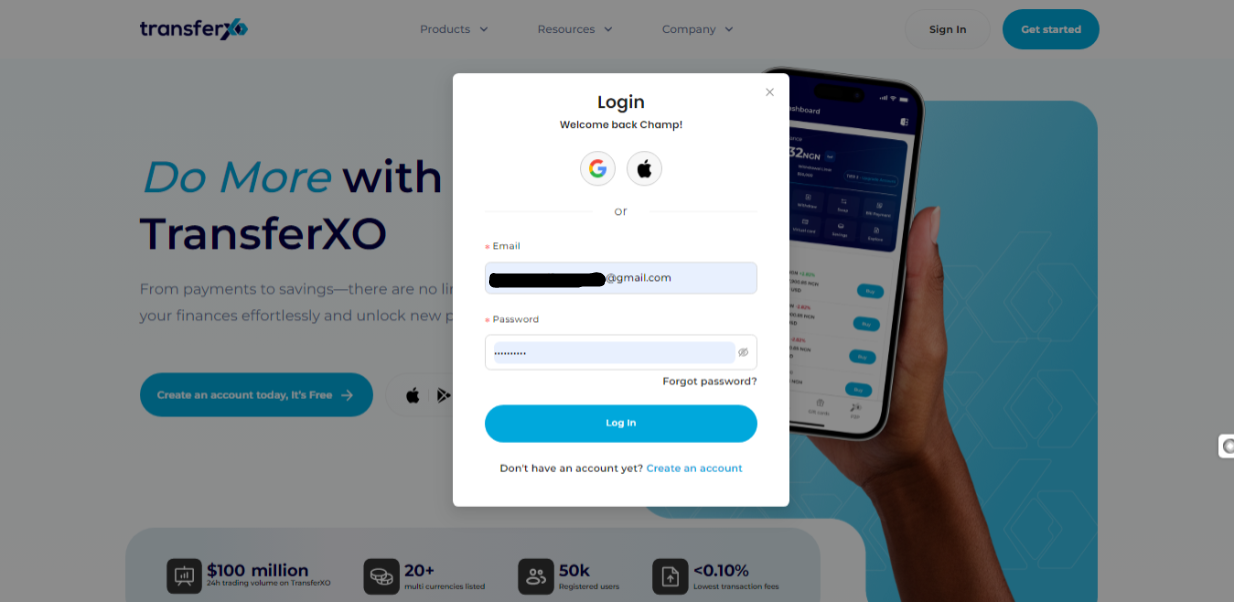
Step 2: Sign In to Your TransferXO Account
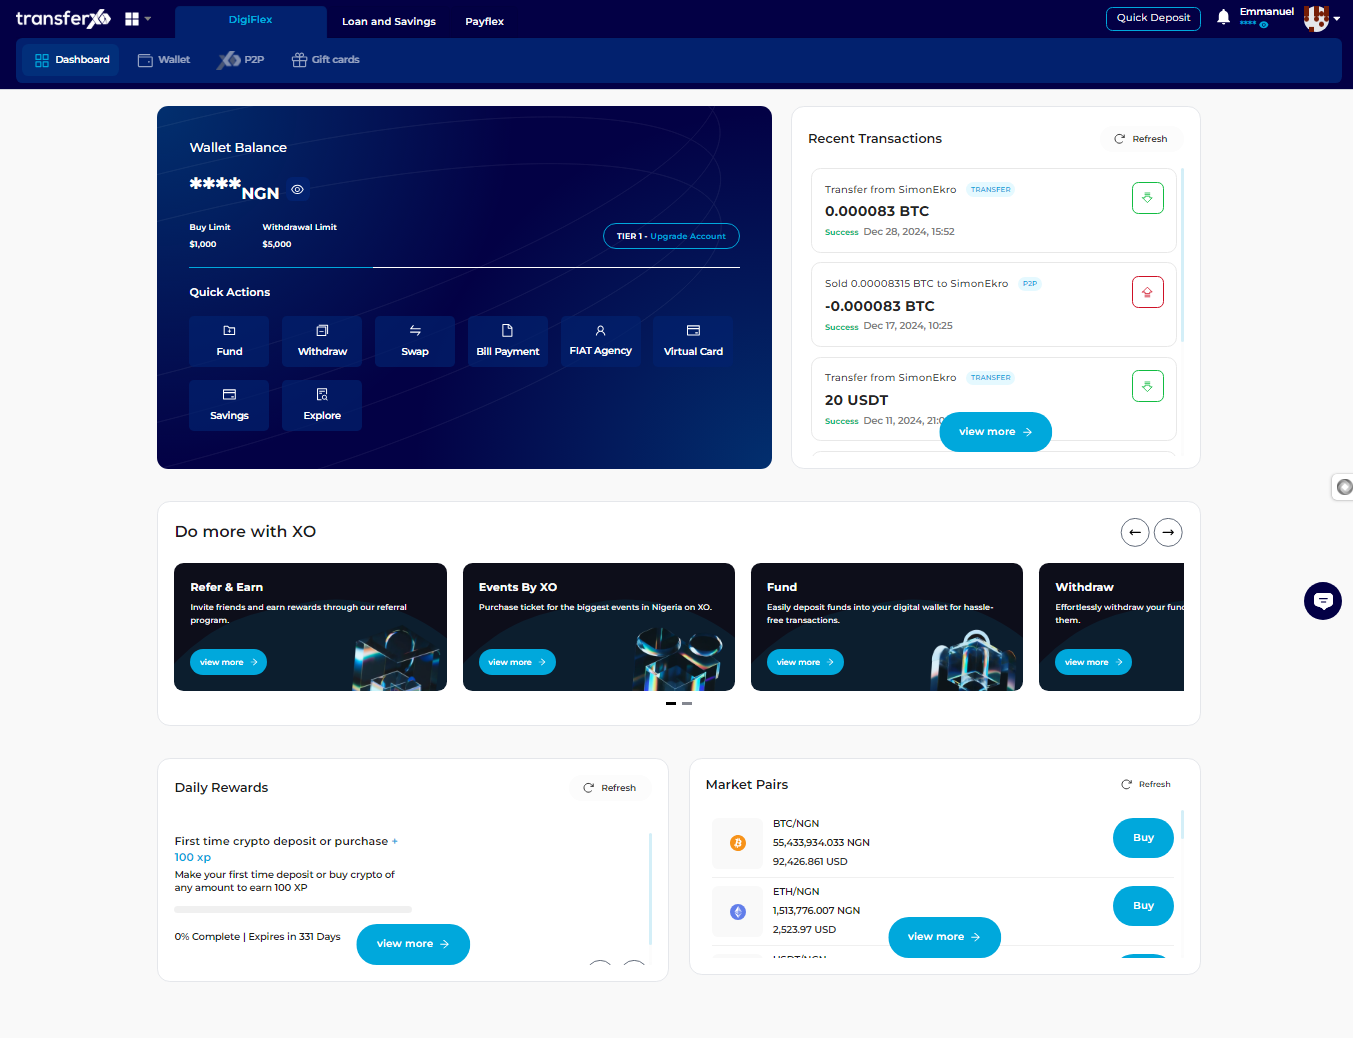
Step 3: Access Your Dashboard
Step 4: Locate the Key Offering Buttons
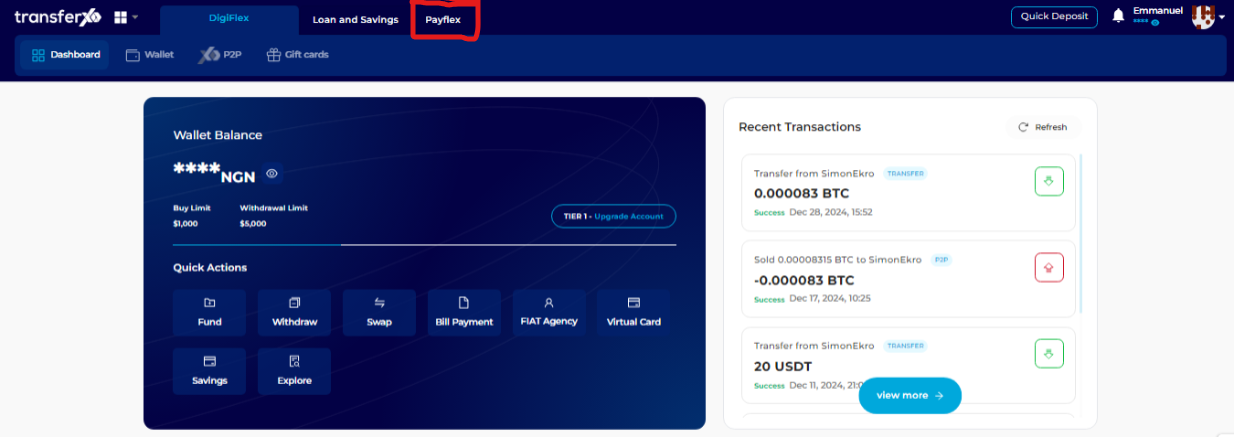
Right after the TransferXO logo, you will see key offering buttons that allow you to access different features of the platform.
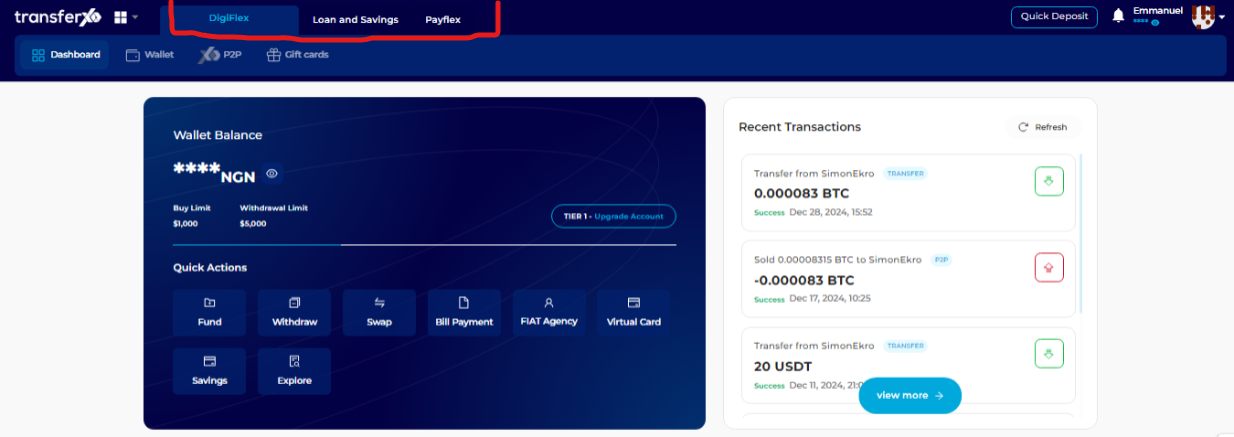
Step 5: Click on Payflex
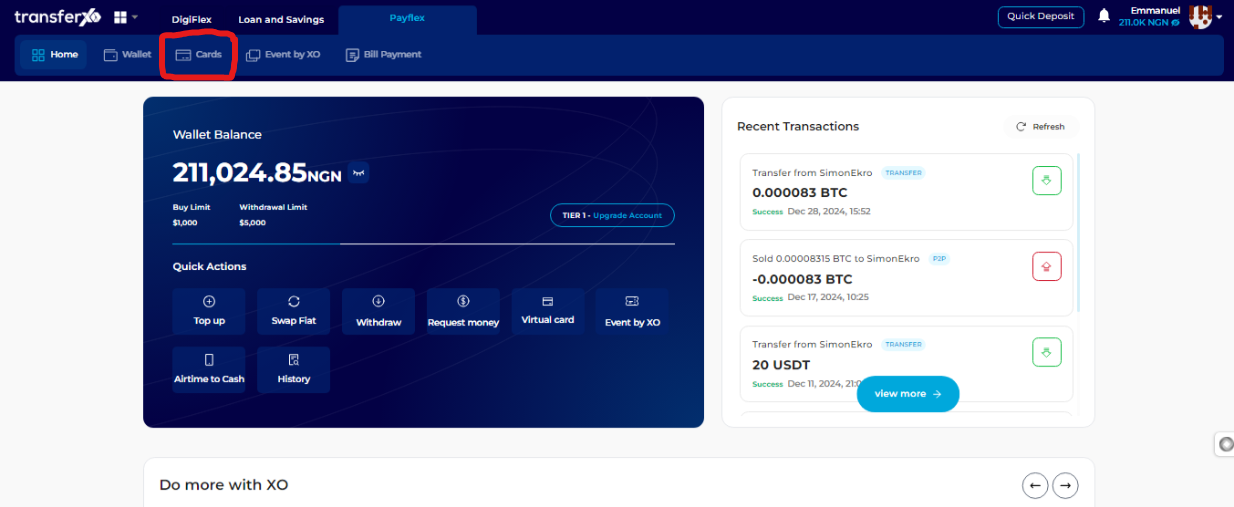
Step 6: Select the Cards Option
On the Payflex Dashboard, locate and click on Cards, positioned below the Key Offerings bar.
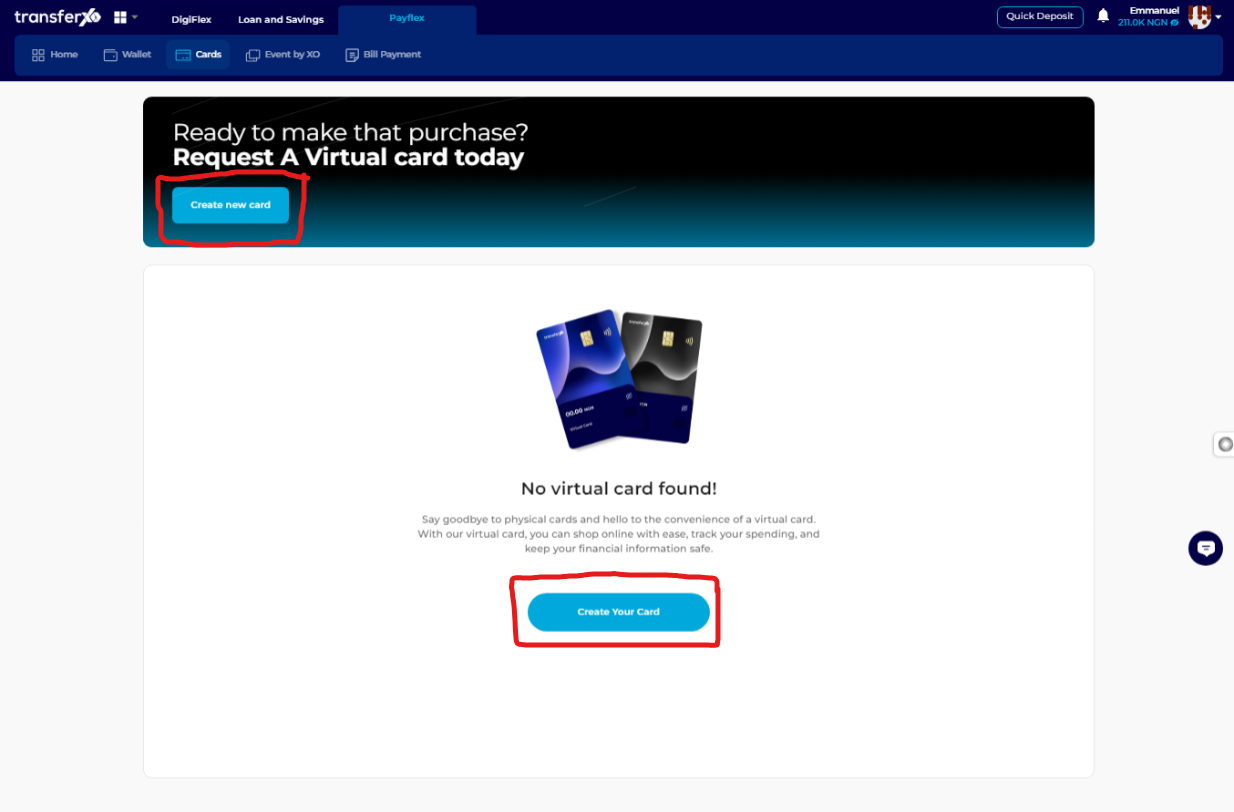
Step 7: Initiate Card Creation
In the Virtual Cards interface, you will see two options:
Create New Card (located at the top left-hand corner, below the page description)
Create Your Card (center of the screen—only visible if you have not created a virtual card before)
Both options lead to the same interface, so you can select either one to proceed.
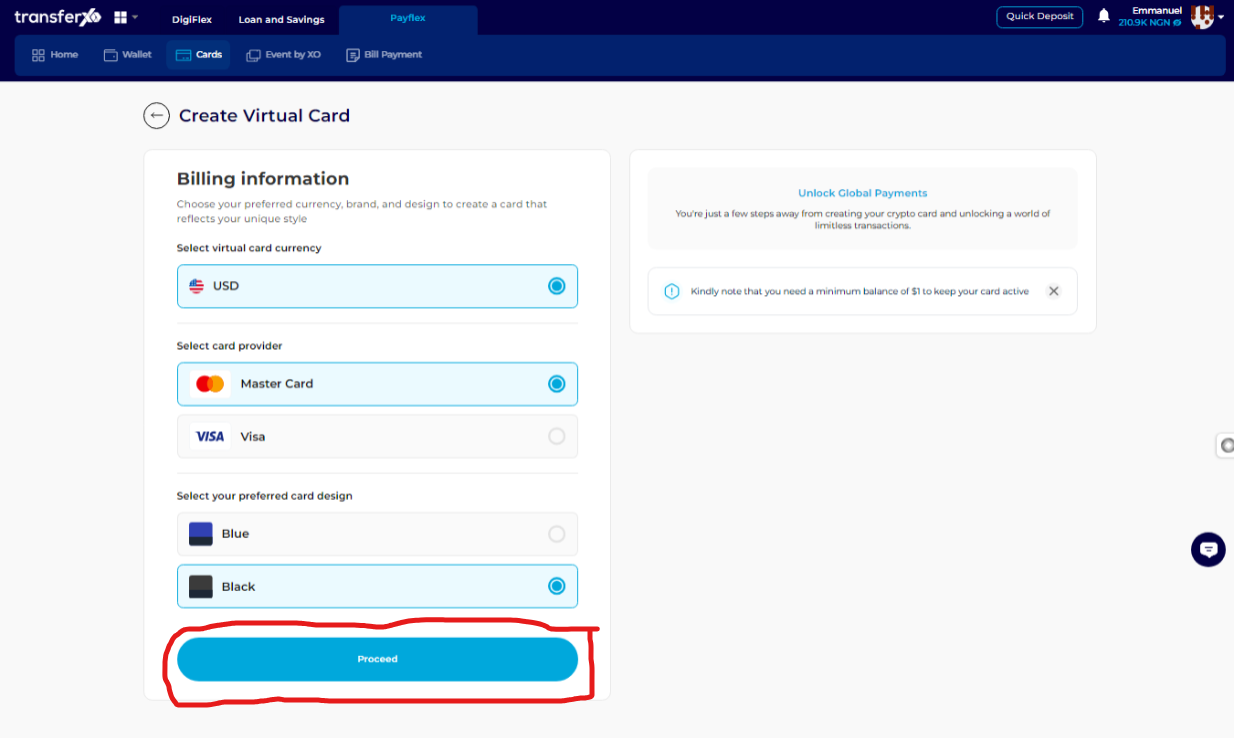
Step 8: Provide Card Information
Fill in the necessary details for your virtual card:
Select the virtual card currency
Choose your preferred card provider (Visa or MasterCard)
Pick a preferred card design
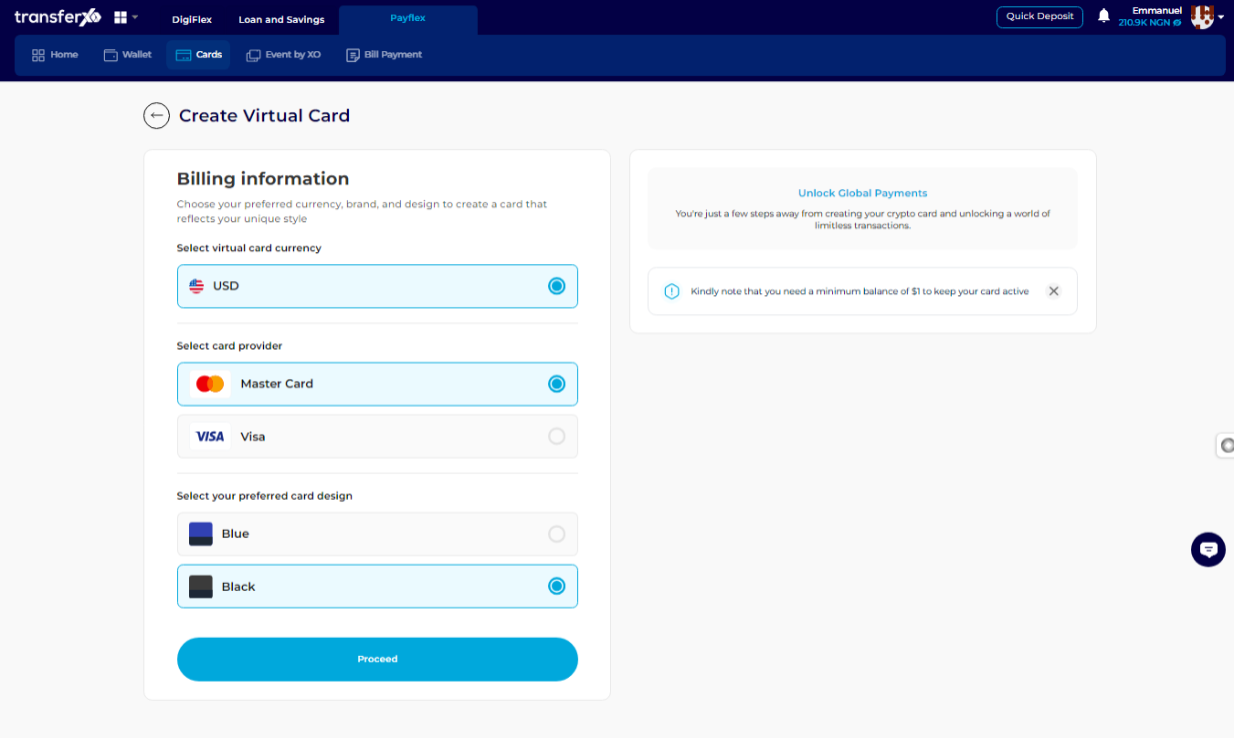
Important Note: On the right-hand side of the screen, you will see a notice stating that you need a minimum balance of $1 to keep your virtual card active. Ensure that your account meets this requirement before proceeding.
Step 9: Click on Proceed
After selecting your preferences, click Proceed to continue with the card creation process.
Step 10: Enter Prefund Amount and Select Wallet
Enter the amount you want to pre-fund your virtual card with and select the wallet you will use for payment. Select either:
Fiat Wallet (for payments in traditional currency)
Crypto Wallet (for payments in supported cryptocurrencies)
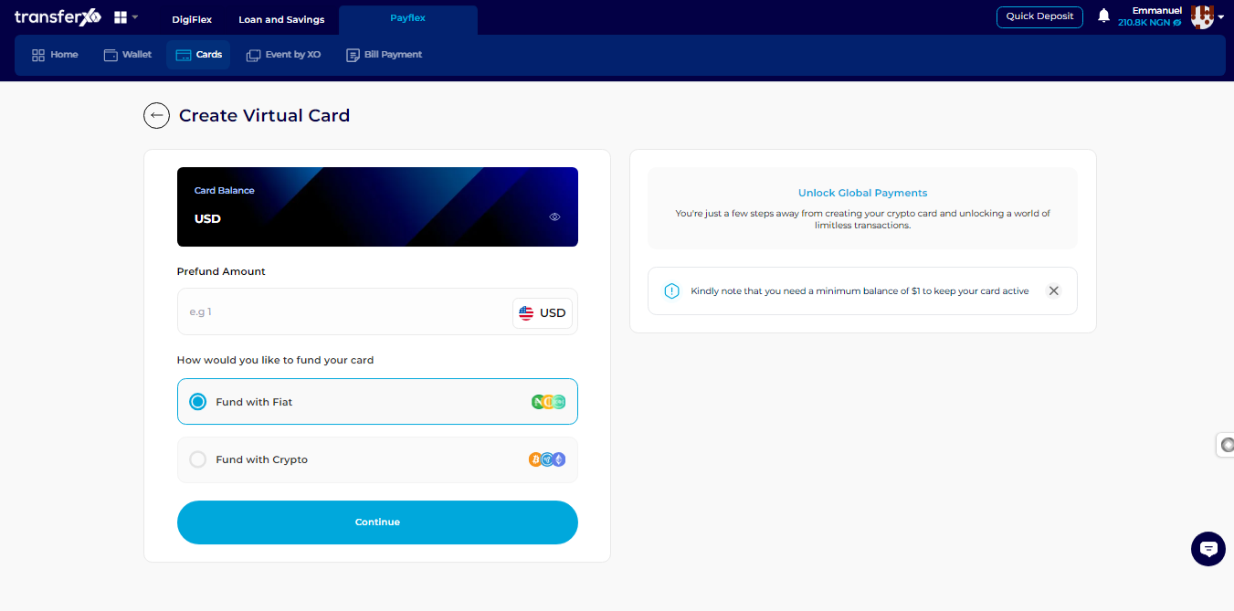
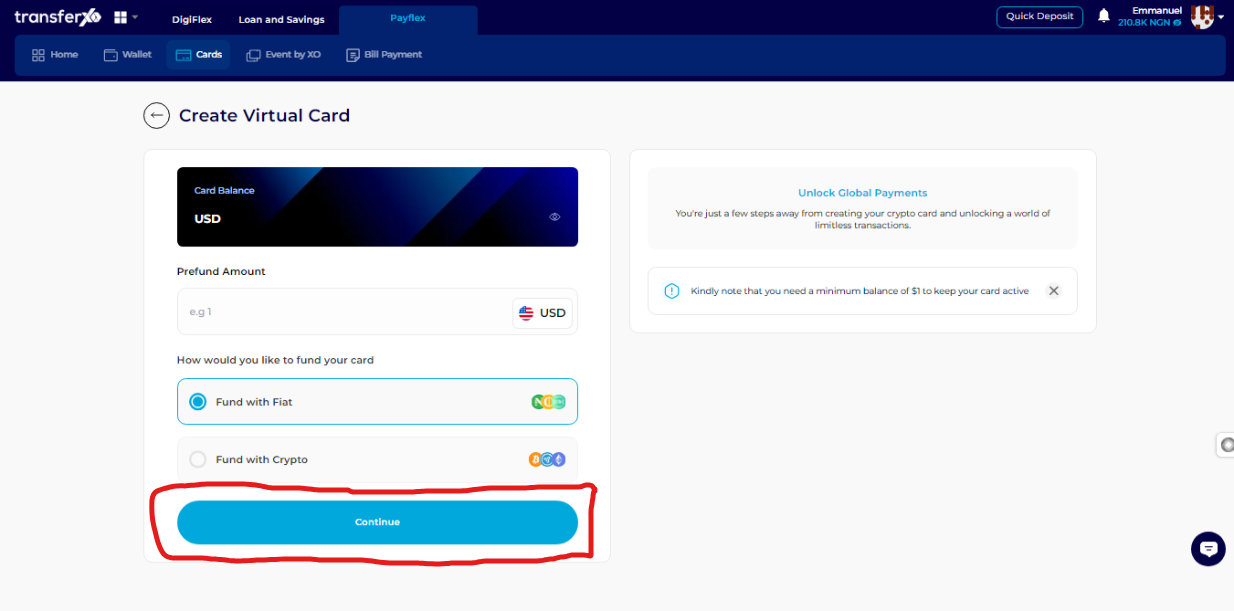
Step 11: Click Continue
After selecting your wallet, click Continue to proceed to the next step.
Step 12: Select the Payment Asset
From your selected wallet, choose the asset (currency) you want to use for the payment.
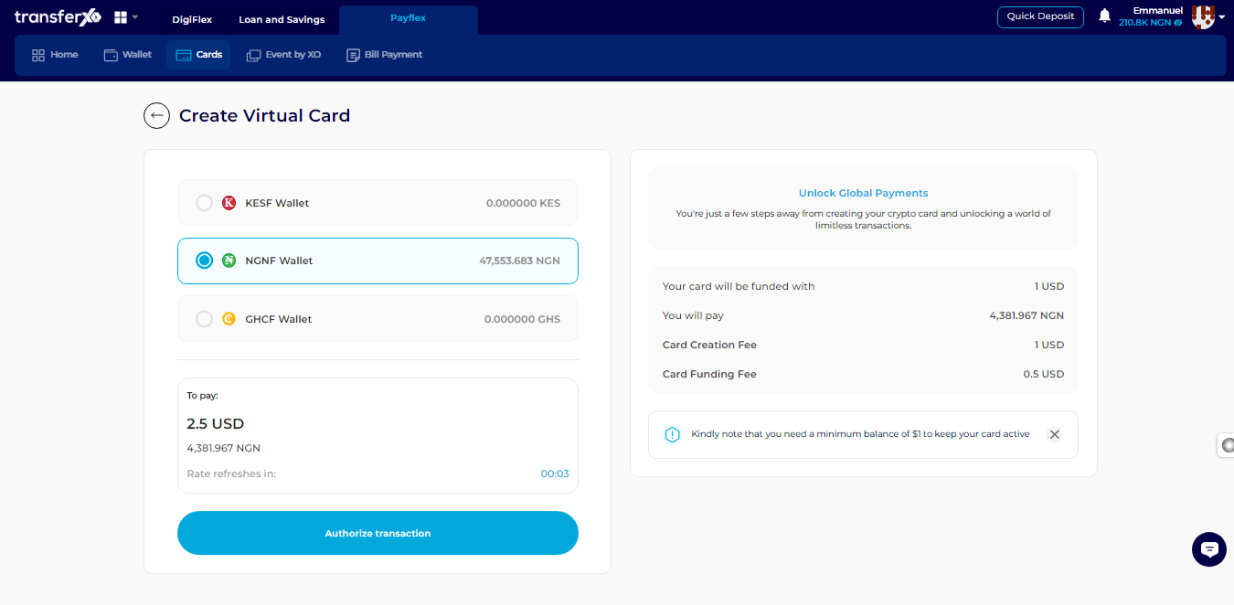
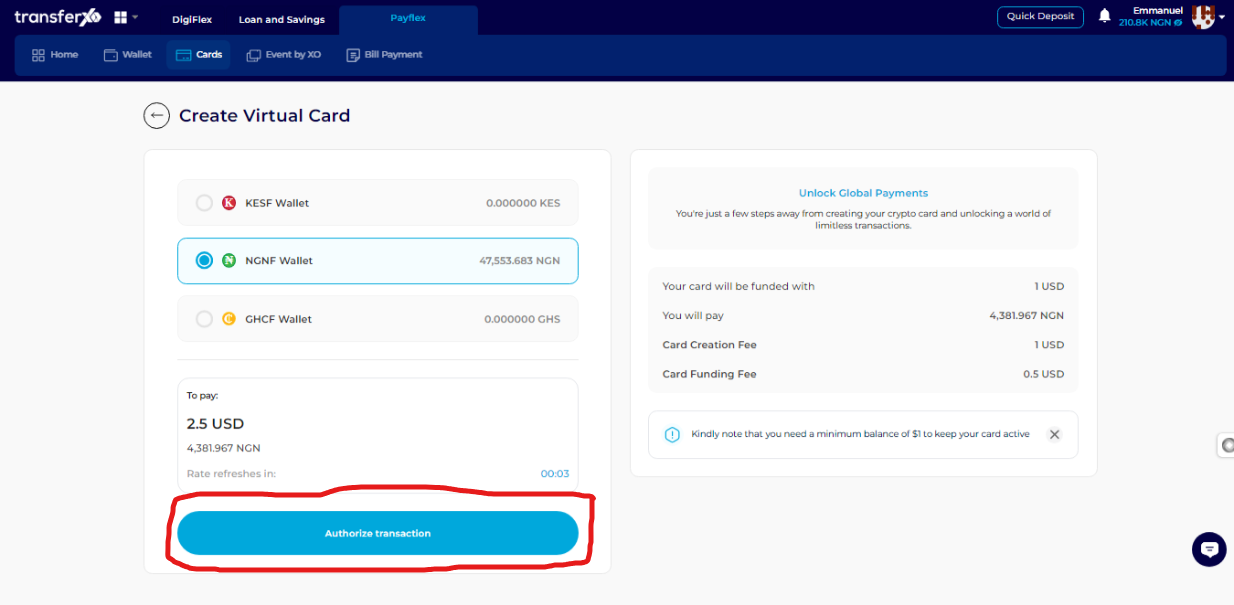
Step 13: Authorize the Transaction
Click Authorize Transaction to confirm your payment method and continue.
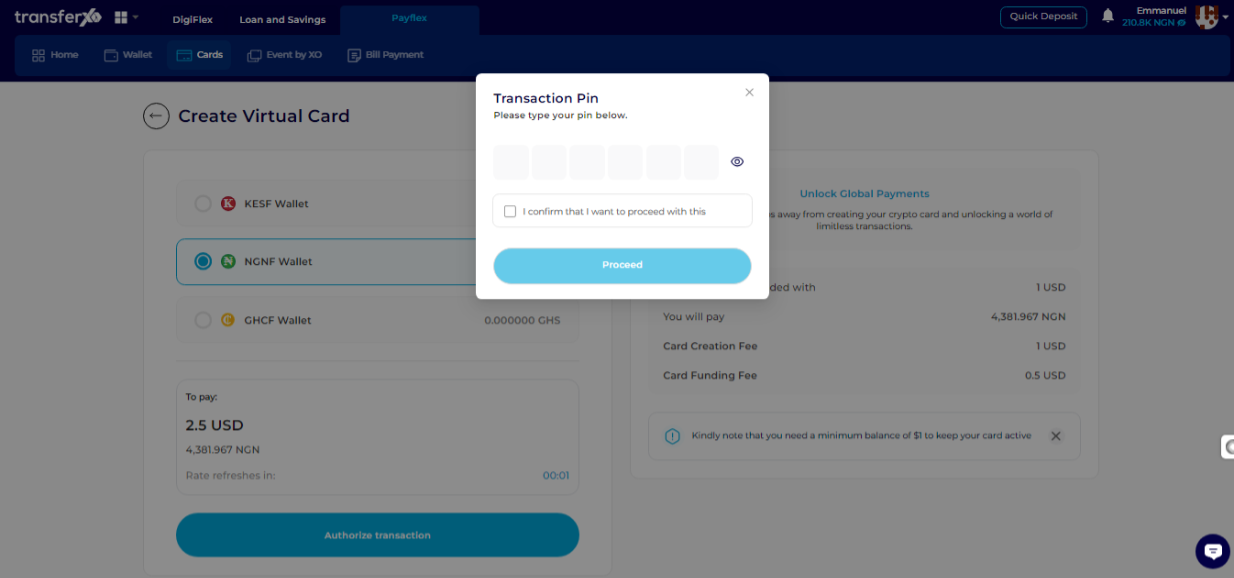
Step 14: Enter Your Transaction PIN
Enter your 6-digit transaction PIN, then check the confirmation box to verify and approve the payment.
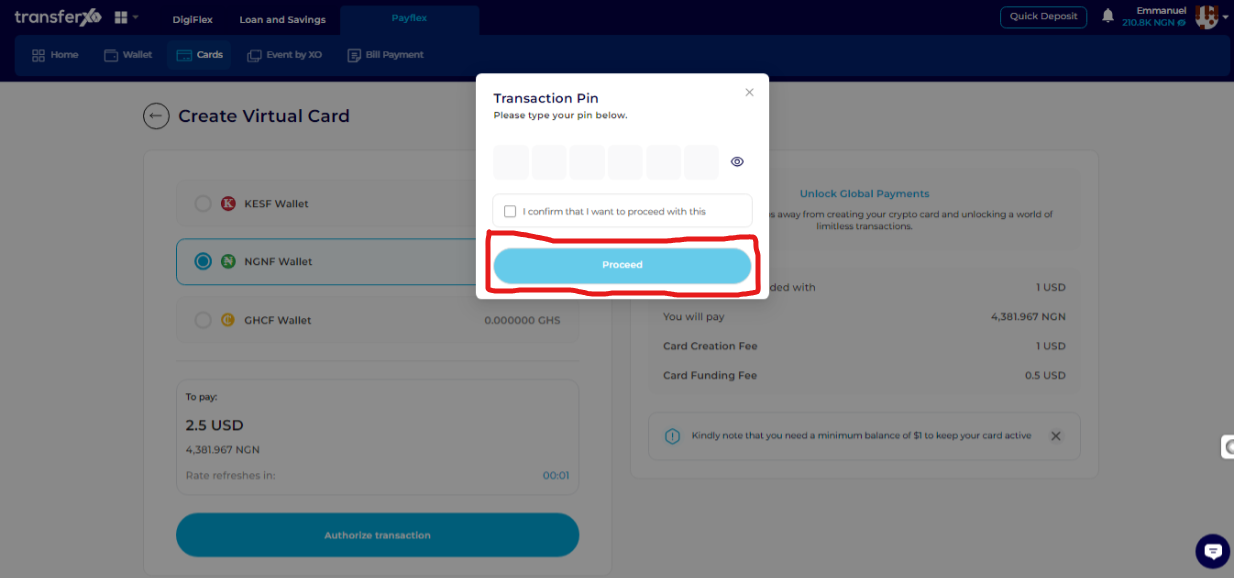
Step 15: Click on Proceed
Click Proceed to finalize the virtual card creation process. Once completed, you will receive a confirmation notification that your virtual card has been successfully created.
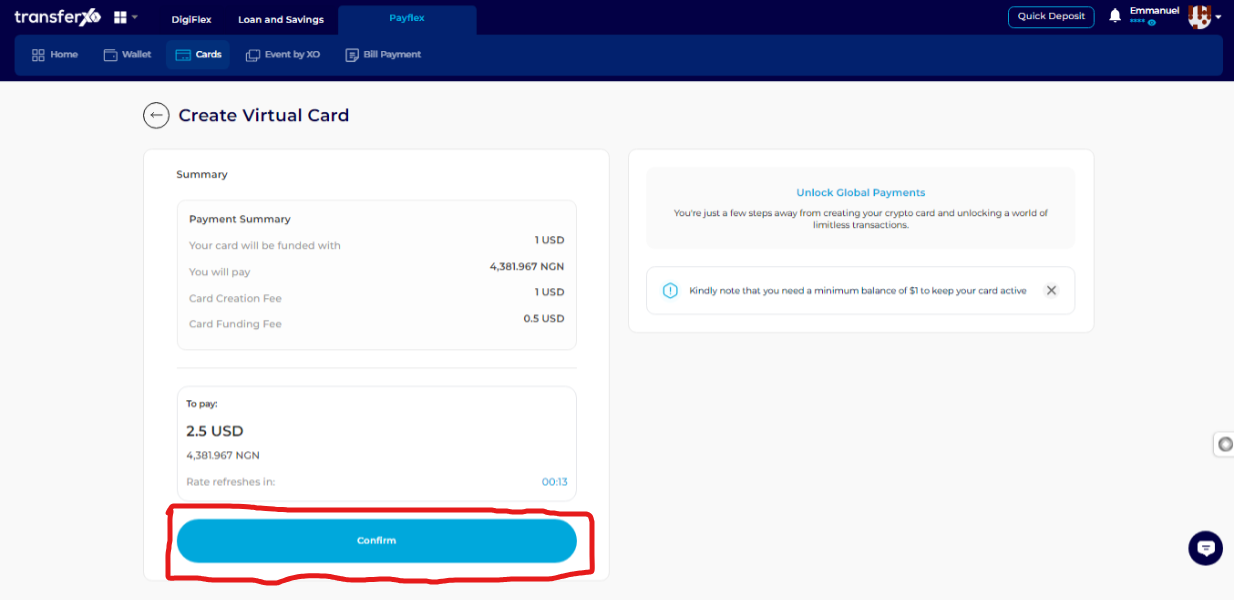
Step 16: Confirm the Process
A summary page will be presented before finalizing the card creation. Review the details and click Confirm to complete the process.
Creating a virtual card on TransferXO is a simple and secure way to manage online payments. By following these steps, you can quickly set up your virtual card and start using it for seamless transactions. Remember to keep a minimum balance of $1 to keep your card active.
Enjoy secure and convenient payments with TransferXO!