

TransferXO offers a seamless way to create and manage virtual cards for online transactions. This guide will walk you through the process of creating a virtual card on TransferXO using the mobile web version.
Step 1: Access Your TransferXO Account
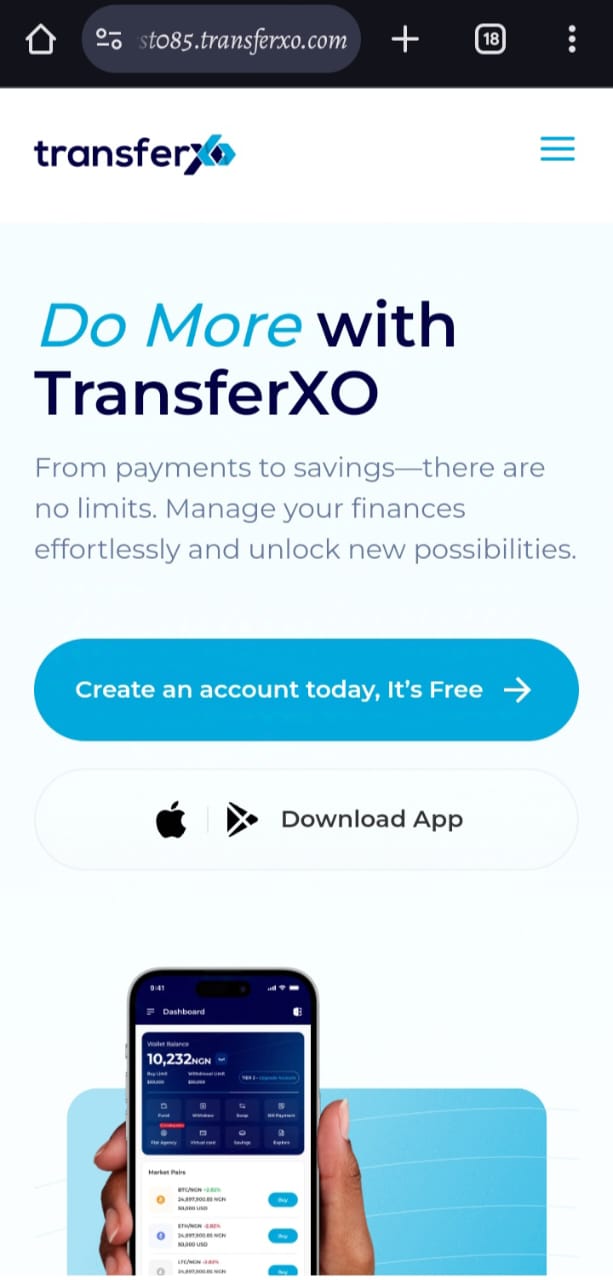
Open your phone's web browser and navigate to TransferXO's website: transferxo.com. Ensure you have a stable internet connection for a seamless experience.
Step 2: Sign in to Your TransferXO
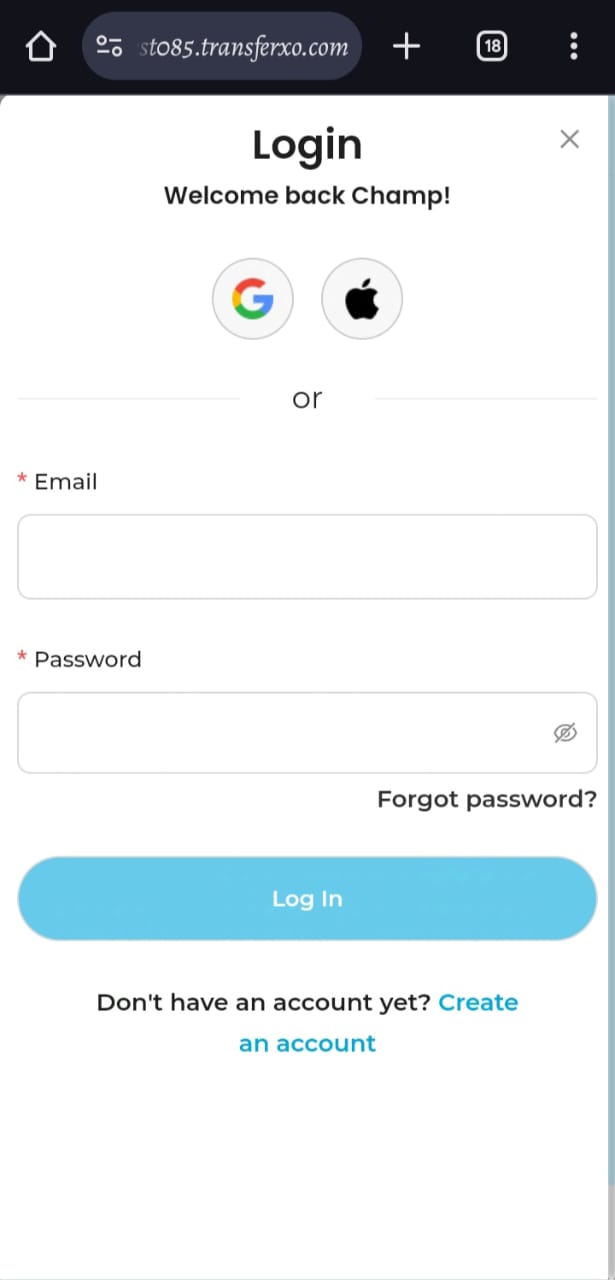
Enter your login credentials (email and password) and sign in to your TransferXO account. If you do not have an account, select Sign Up to create one.
Step 3: Access the Dashboard
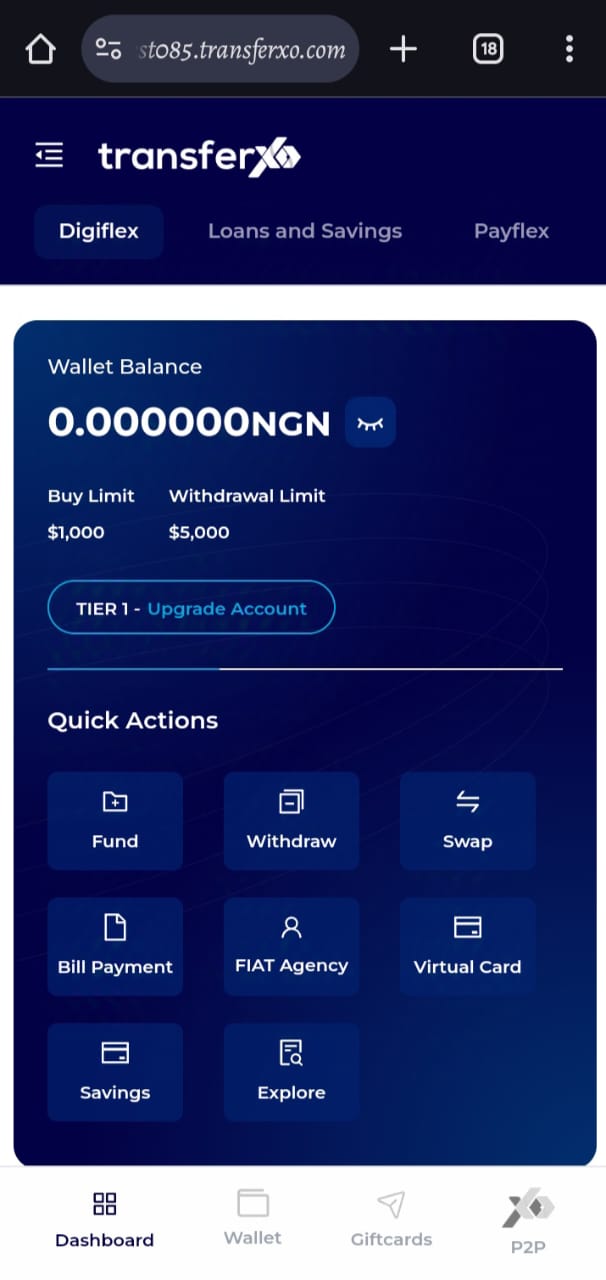
After a successful login, you will be directed to your account's Dashboard. This is your central hub for managing various services offered by TransferXO.
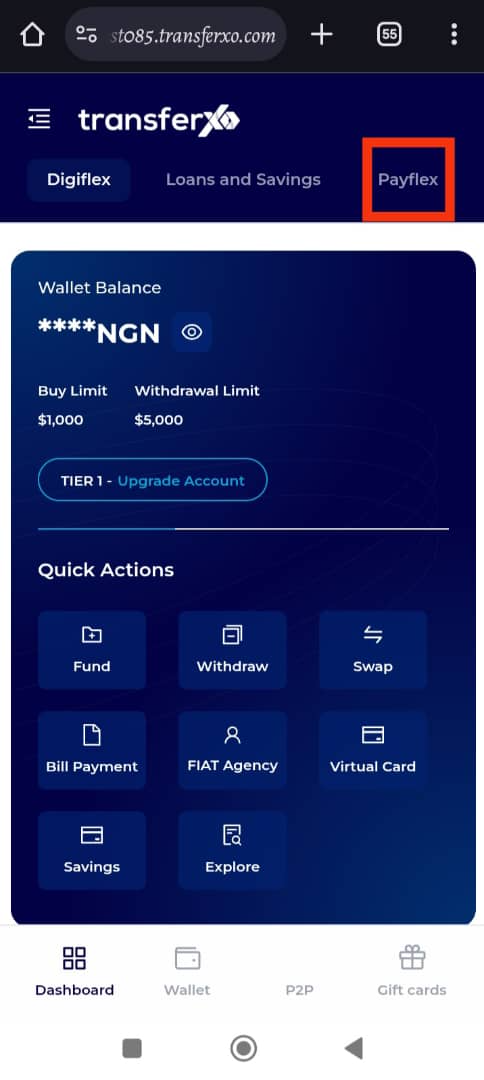
Step 4: Locate the Key Offering Panel
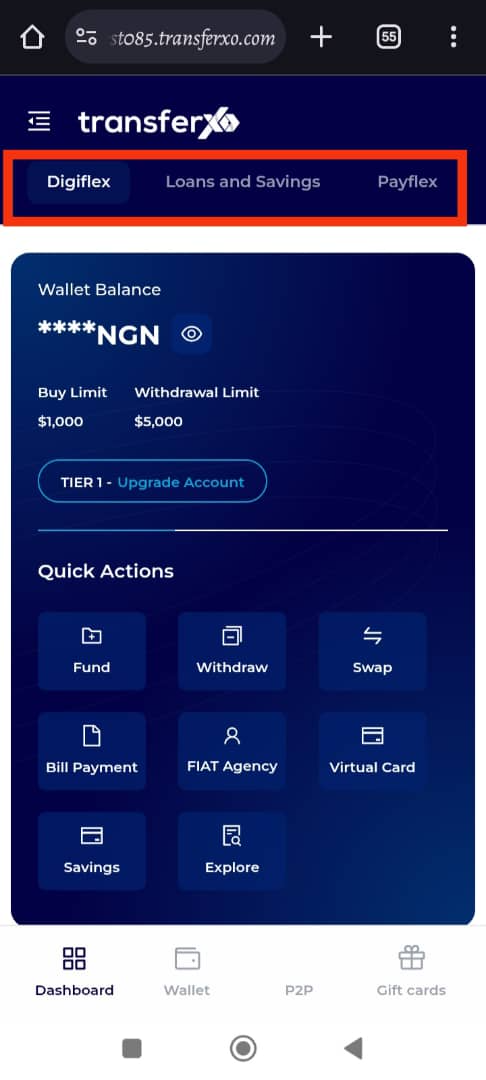
At the top of the screen, to the left of the TransferXO logo, locate the Key Offering buttons, which provide access to various services on the platform.
Step 5: Click on Payflex
From the Key Offerings panel, locate and click on Payflex to proceed to the payment services section.
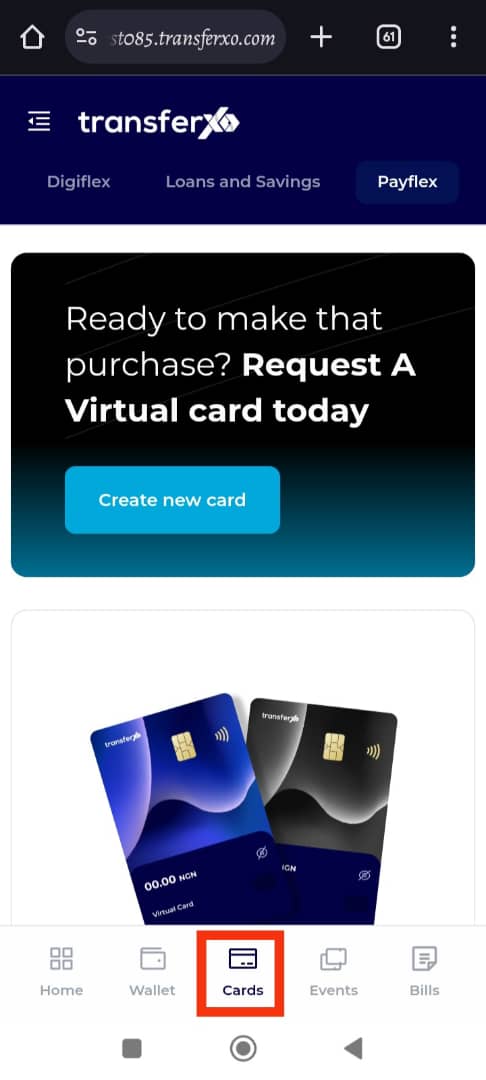
Step 6: Review the Payflex Dashboard
By default, the landing page for the Payflex section is the Cards interface. However, if it does not automatically open, tap on the Cards tab at the bottom of the screen (middle tab) to access it.
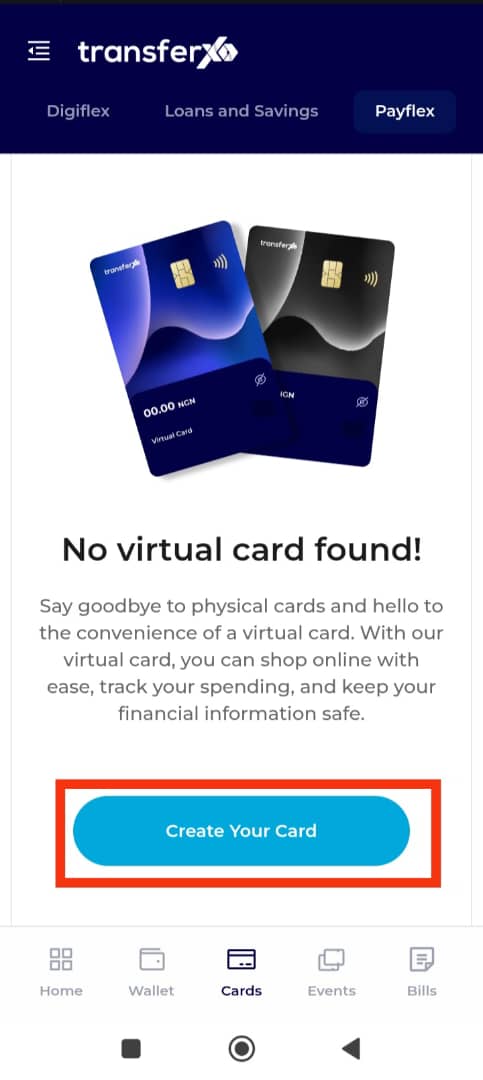
Step 7: Initiate Card Creation
In the Virtual Cards interface, you have two options to start creating a new card:
- For First-Time Users: If you haven't created a virtual card before, you'll see a "Create Your Card" button at the center of the screen. Click on this to proceed.
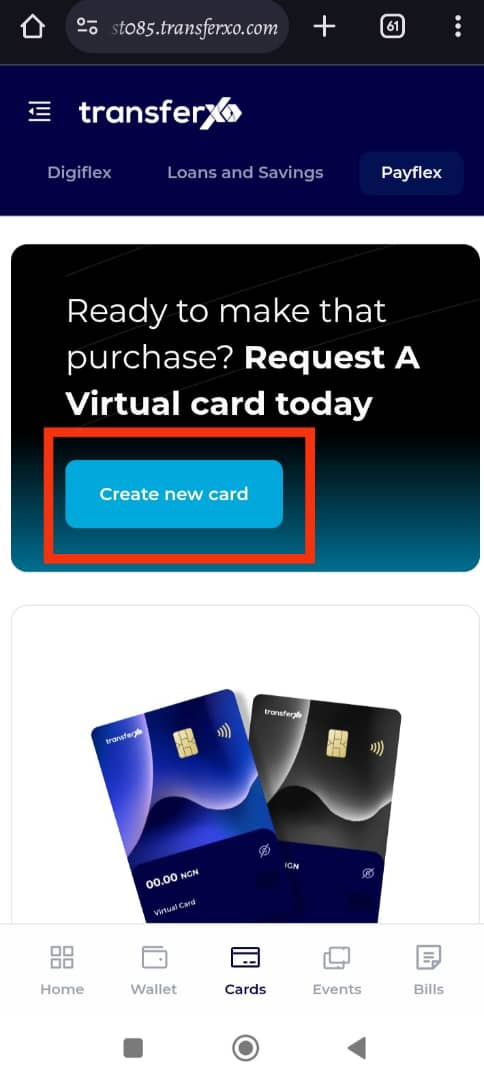
- For Existing Users: If you've previously created a virtual card, locate the "Create new card" option at the top-left corner, just below the page description. Click here to begin.
Important note: If you have previously created a virtual card, only the Create New Card option will be available at the top left-hand corner of the screen. Both options lead to the same interface.
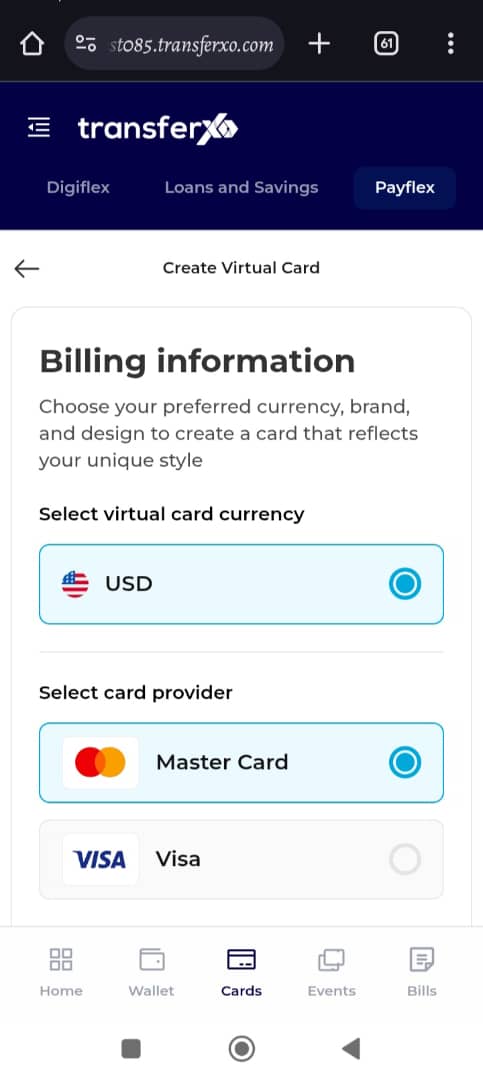
Step 8: Provide Card Information
In the card creation interface, you'll need to specify the following details:
Currency: Select your preferred currency for the virtual card.
Card Provider: Choose between Visa or MasterCard as your card provider.
Card Design: Pick a design that appeals to you from the available options.
Step 9: Proceed with Card Creation
Once all necessary information is provided, click on the "Proceed" button to continue.
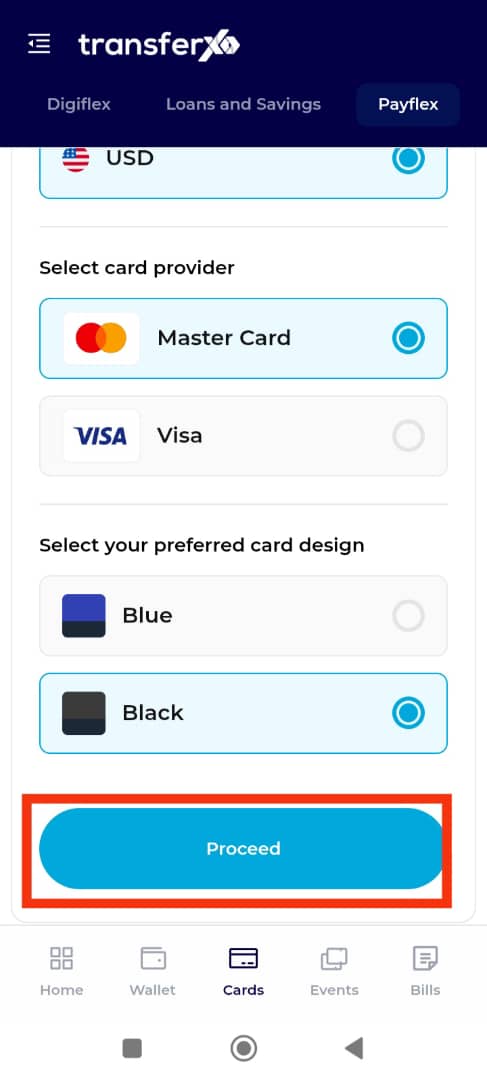
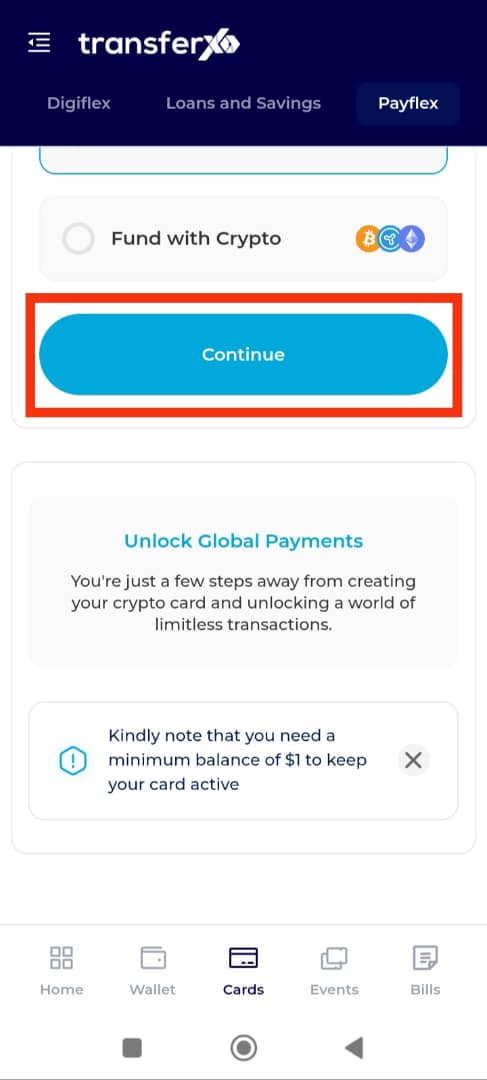
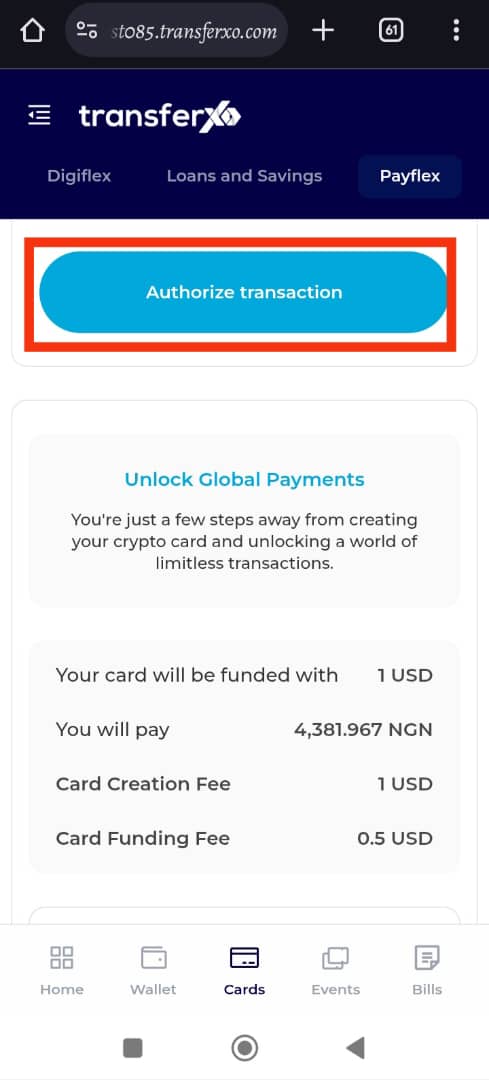
Important note: Before proceeding, review the displayed message at the bottom of the screen: "Kindly note that you need a minimum balance of $1 to keep your card active." Ensure that you have the minimum balance in your account to keep your virtual card active.
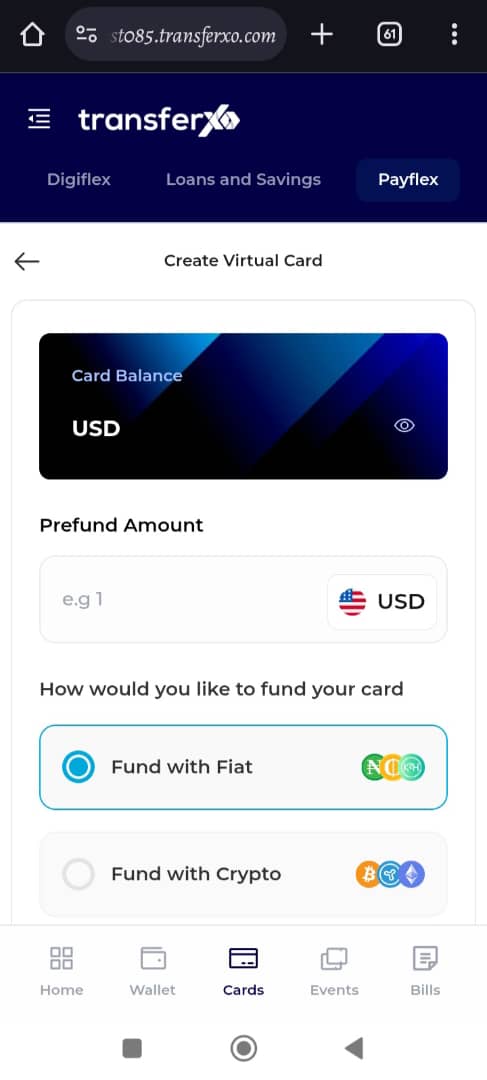
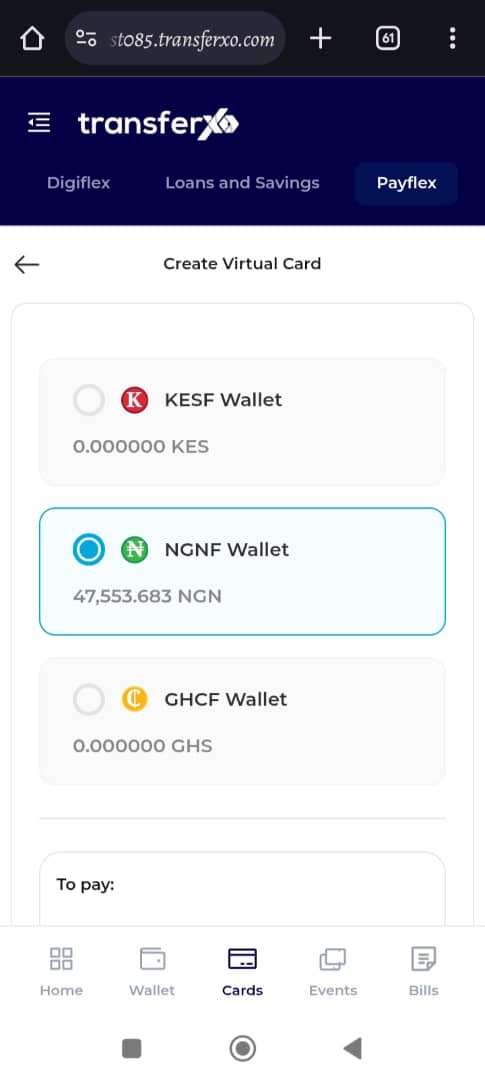
Step 10: Enter Prefund Amount and Select Wallet
Enter the amount you want to pre-fund your virtual card with. Then, select the wallet from which the payment will be made. Select either:
Fiat Wallet (for payments in traditional currency)
Crypto Wallet (for payments in supported cryptocurrencies)
Step 11: Click on Continue
Click on the Continue button to proceed to the payment authorization stage.
Step 12: Select the Asset for Payment
From your chosen wallet, select the specific asset (e.g., USD, BTC) you intend to use for funding the virtual card.
Step 13: Authorize the Transaction
Click on the Authorize transaction button to move forward.
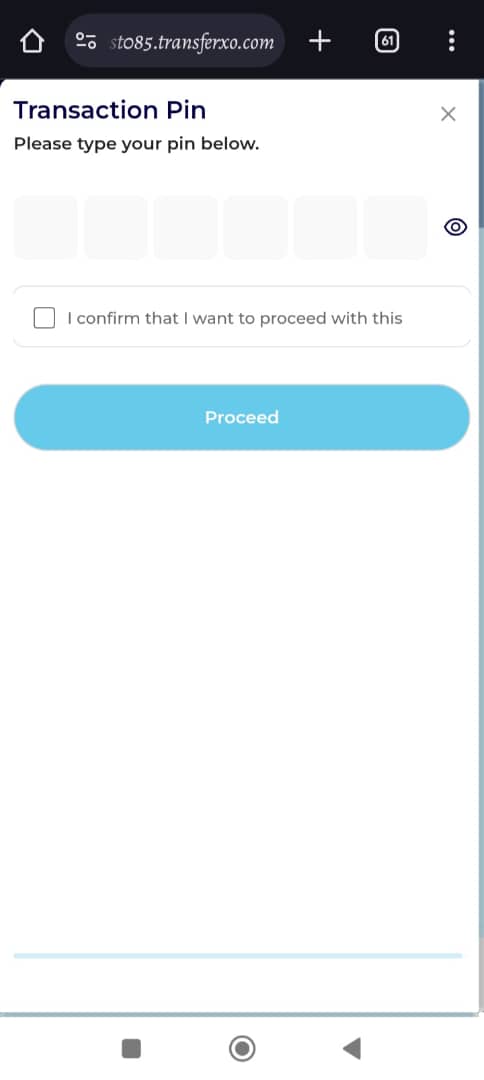
Step 14: Enter Transaction PIN and Confirm
Input your 6-digit transaction PIN when prompted. Additionally, check the confirmation box to acknowledge the transaction details.
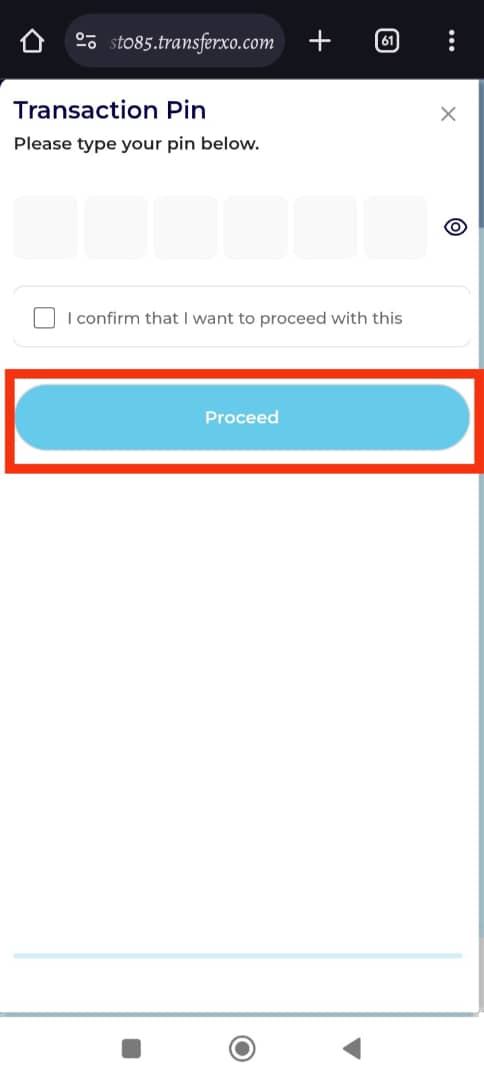
Step 15: Finalize the Process
Tap on Proceed to complete the card creation process.
Congratulations! You have successfully created a virtual card on TransferXO using the mobile web view. Your virtual card is now ready for online transactions. You can always access it through the Payflex Cards interface in your account dashboard.
If you experience any issues, refer to TransferXO’s support team for assistance.