

The Bill Payment feature on TransferXO allows users to conveniently pay for airtime, utilities, and other services directly from their mobile web browser. With a streamlined interface, users can quickly complete transactions using either their crypto wallet or fiat wallet.
This guide provides step-by-step instructions to ensure a smooth and hassle-free bill payment experience on the mobile web view of TransferXO.
Step 1: Access Your TransferXO Account
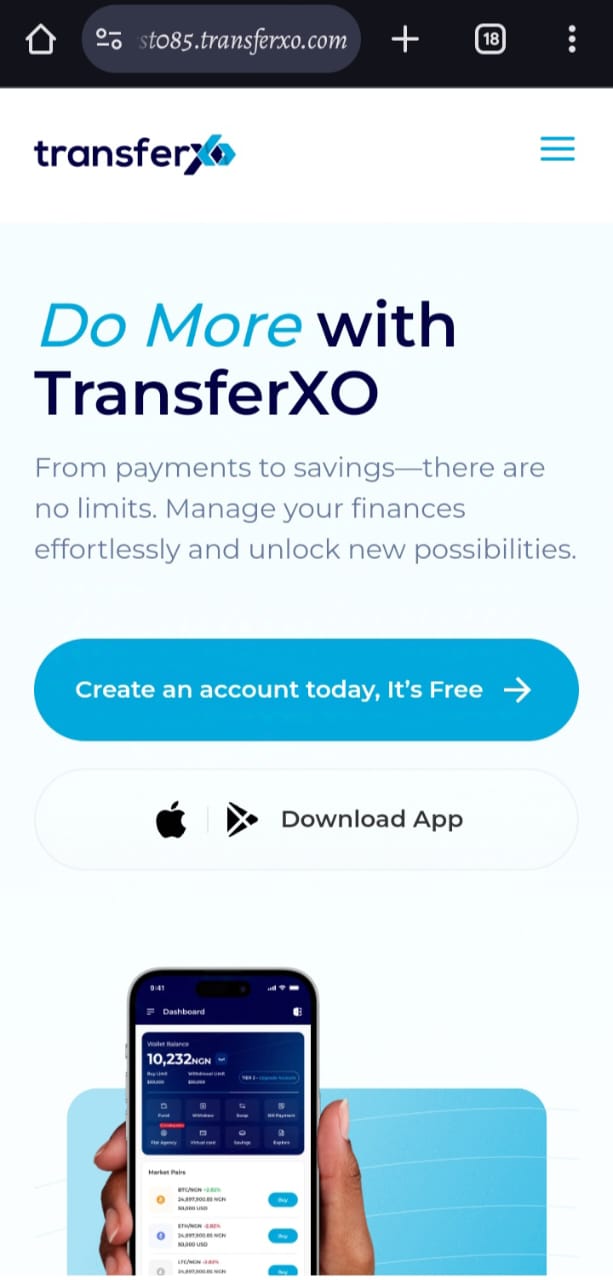
Open your phone's web browser and navigate to TransferXO's website: transferxo.com. Ensure you have a stable internet connection for a seamless experience.
Step 2: Sign in to Your TransferXO
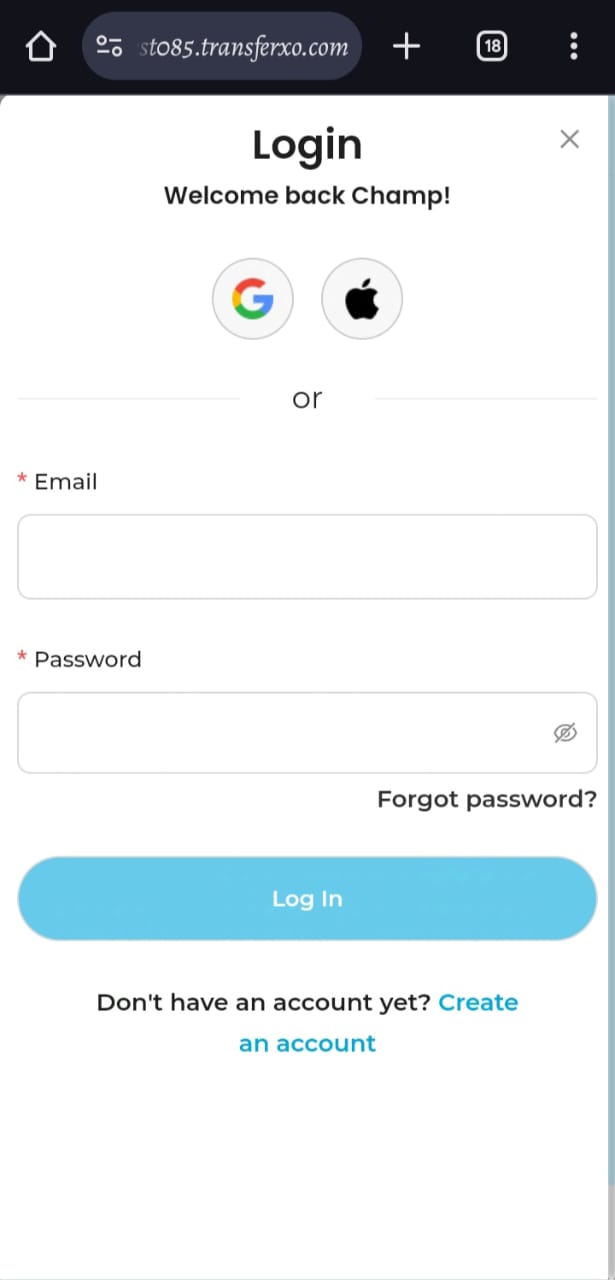
Enter your login credentials (email and password) and sign in to your TransferXO account. If you do not have an account, select Sign Up to create one.
Step 3: Access the Dashboard
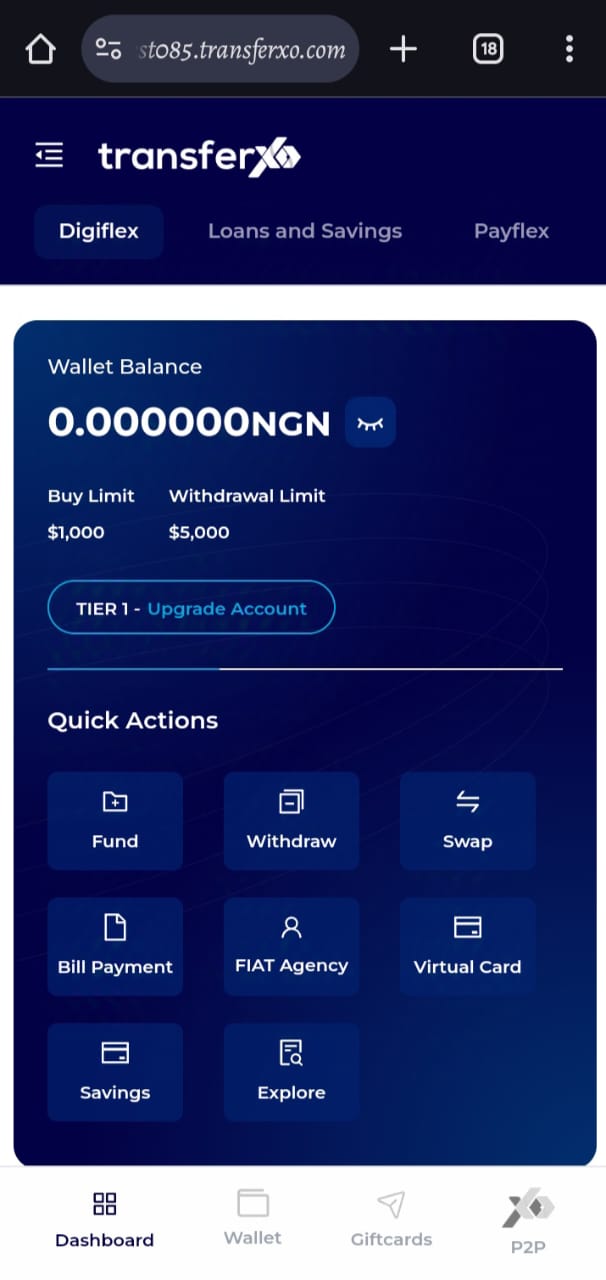
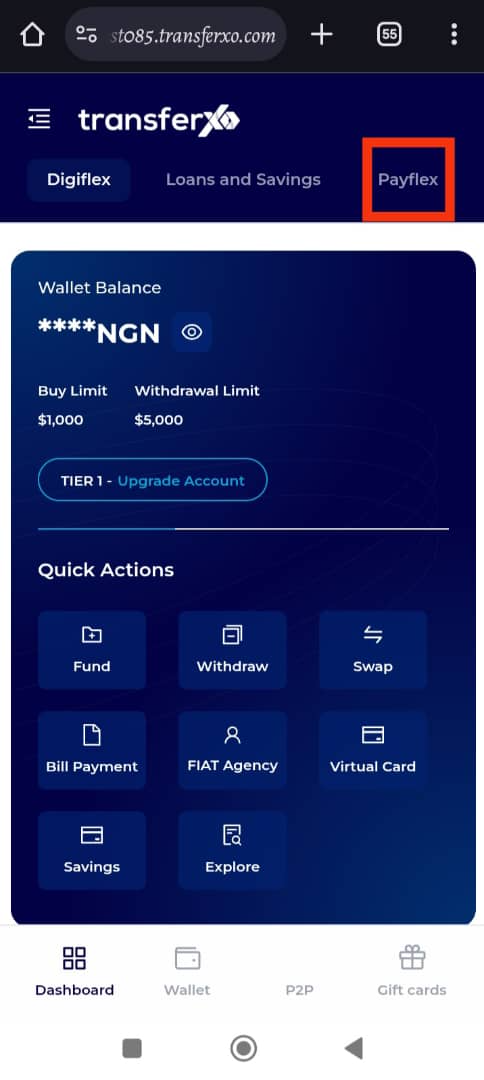
After successfully logging in, you will be redirected to your Dashboard, which serves as your homepage. This is where you can access all key features.
Step 4: Locate the Key Offering Panel
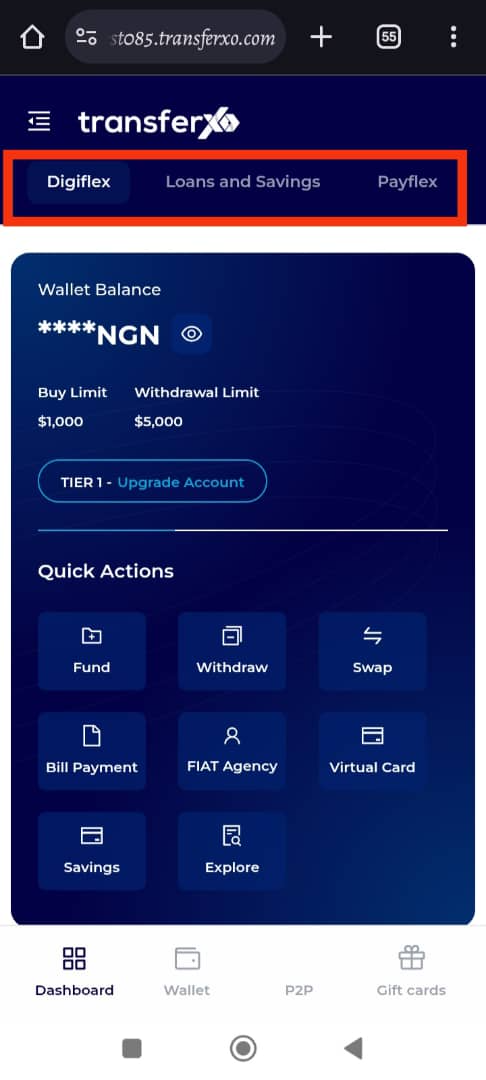
At the top of the screen, to the left of the TransferXO logo, locate the Key Offering buttons, which provide access to various services on the platform.
Step 5: Click on Payflex
From the Key Offerings panel, locate and click on Payflex to proceed to the payment services section.
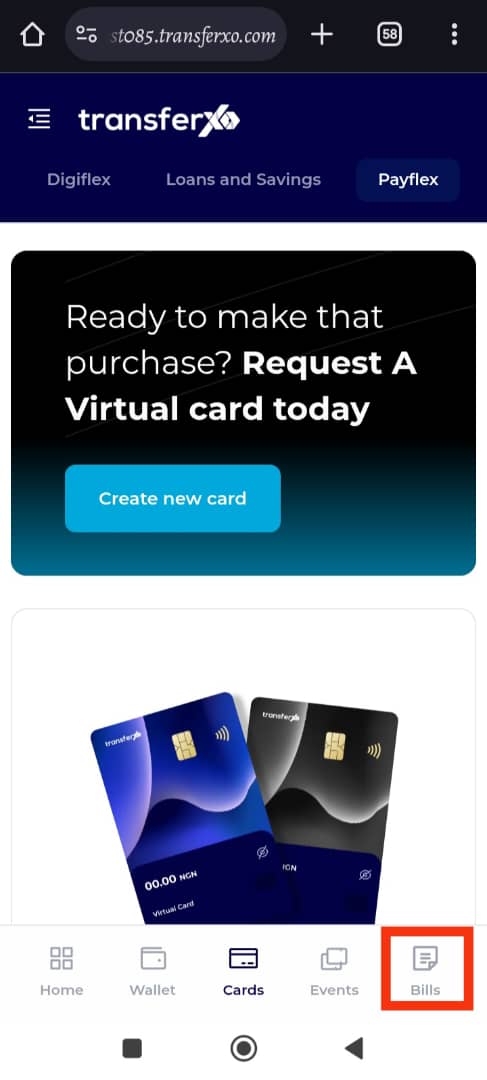
Step 6: Open the Bill Payment Tab
On the Payflex Dashboard, tap on the Bill tab, located at the bottom of the screen, to access bill payment options.
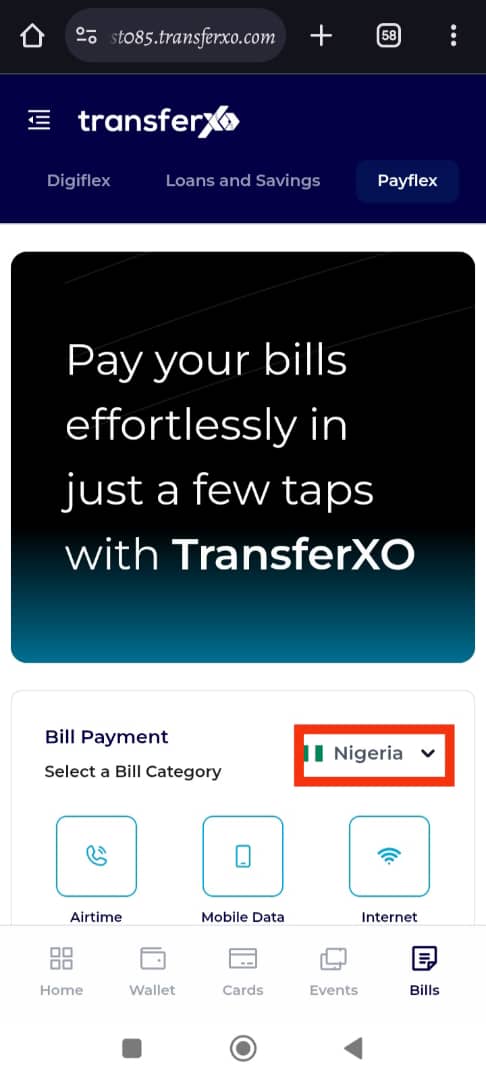
Step 7: Select Your Country
Choose the country where the transaction will take place to ensure that only relevant services are displayed.
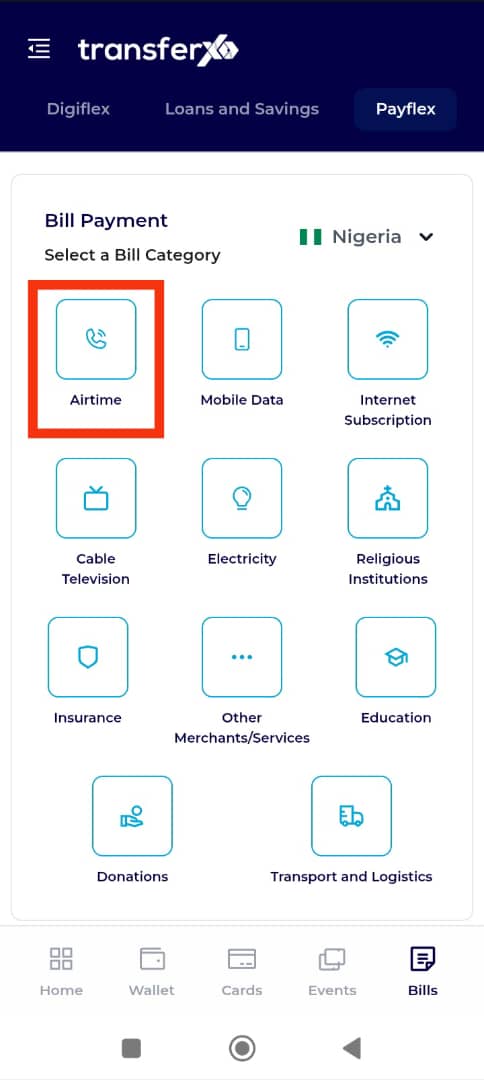
Step 8: Select a Bill Category
Pick the category of the bill you want to pay. To recharge your phone, select Airtime.
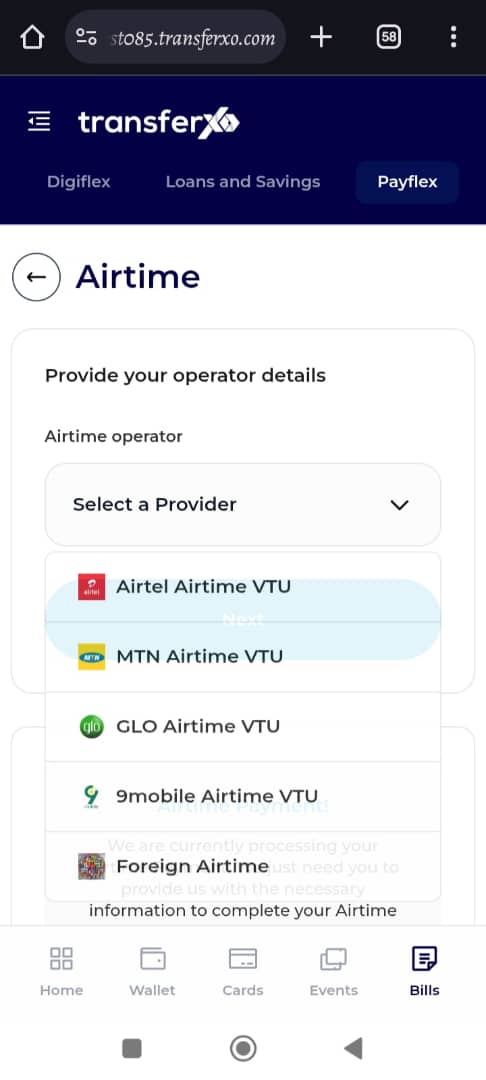
Step 9: Select Your Network Provider
Choose the mobile network provider of the phone number you want to recharge (e.g., MTN, Airtel, Glo, or 9mobile for Nigeria).
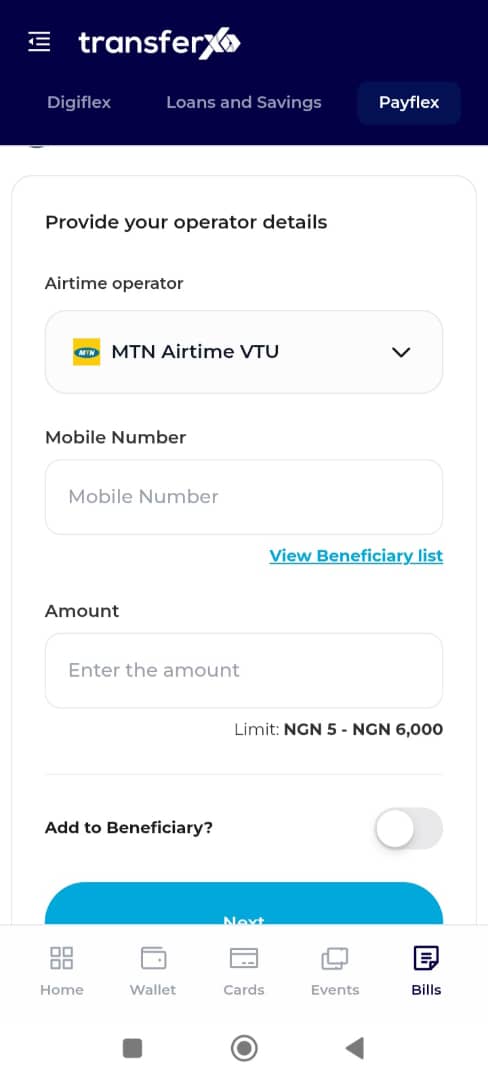
Step 10: Enter Required Details
Provide the following details:
Mobile Number: Input the number you wish to recharge.
Amount: Enter the amount to be recharged. (For Nigeria, this ranges from ₦5 to ₦6000, but limits may vary depending on country and provider.)
Save for Future Use: Toggle the Add to Beneficiary button if you want to save the number for future transactions.
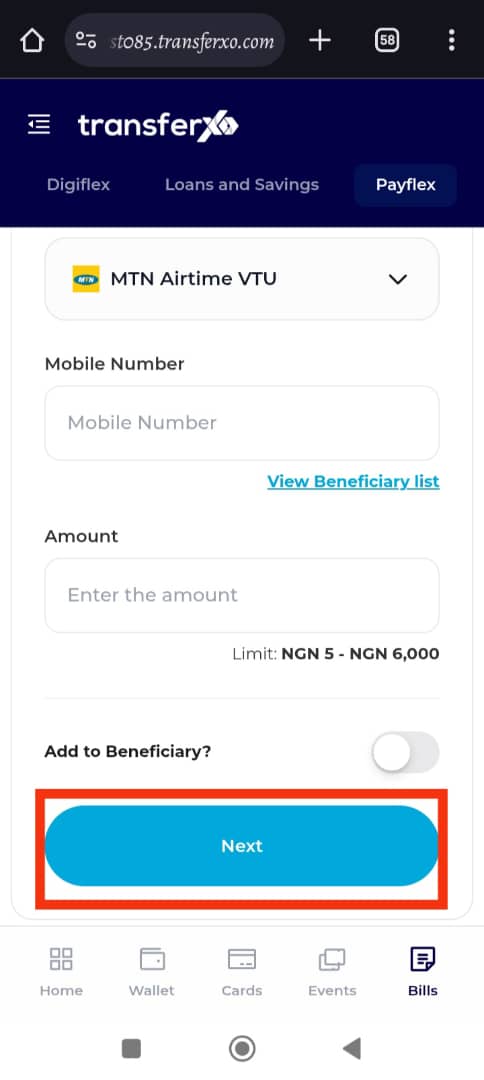
Step 11: Click Next to Proceed
After verifying your details, tap Next to move to the payment section.
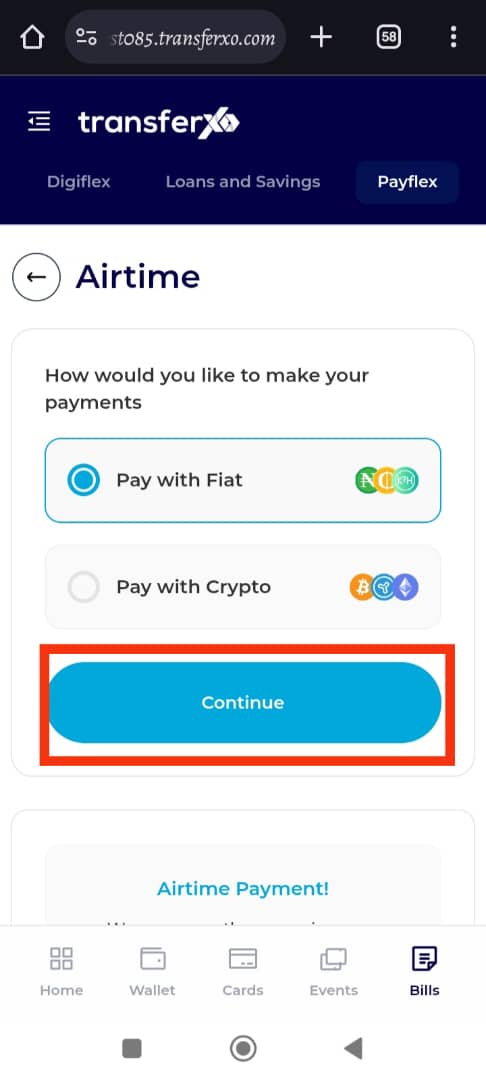
Step 12: Select Your Payment Wallet
Choose the wallet you want to use for the payment. You can select either:
Fiat Wallet (for traditional currency transactions)
Crypto Wallet (for cryptocurrency transactions)
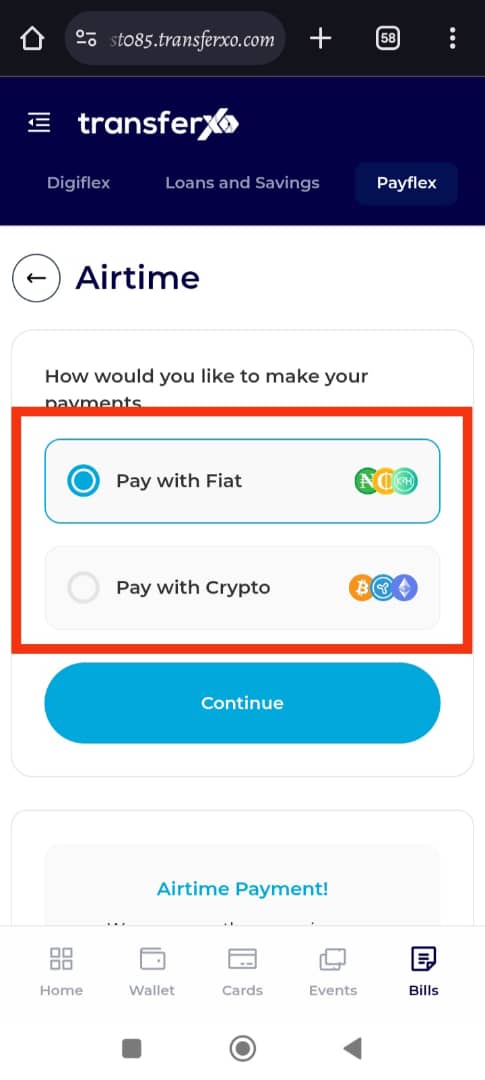
Step 13: Click on Continue
Tap Continue to proceed to the next step in the payment process.
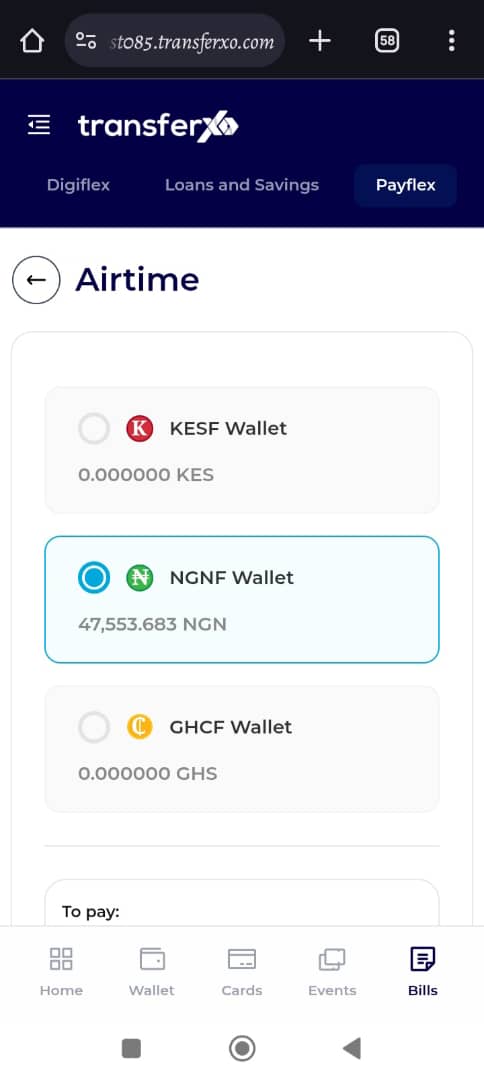
Step 14: Select the Payment Asset
From your chosen wallet, select the asset (currency) you want to use for the payment.
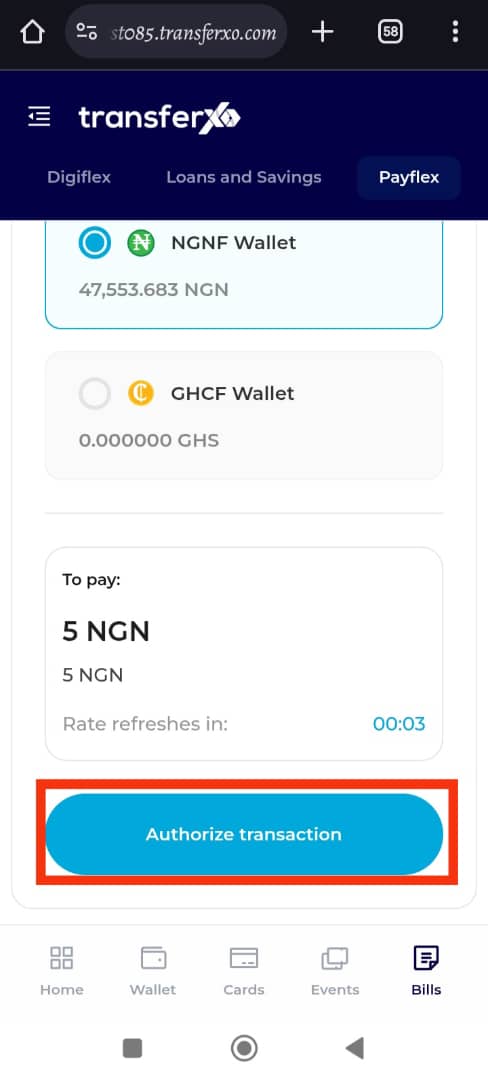
Step 15: Authorize the Transaction
Tap Authorize Transaction to confirm your payment method and proceed.
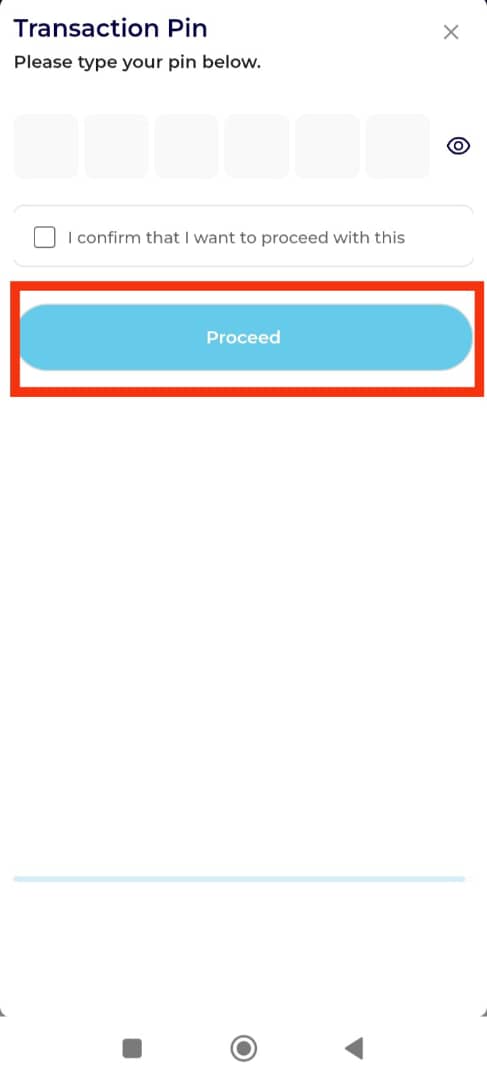
Step 16: Enter Your Transaction PIN
Enter your 6-digit transaction PIN, then check the confirmation box to verify and approve the transaction.
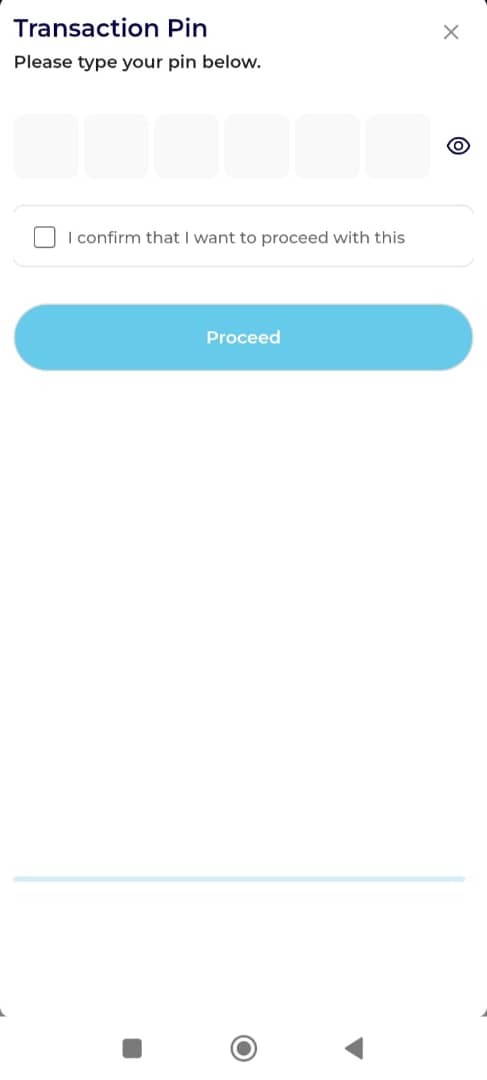
Step 17: Click on Proceed
Tap Proceed to finalize your payment. Once the transaction is successful, you will receive a confirmation notification.
Paying bills on TransferXO using the mobile web view is simple and efficient. Whether you're recharging your phone or making other payments, following these steps ensures a smooth and secure transaction. For faster payments in the future, use the Add to Beneficiary feature to save frequently used details.
Enjoy seamless financial transactions with TransferXO!