

The Bills Payment feature on TransferXO provides a seamless and efficient way for users to pay for various services, including airtime recharges, utility bills, and subscriptions. Follow this step-by-step guide to navigate the platform and complete your transaction with ease.
Step 1: Open the TransferXO Web App
Open your web browser on your PC and navigate to the TransferXO website via .
Step 2: Sign In to Your TransferXO Account
Enter your login credentials—your registered email/phone number and password—and sign in to your TransferXO account.

Step 3: Access Your Dashboard
After successfully logging in, you will be redirected to your Dashboard, which serves as your homepage. This is where you can access all key features.

Step 4: Locate the Key Offering Buttons
Right after the TransferXO logo, you will see key offering buttons that allow you to access different features of the platform.
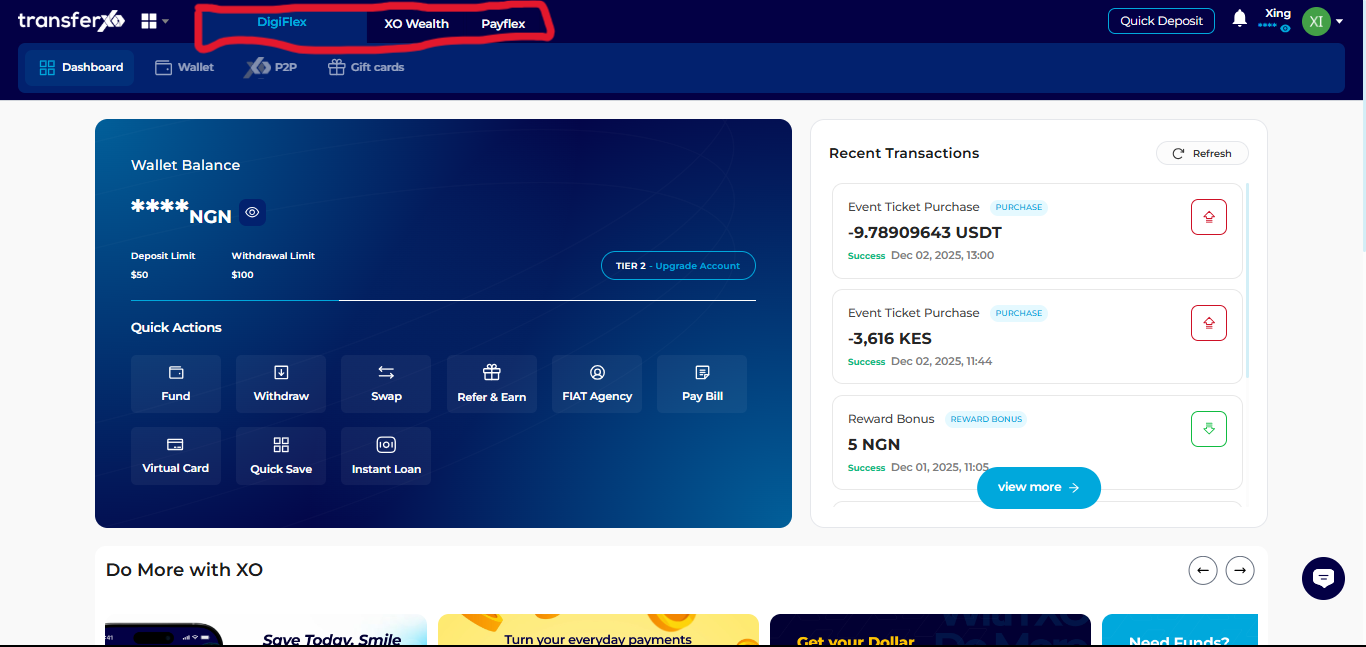
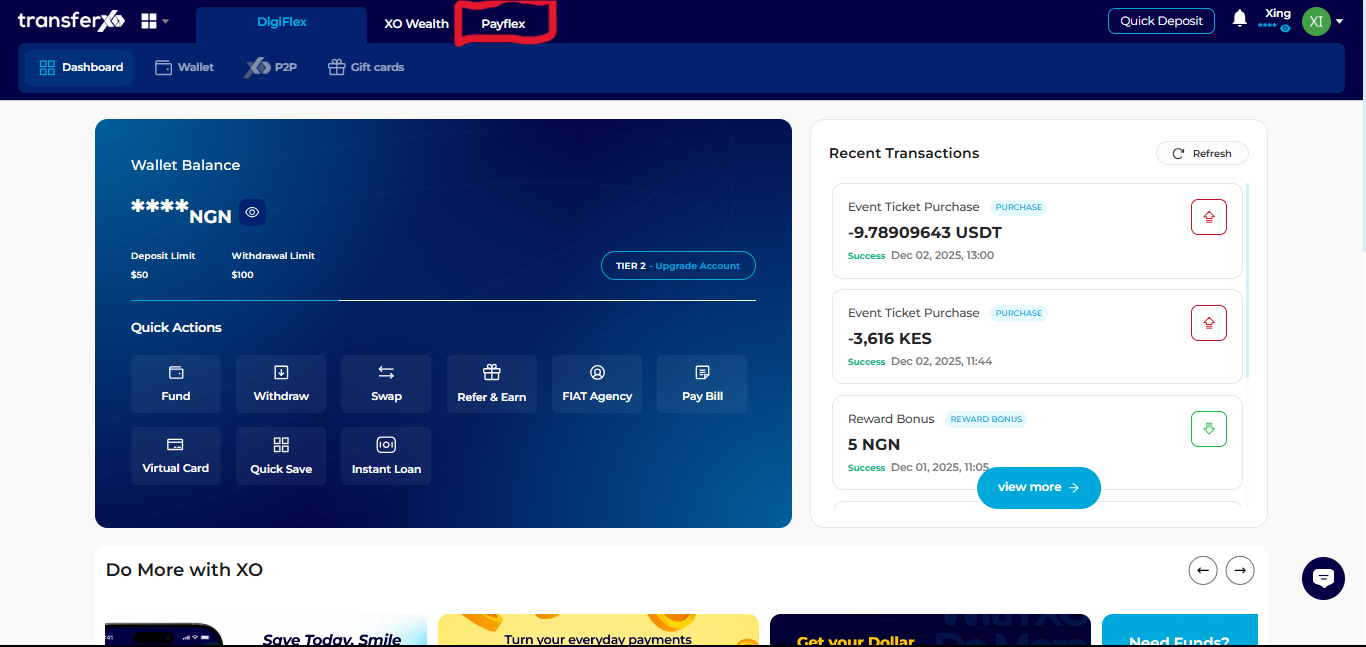
Step 5: Click on Payflex
From the Key Offerings panel, locate and click on Payflex to access the payment services section.
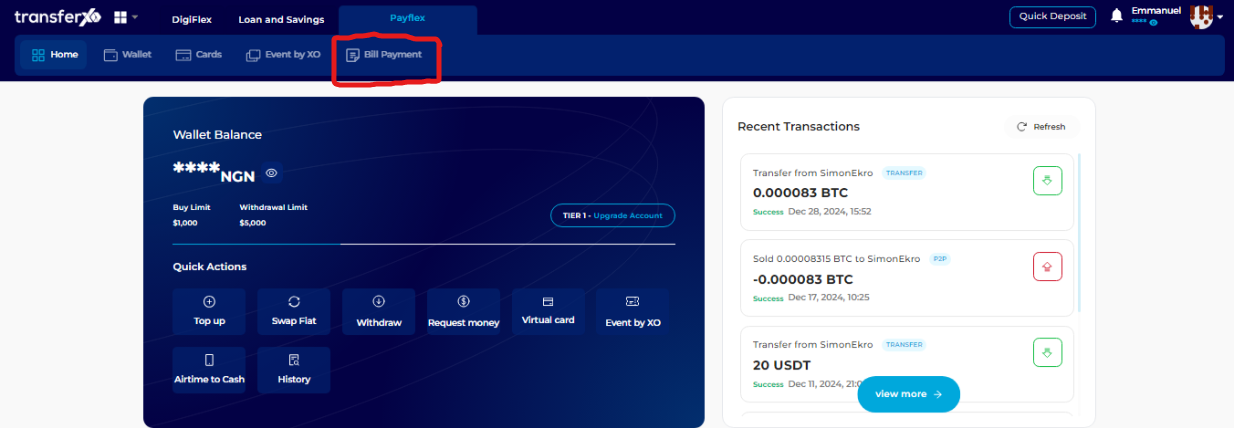
Step 6: Select Bill Payment
On the Payflex dashboard, find and click on Bill Payment, which is positioned below the Key Offerings bar.
Step 7: Select Your Country
Choose the country where the transaction will be carried out. This ensures that available services are relevant to your location.
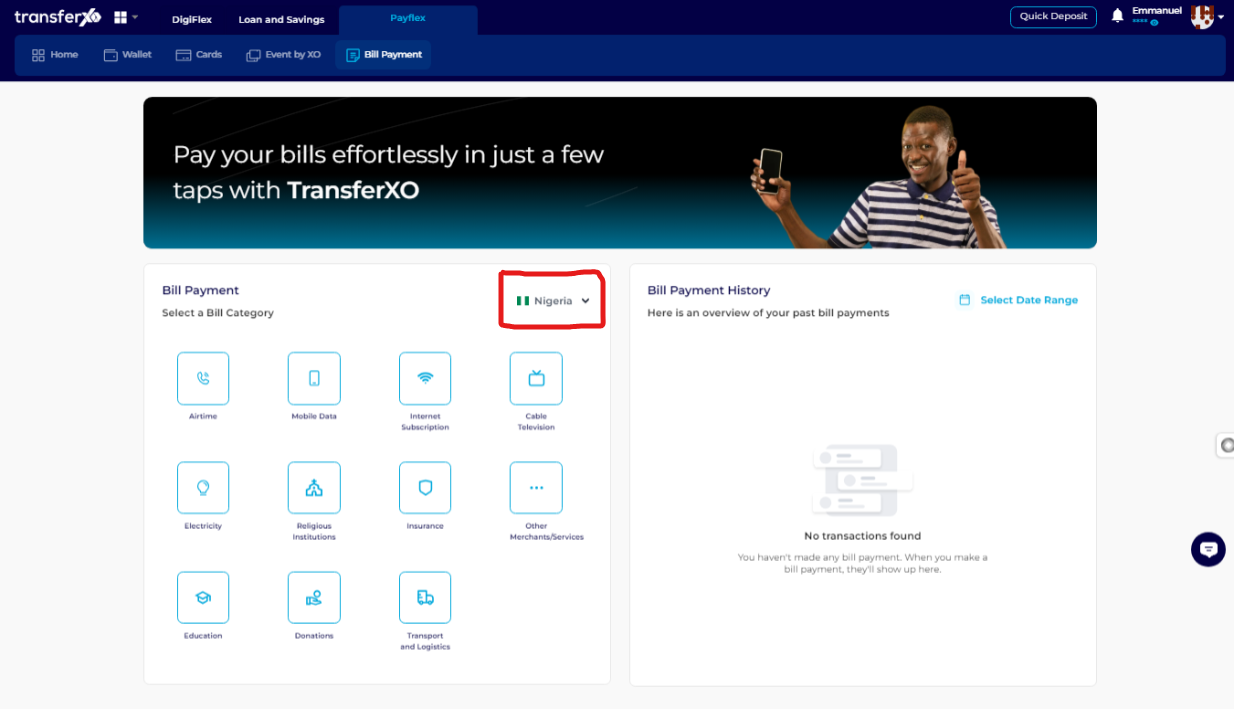
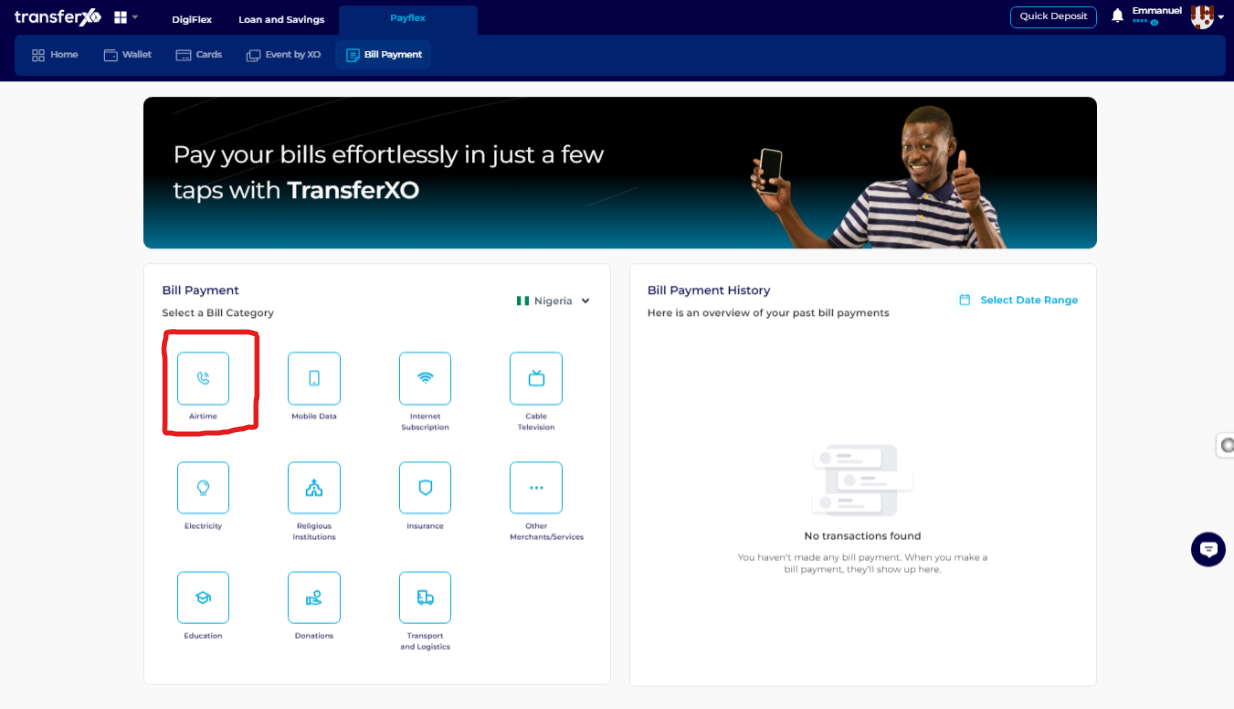
Step 8: Select a Bill Category
From the displayed options, select the category of the bill you want to pay. For phone recharges, choose Airtime.
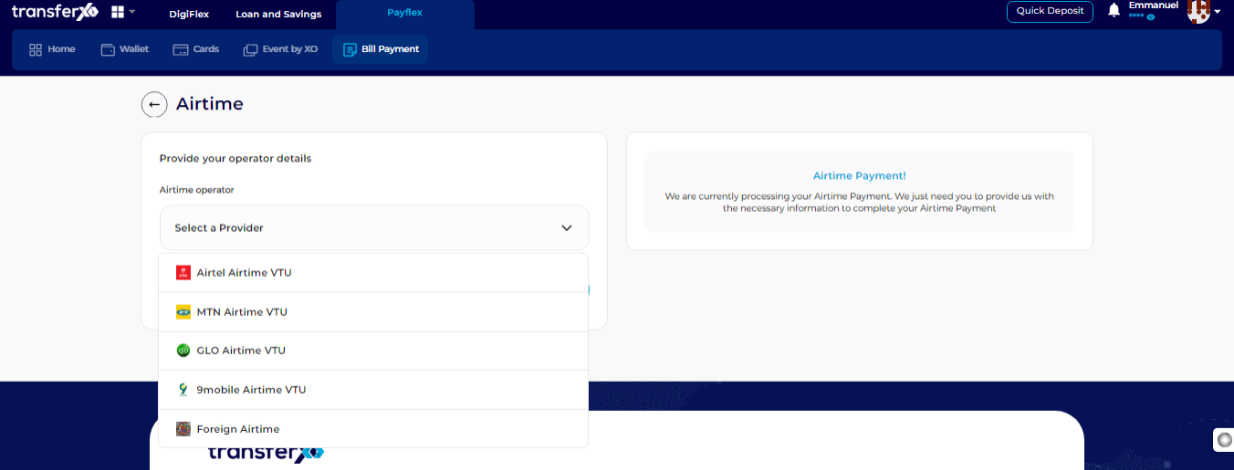
Step 9: Select Your Network Provider
Choose the network provider associated with the phone number you want to recharge (e.g., MTN, Airtel, Glo, or 9mobile for Nigeria).
Step 10: Enter Required Details
Provide the following details:
Mobile Number: Enter the phone number you wish to recharge.
Amount: Enter the recharge amount. (For Nigeria, this ranges from ₦5 to ₦6000, but limits may vary by country and provider.)
Save for Future Use: Toggle the Add to Beneficiary button if you want to save the number for future transactions.
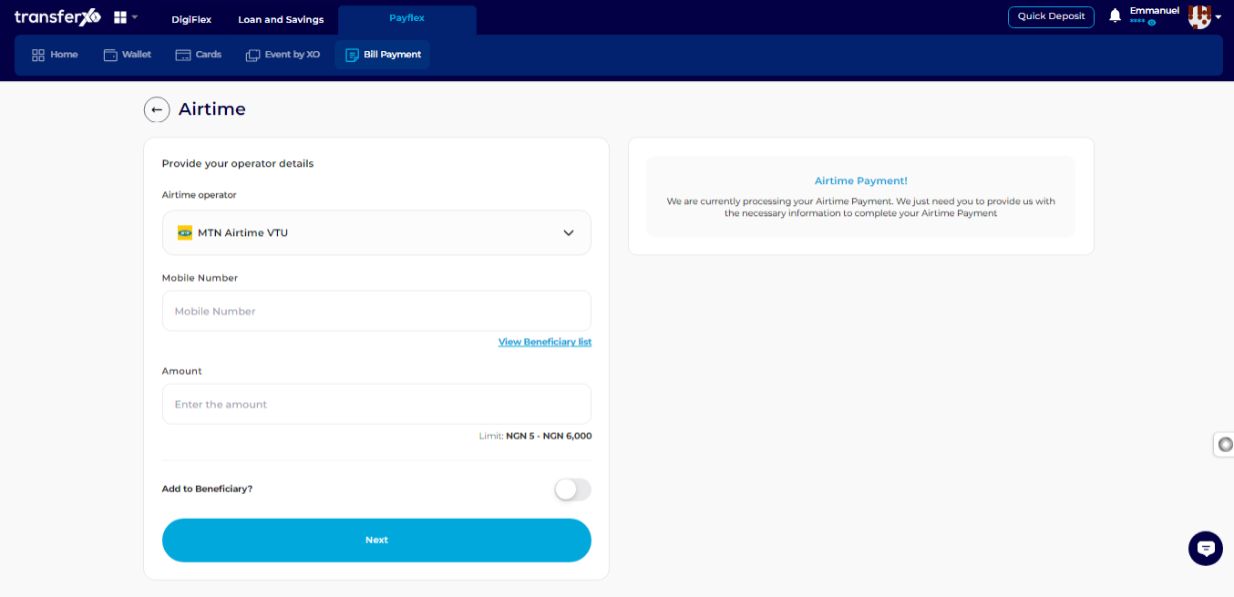
Step 11: Click Next to Proceed
Once all details are correctly entered, click Next to move to the payment section.

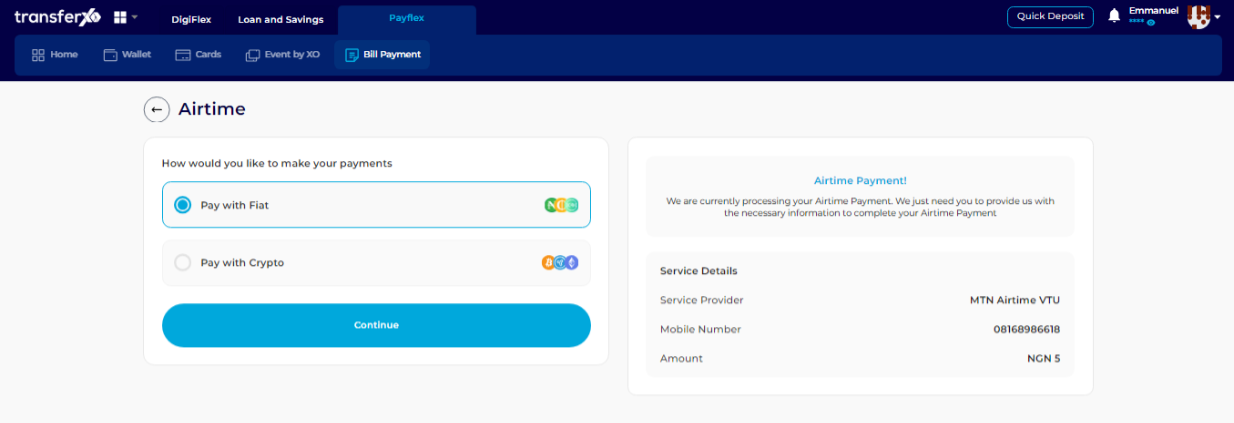
Step 12: Select Your Payment Wallet
Choose the wallet you want to use for payment. You can select either:
Fiat Wallet (for payments in traditional currency)
Crypto Wallet (for payments in supported cryptocurrencies)
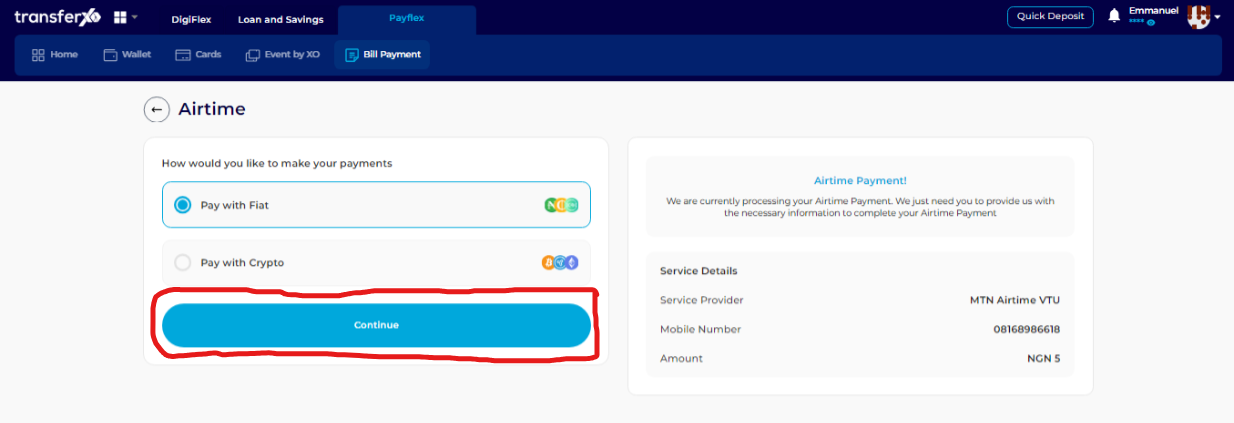
Step 13: Click on Continue
Click Continue to proceed to the next step of the payment process.
Step 14: Select the Payment Asset
From your selected wallet, choose the asset (currency) you want to use for the payment.
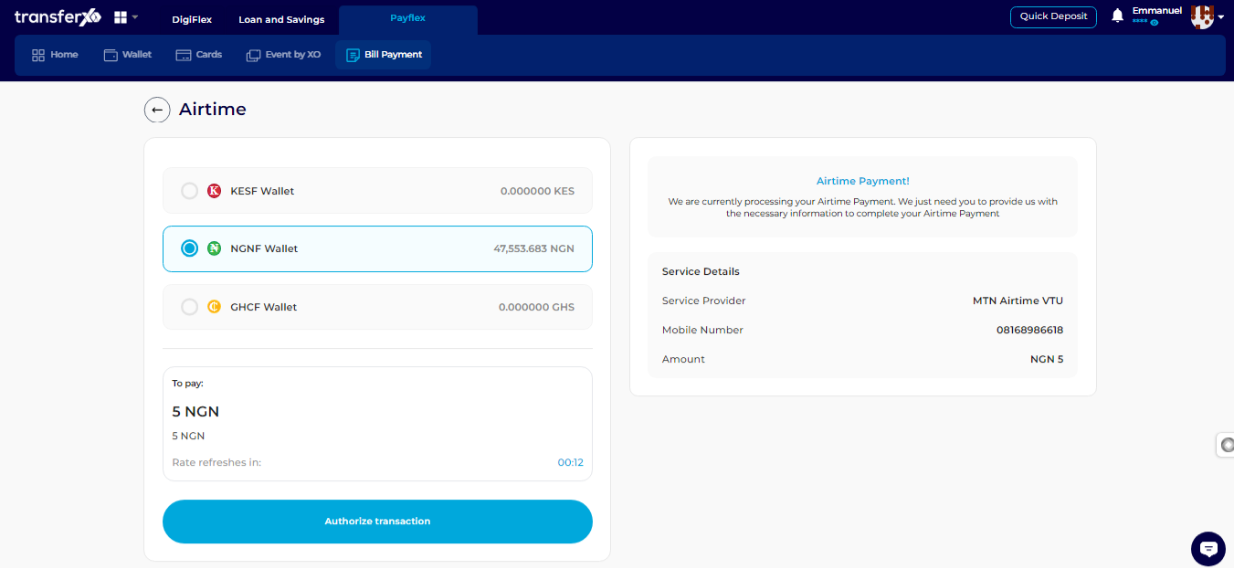
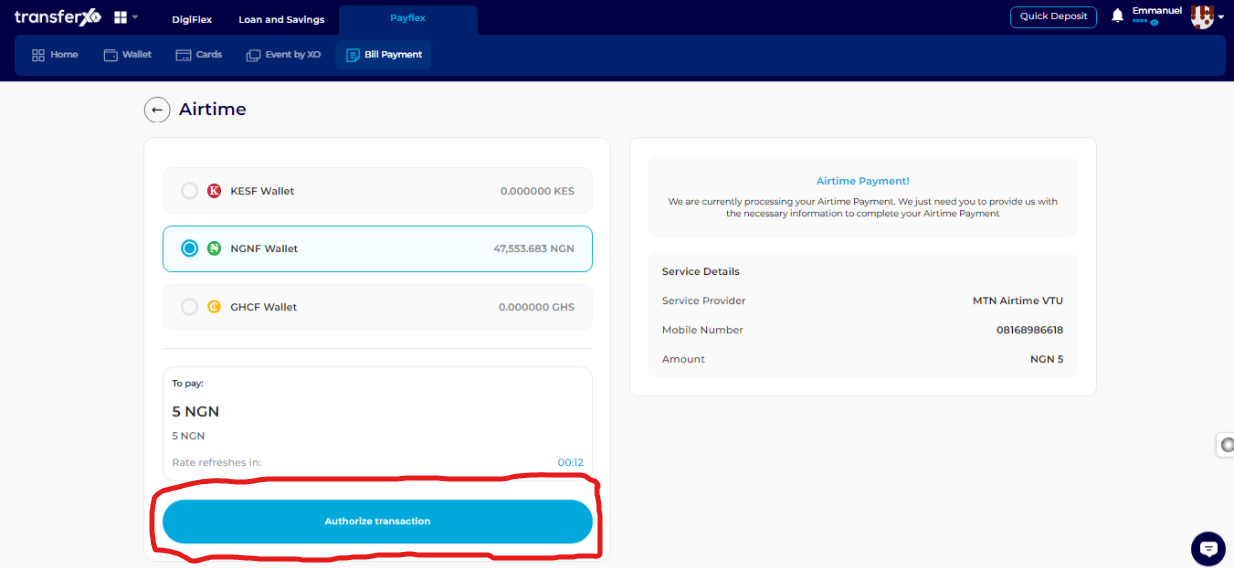
Step 15: Authorize the Transaction
Click Authorize Transaction to confirm your payment method and continue.
Step 16: Enter Your Transaction PIN
Enter your 6-digit transaction PIN, then check the confirmation box to verify and approve the payment.
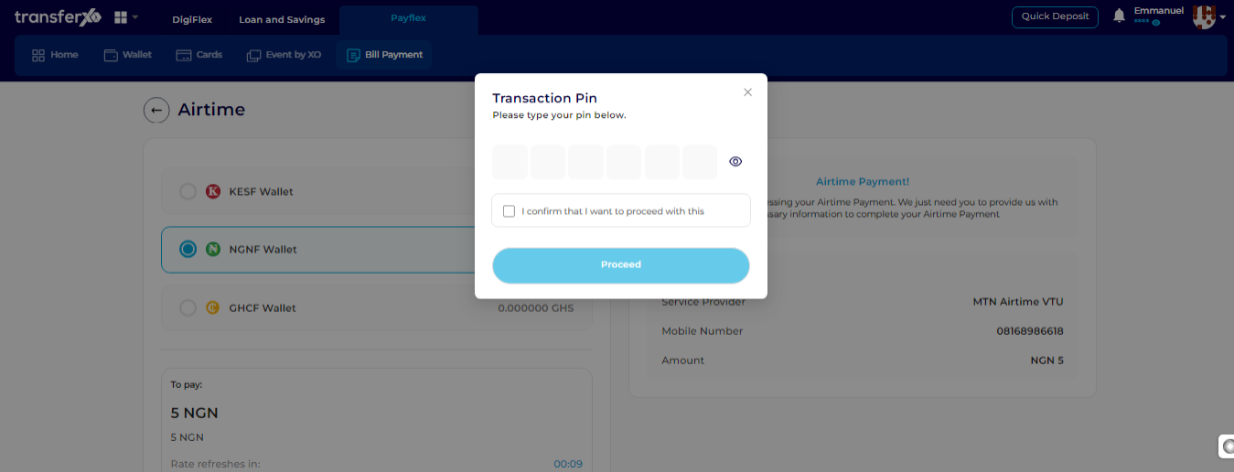
Step 17: Click on Proceed
Click Proceed to finalize the transaction. Once completed, you will receive a payment confirmation notification.

Making bill payments on TransferXO is quick and hassle-free. Whether recharging your phone or paying for other services, following these steps ensures a smooth transaction. Use the Add to Beneficiary feature for even faster payments in the future.
Enjoy seamless transactions with TransferXO!