

Your TransferXO personal profile contains key account details that help secure and personalize your experience. This guide will show you how to update your profile avatar, change your phone number, and modify your default country of trade using the mobile web version of TransferXO.
The Step-by-Step Guide:
Step 1: Access Your TransferXO Account
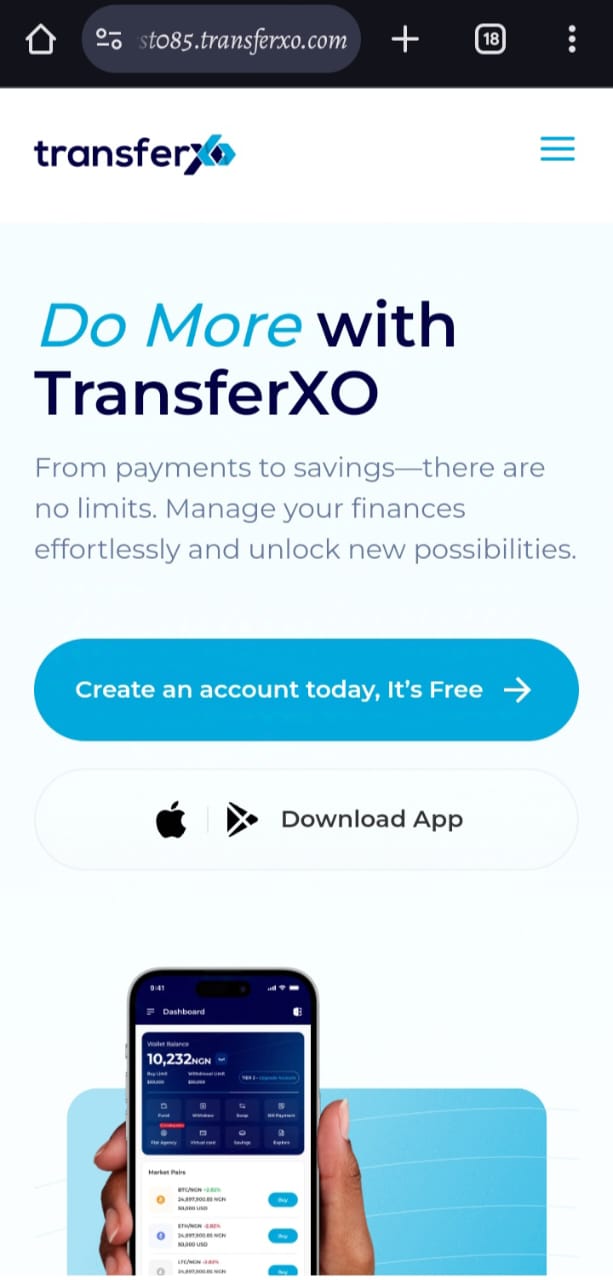
Open your phone's web browser and navigate to TransferXO's website: transferxo.com. Ensure you have a stable internet connection for a seamless experience.
Step 2: Sign in to Your TransferXO
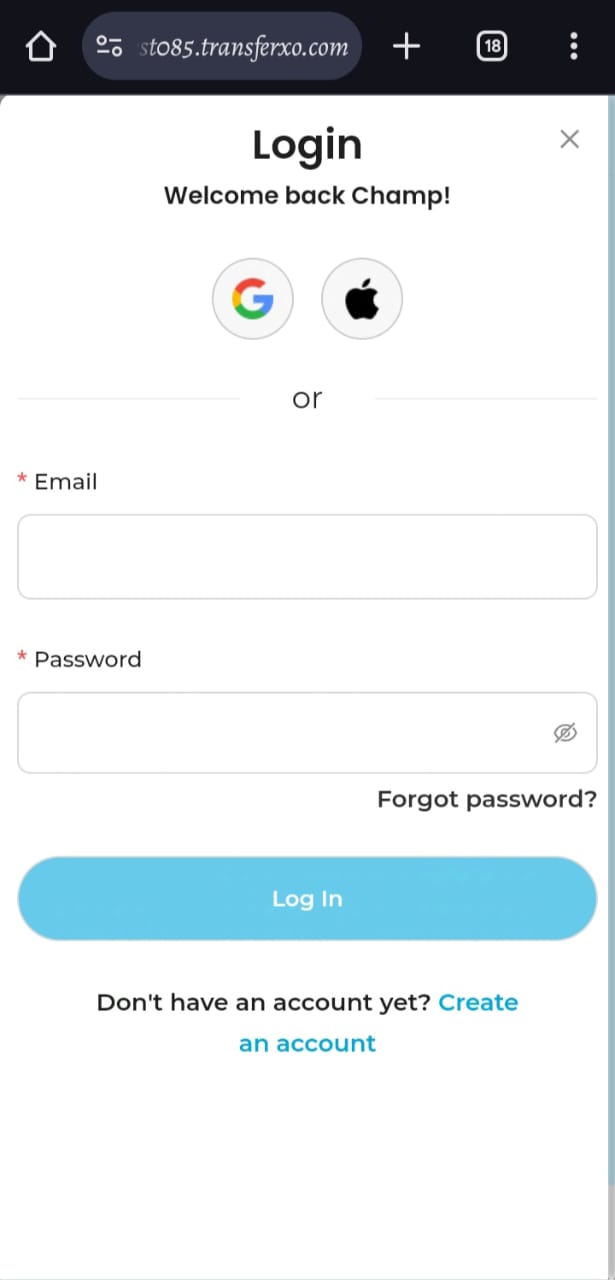
Enter your login credentials (email and password) and sign in to your TransferXO account. If you do not have an account, select Sign Up to create one.
Step 3: Access the Dashboard
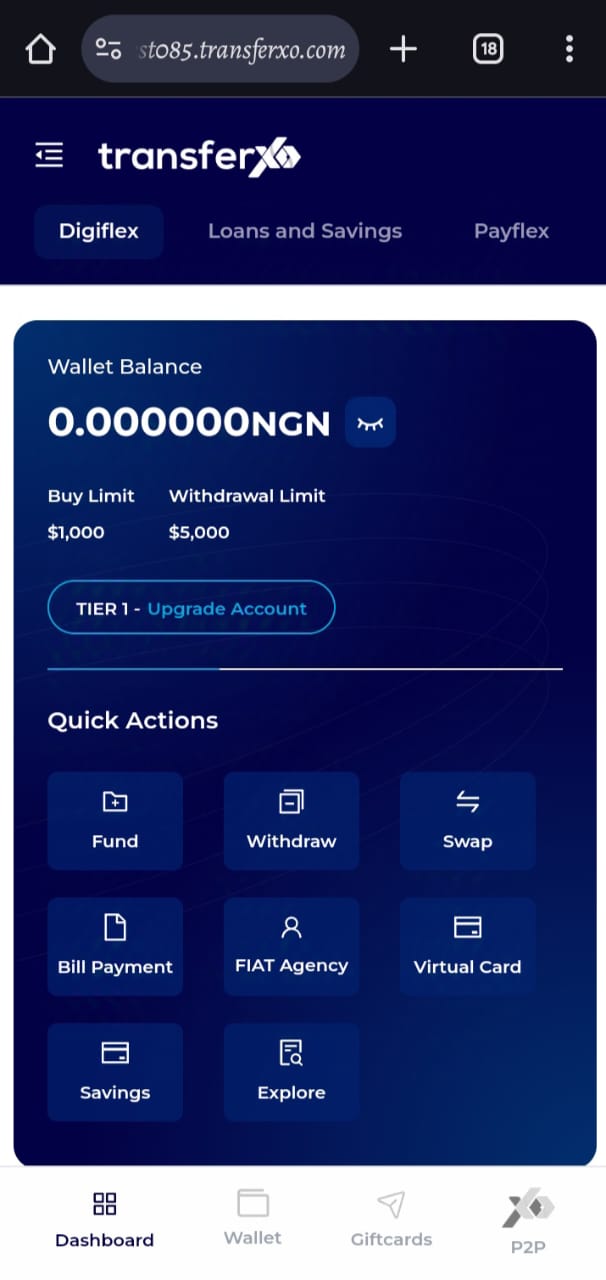
After successfully logging in, you will be redirected to your Dashboard, which serves as your homepage. This is where you can access all key features.
Step 4: Open the Menu
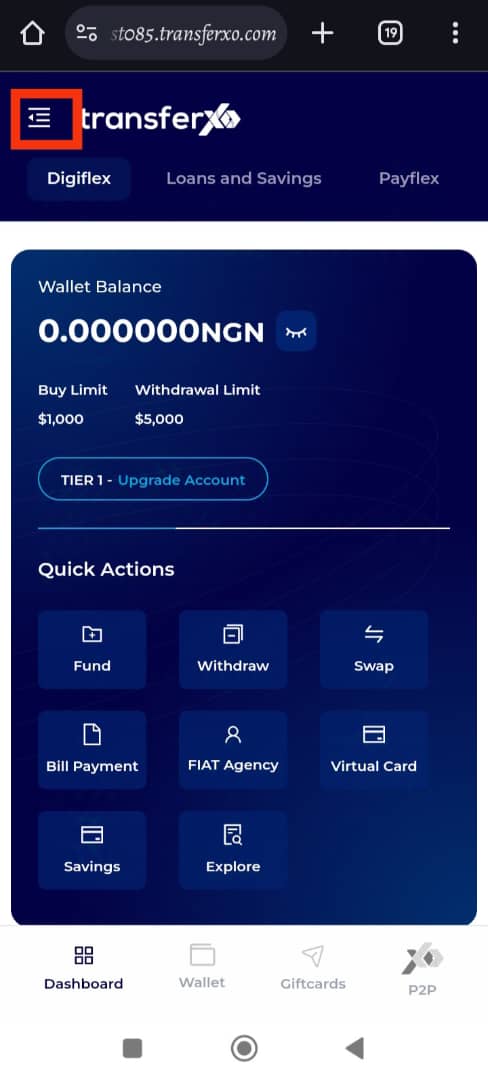
Locate the menu icon (four horizontal lines) at the top left-hand corner of your screen and tap on it to expand the menu.
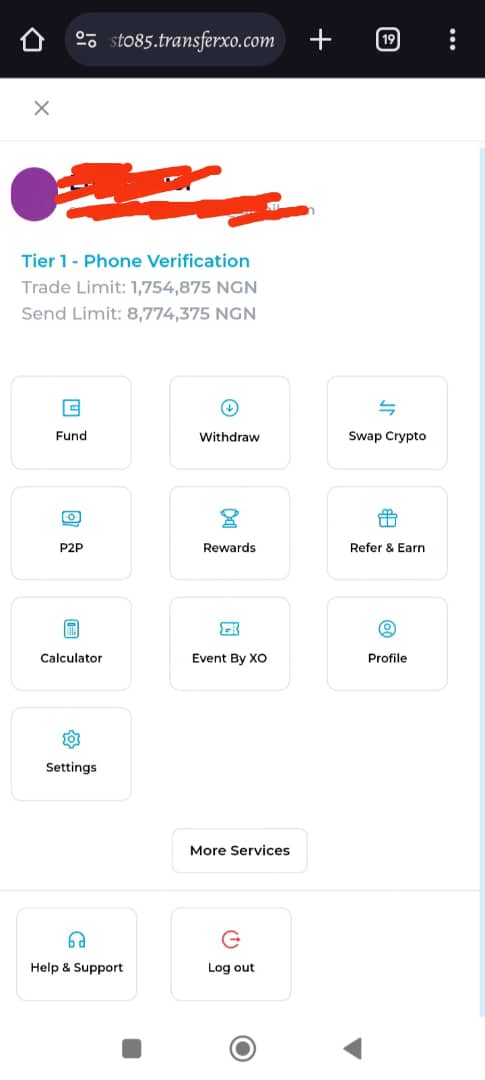
Step 5: Access Menu Options
The menu will display several options and features of the app. At the top, you will also see a brief profile summary showing your email and username.
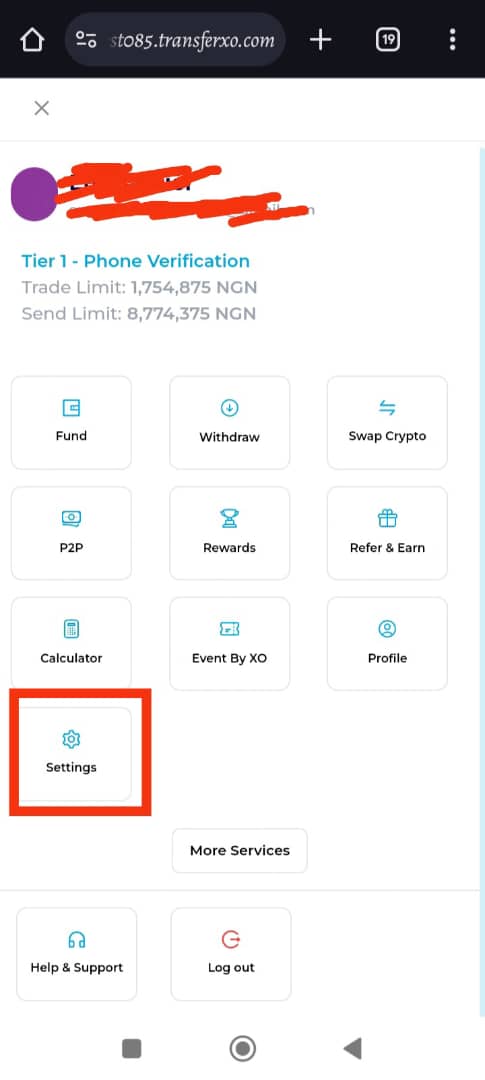
Step 6: Click on Settings
From the menu options, tap on Settings to open your account preferences.
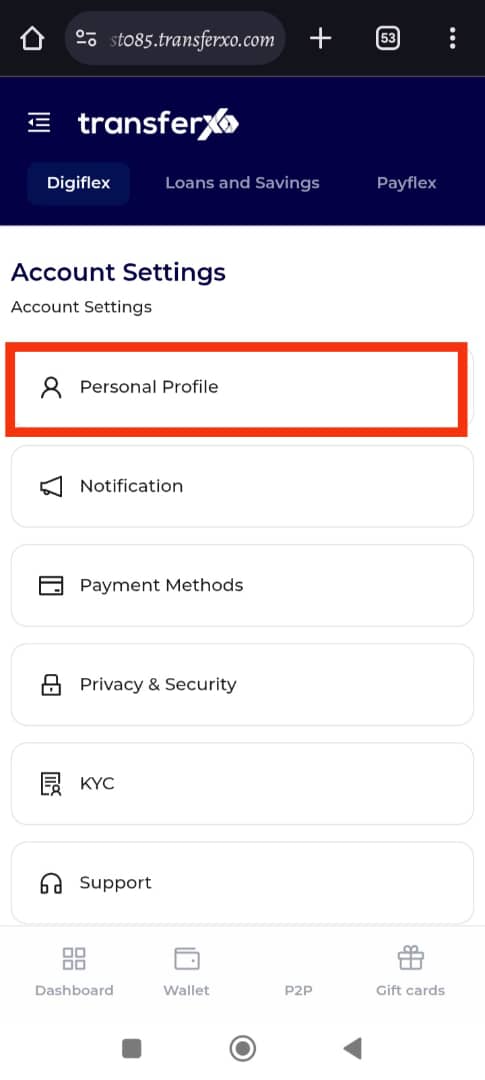
Step 7: Open Personal Profile
Within the Settings section, tap on Personal Profile, which is the first tab on the interface.
Step 8: Change Your Profile Avatar
Your profile image is a key part of your identity on TransferXO. Follow these steps to change your avatar:
Substep 1. Click on Change Profile Image.
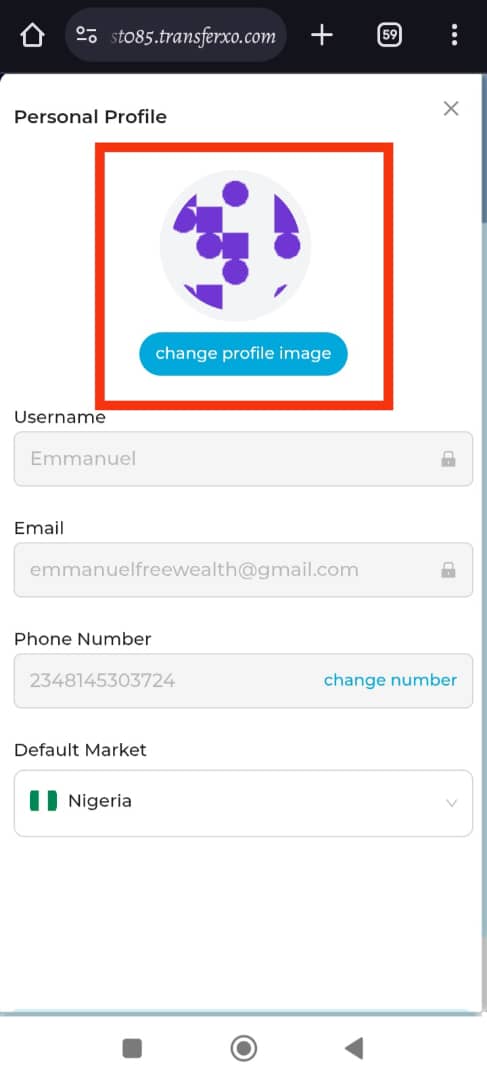
Substep 2: Select an avatar from the available options on the platform.
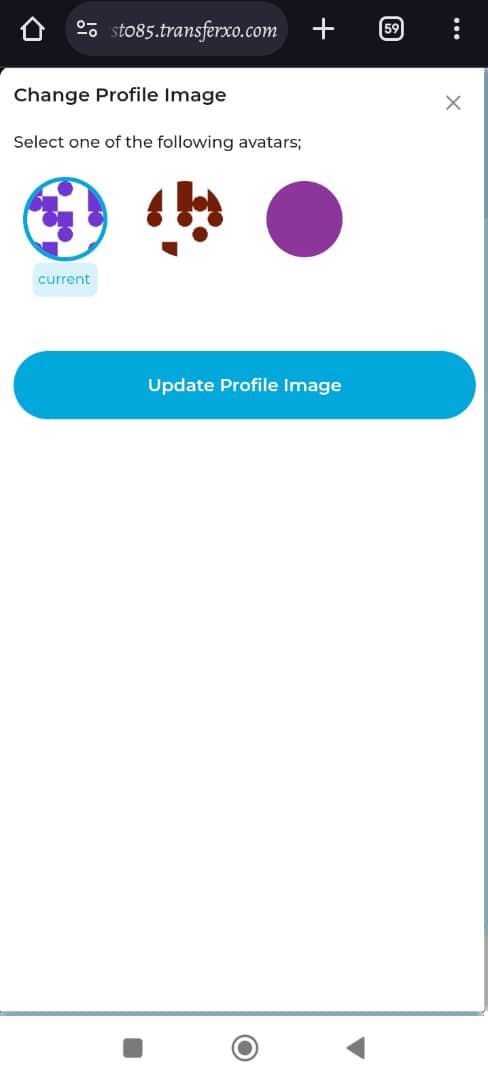
Substep 3: Click Update Profile Image to save your changes.
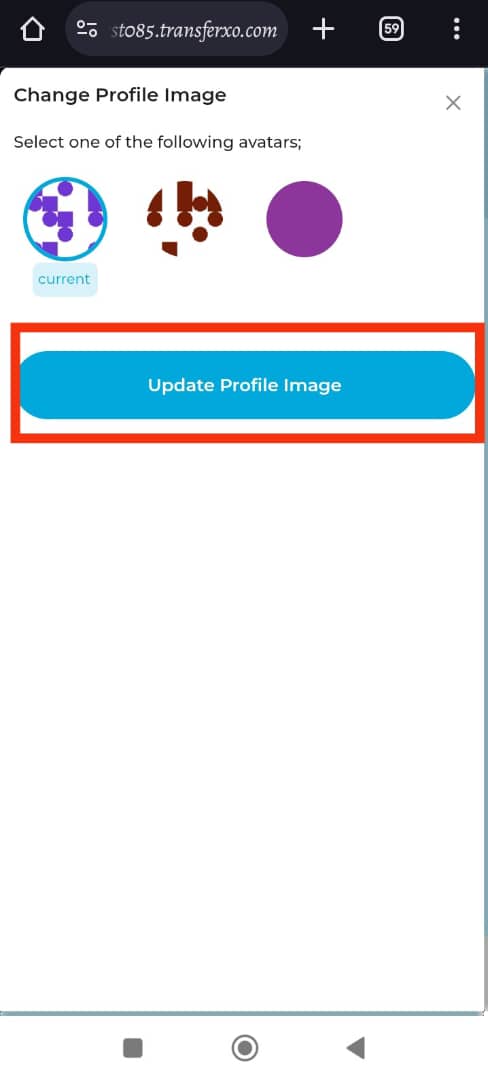
Your profile image has now been successfully updated.
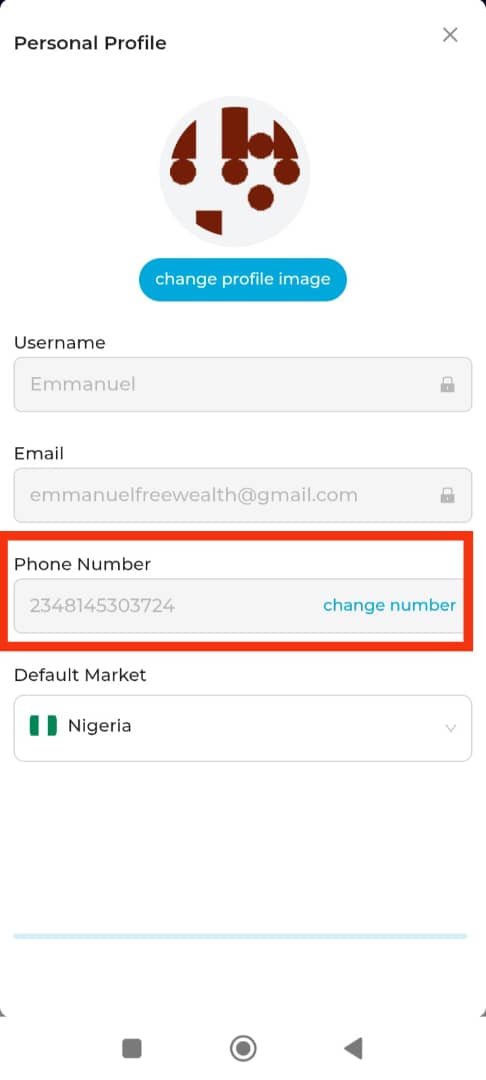
Step 9: Update Your Phone Number
Keeping your phone number up to date is essential for account security and verification. Follow these steps to update it:
Substep 1: Click on Change Number in the Phone Number dialog box.
The system should automatically redirect you to the KYC menu. If it does not, click on KYC, then proceed to Change Phone Number.
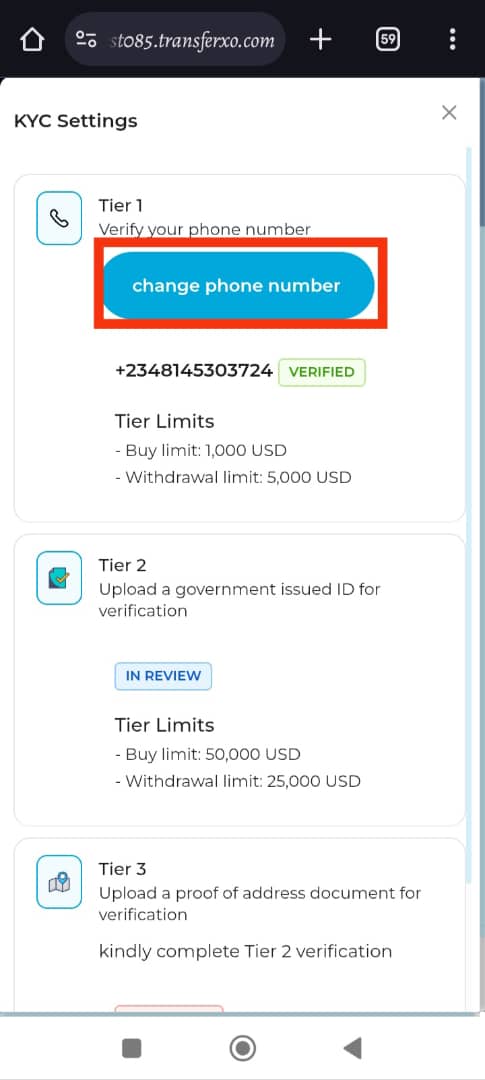
Substep 3: Enter the new phone number you wish to use and select your preferred verification method.
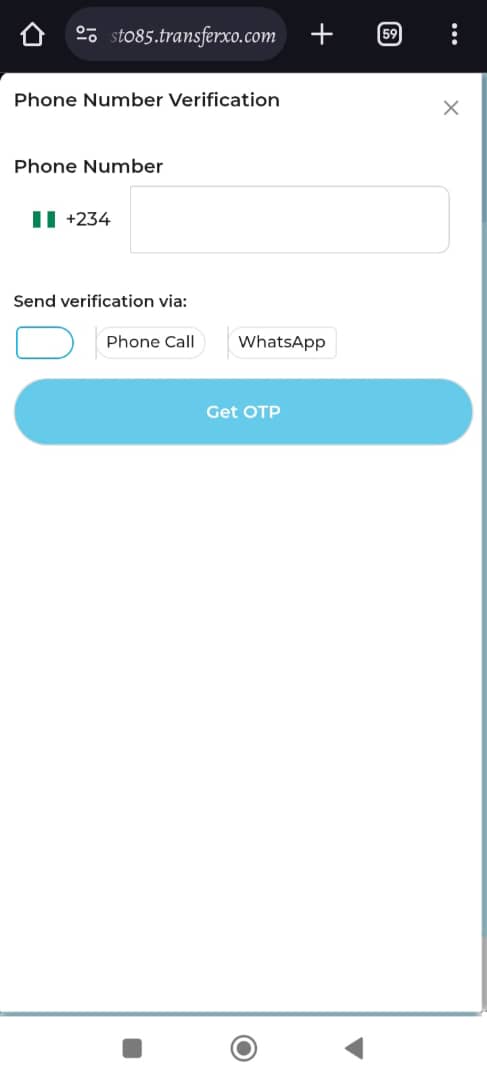
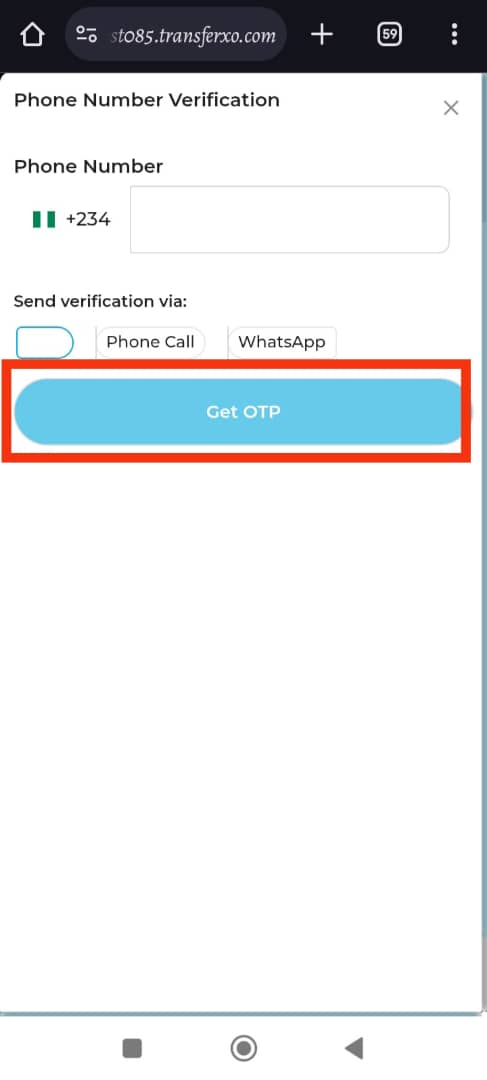
Substep 4: Click Get OTP to receive a One-Time Password (OTP).
Substep 5: Enter the OTP sent to you and click Verify Code to validate the number change.
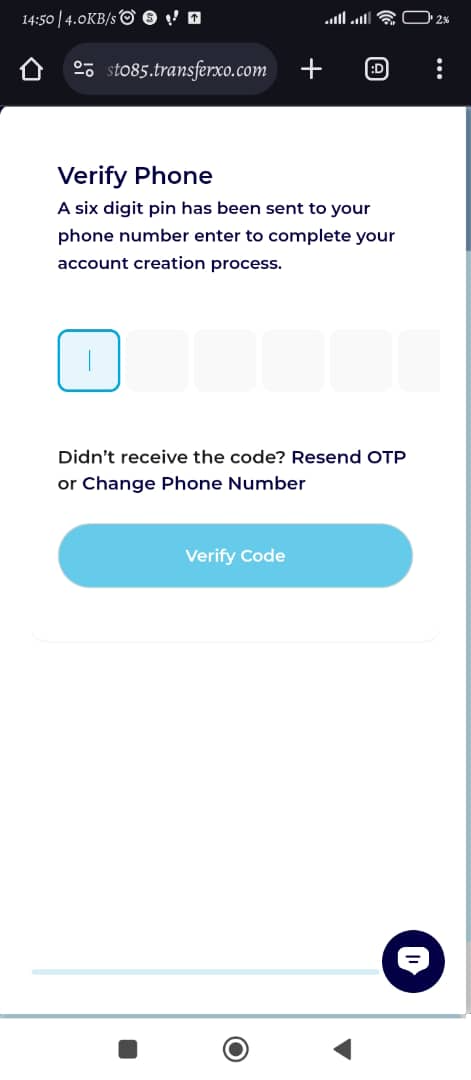
Your phone number has now been successfully updated.
Step 10: Change Your Default Market
Your default market determines the country where your trades are executed. To change this setting:
Navigate to the Default Market box and select the new country of trade from the available options.
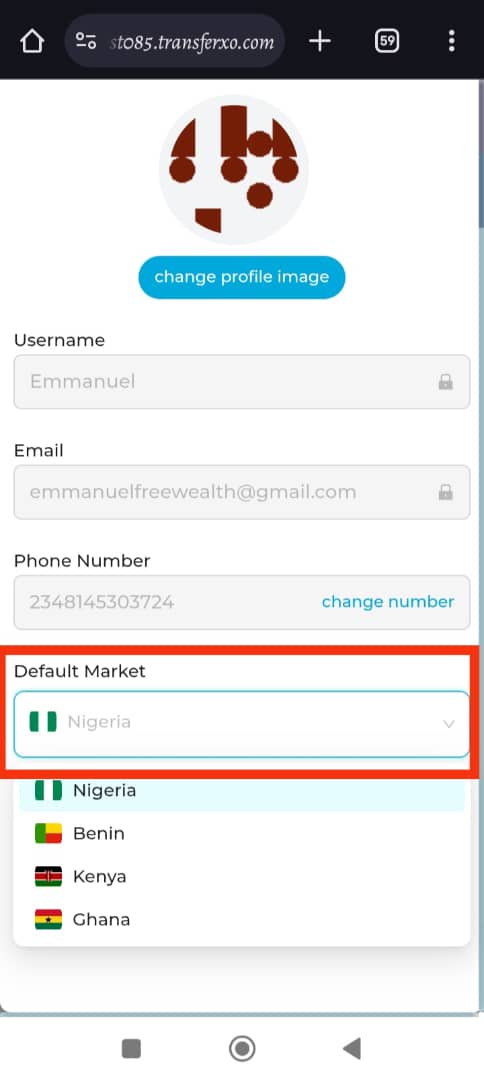
Your default market has now been successfully updated.
Important Note:
Your username and email cannot be changed after registration. This restriction was stated during the sign-up process.
If you require further assistance regarding these details, please contact the TransferXO Support Team.
Keeping your personal profile updated on TransferXO ensures a seamless and secure trading experience.
If you need further assistance, visit our Knowledge Base or contact TransferXO Support for more help.