

Your default market on TransferXO determines the country of trade for your transactions. Setting this up correctly ensures accurate pricing and a smooth trading experience. This guide walks you through the process of configuring your default market via the web app.
The Step-by-Step Guide:
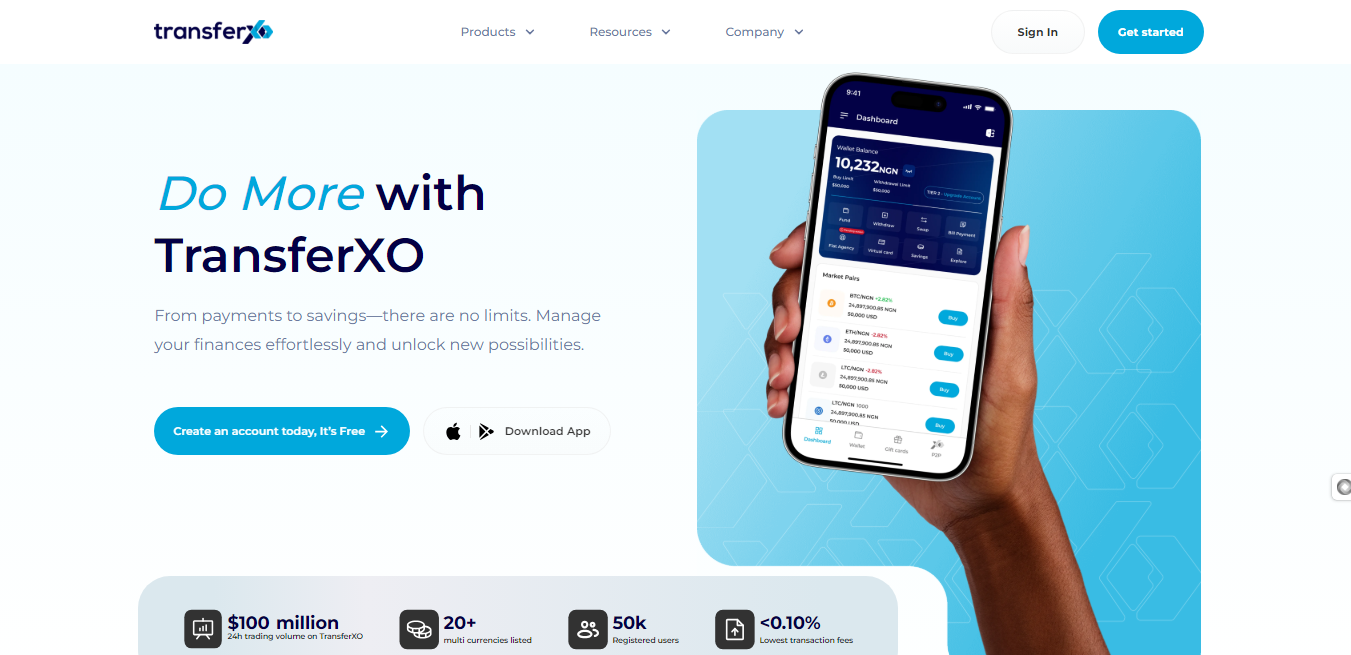
Step 1: Open the TransferXO Web App
Launch your PC browser and navigate to transferxo.com. Ensure you have a stable internet connection for a seamless experience.
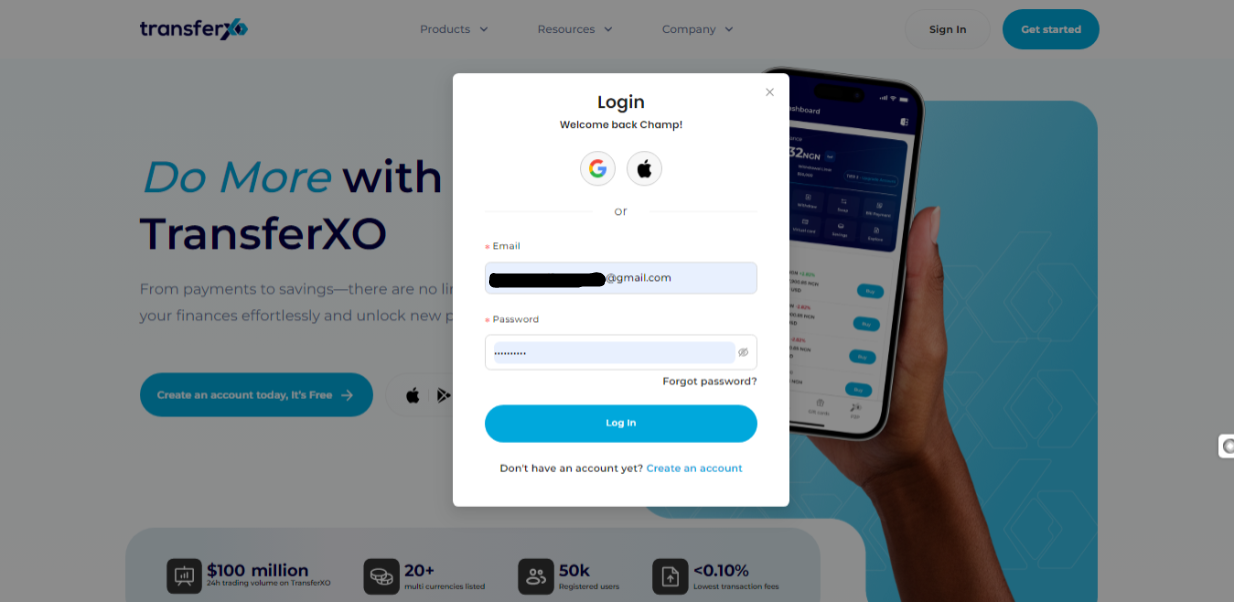
Step 2: Sign In to Your TransferXO Account
Enter your login credentials (email and password) and sign in to your TransferXO account. If you do not have an account, select Sign Up to create one.
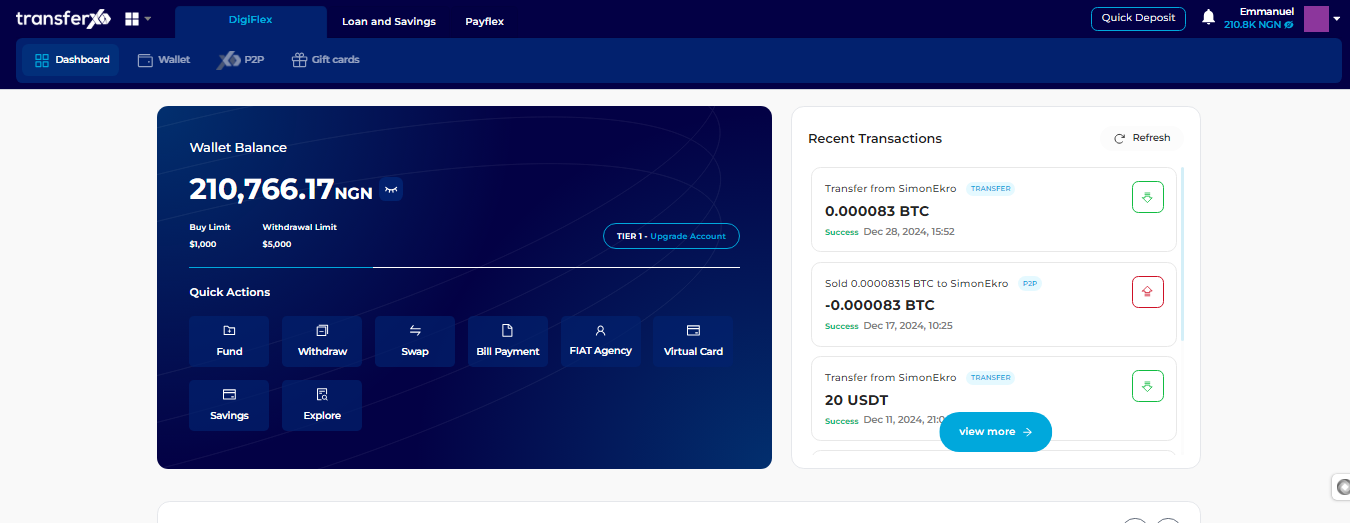
Step 3: Access Your Dashboard
After successfully logging in, you will be redirected to your Dashboard, which serves as your homepage. This is where you can access all key features.
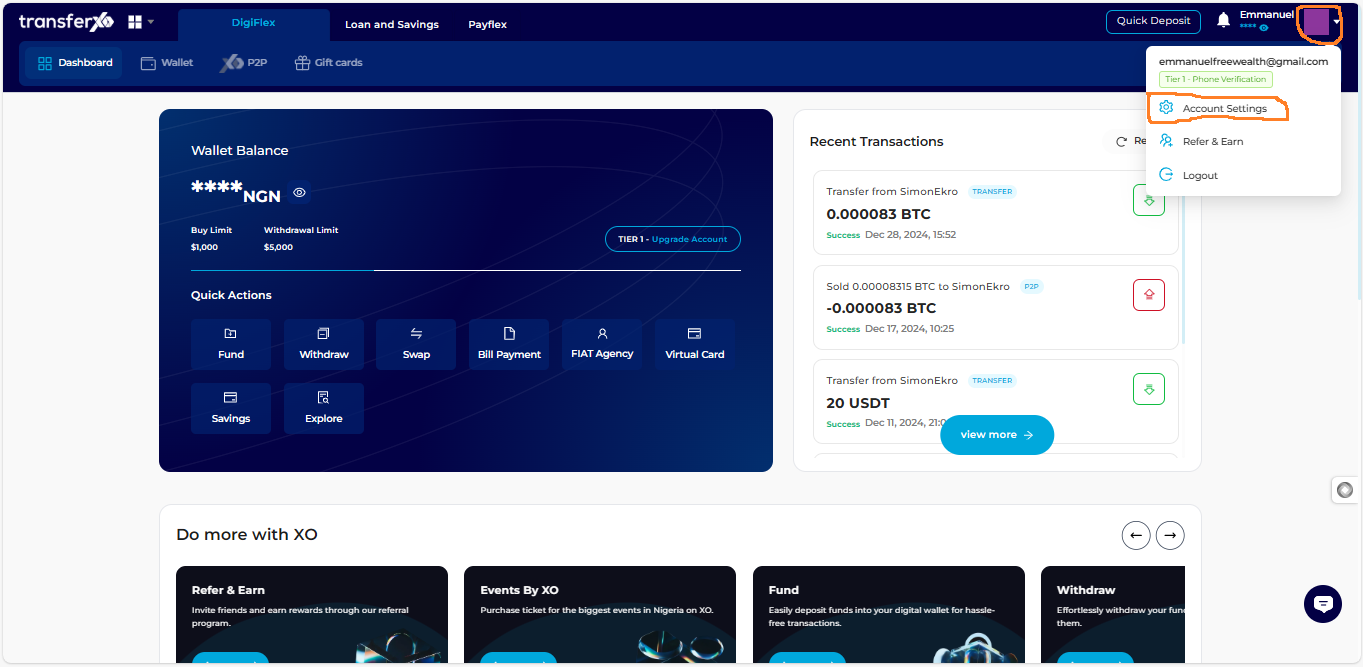
Step 4: Locate Profile Avatar
From the top-right-hand corner of your dashboard, locate the profile avatar and hover your mouse over it.
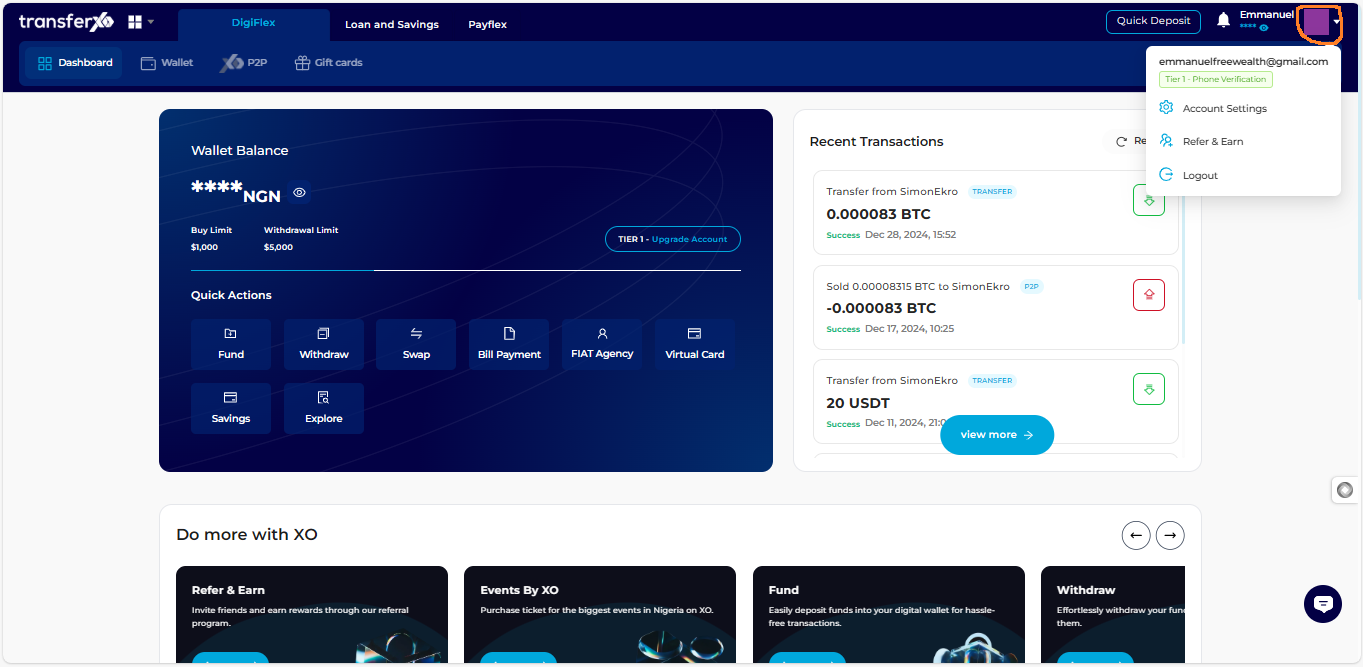
Step 5: Open Account Settings
From the dropdown menu that appears, click on "Account Settings".
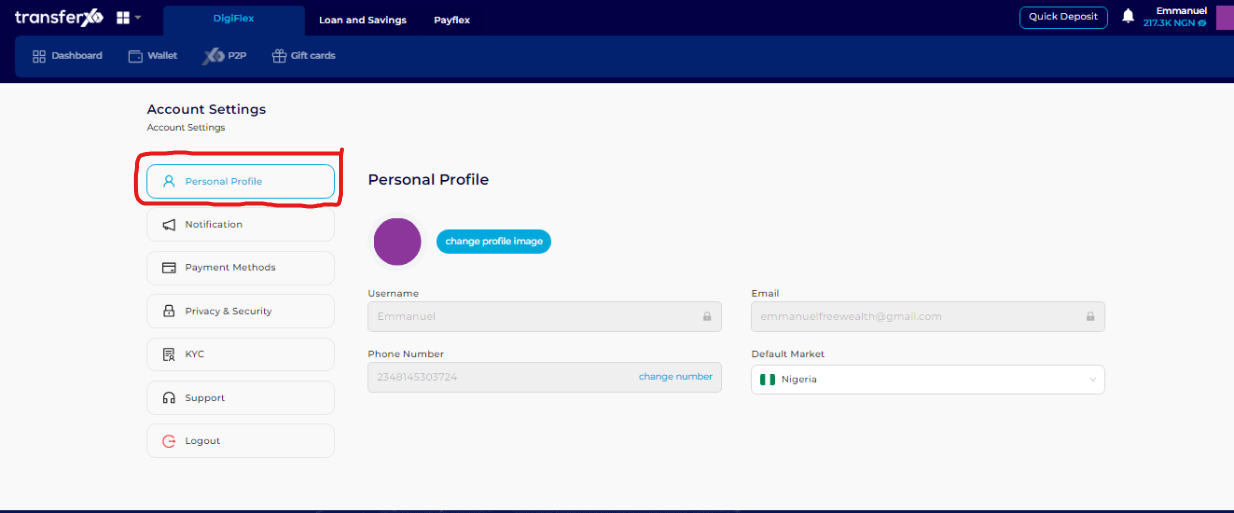
Step 6: Navigate to the Personal Profile Tab
By default, the Personal Profile tab opens first. If it does not, click on Personal Profile, which is the first tab in the available menu options.
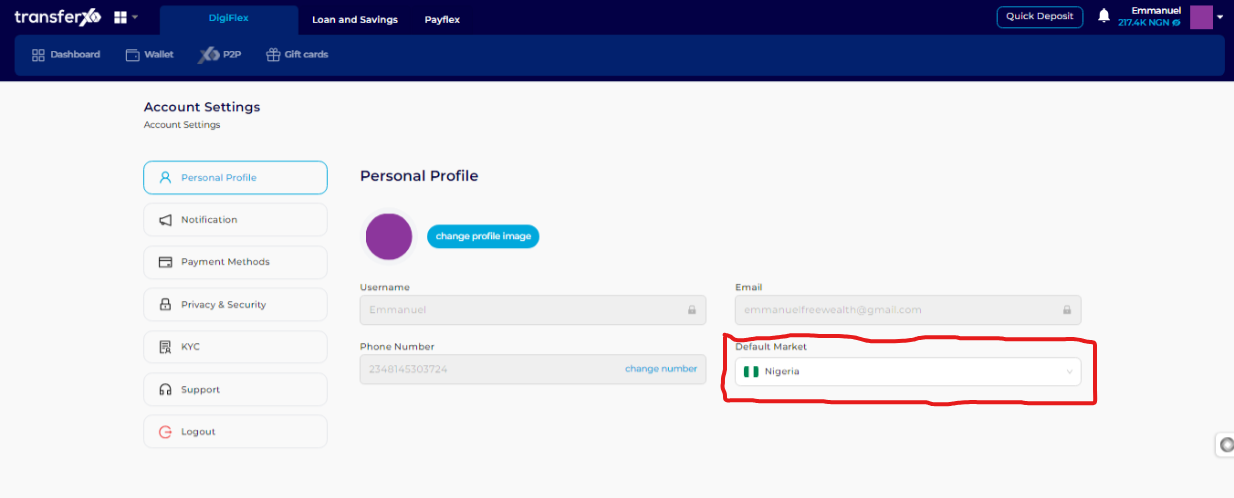
Step 7: Select Your Default Market
Under the Default Market section, choose your preferred country of trade from the available options.
Your default market is now successfully set! This means all trades will automatically align with your selected country.
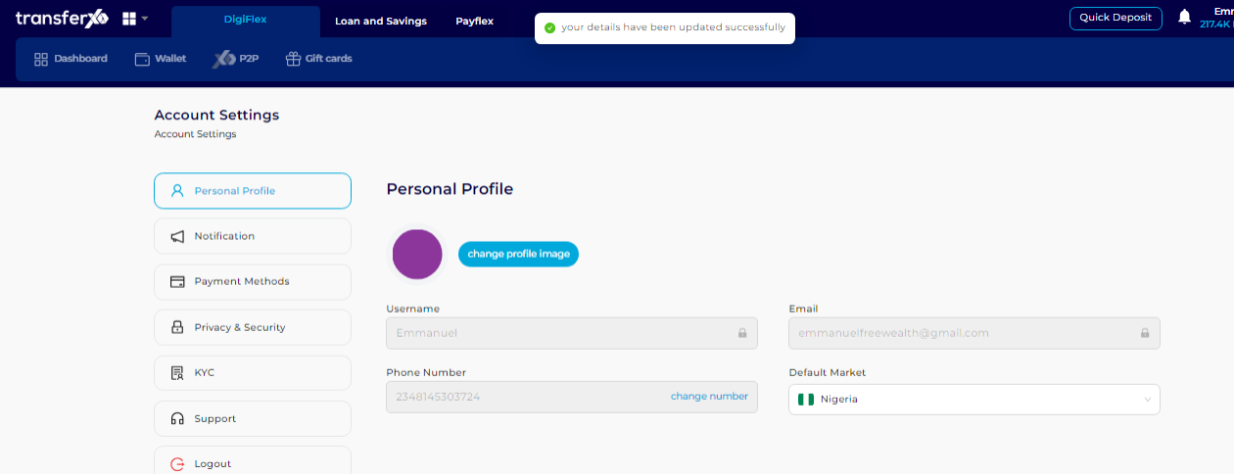
Setting your default market on TransferXO ensures that your trades are conducted in the correct region, streamlining your transactions.
Explore our Knowledge Base or contact TransferXO Support for more guides and support.